| Audience | Platform admins, marketers |
| Prerequisites | An audience, sync configuration, or journey you want to reuse. |
Templates save reusable audience, sync, and journey configurations so your team can apply the same setup without rebuilding it each time.
How templates fit into Customer Studio
Use templates when your team repeatedly builds the same targeting pattern, destination setup, or campaign structure. A template gives users a configured starting point while letting them fill in the details that change from one campaign to the next. For example, you might reuse the same churn-risk audience with a different inactivity window, or start every welcome campaign from the same journey structure.
The type of template determines what gets reused:
| When you want to reuse... | Use | Example |
|---|---|---|
| A targeting pattern | Audience template | Customers at risk of churn |
| Destination setup and field mappings | Sync template | Standard Braze audience sync |
| A multi-step campaign structure | Journey template | New-customer welcome series |
A template is a starting point, not a saved audience or a running campaign. When someone uses a template, they create a new audience, sync, or journey from its configuration.
Platform admins typically create and govern templates, and marketers apply them when building campaigns.
What changes after you apply a template
How a template behaves after you apply it depends on its type:
- Audience and journey templates give a new object its starting configuration. Once the object is created, it's independent of the template.
- Syncs created from a sync template stay linked to it, so supported changes to the template propagate to those syncs. See How changes to sync templates propagate.
Templates and traits
Templates and traits solve different reuse problems:
- Traits reuse a calculated customer value, such as
90-day purchase value. - Templates reuse configuration, such as audience conditions, destination mappings, or journey structure.
You can use them together. An audience template can reference a saved trait, so teams reuse both the calculation and the targeting pattern built from it.
Audience templates
Use an audience template when marketers repeatedly build audiences from the same targeting pattern but need to customize some conditions for each campaign. For example, you might create a churn-risk template and leave the inactivity window blank so marketers choose the right number of days when they apply it.
Create an audience template
-
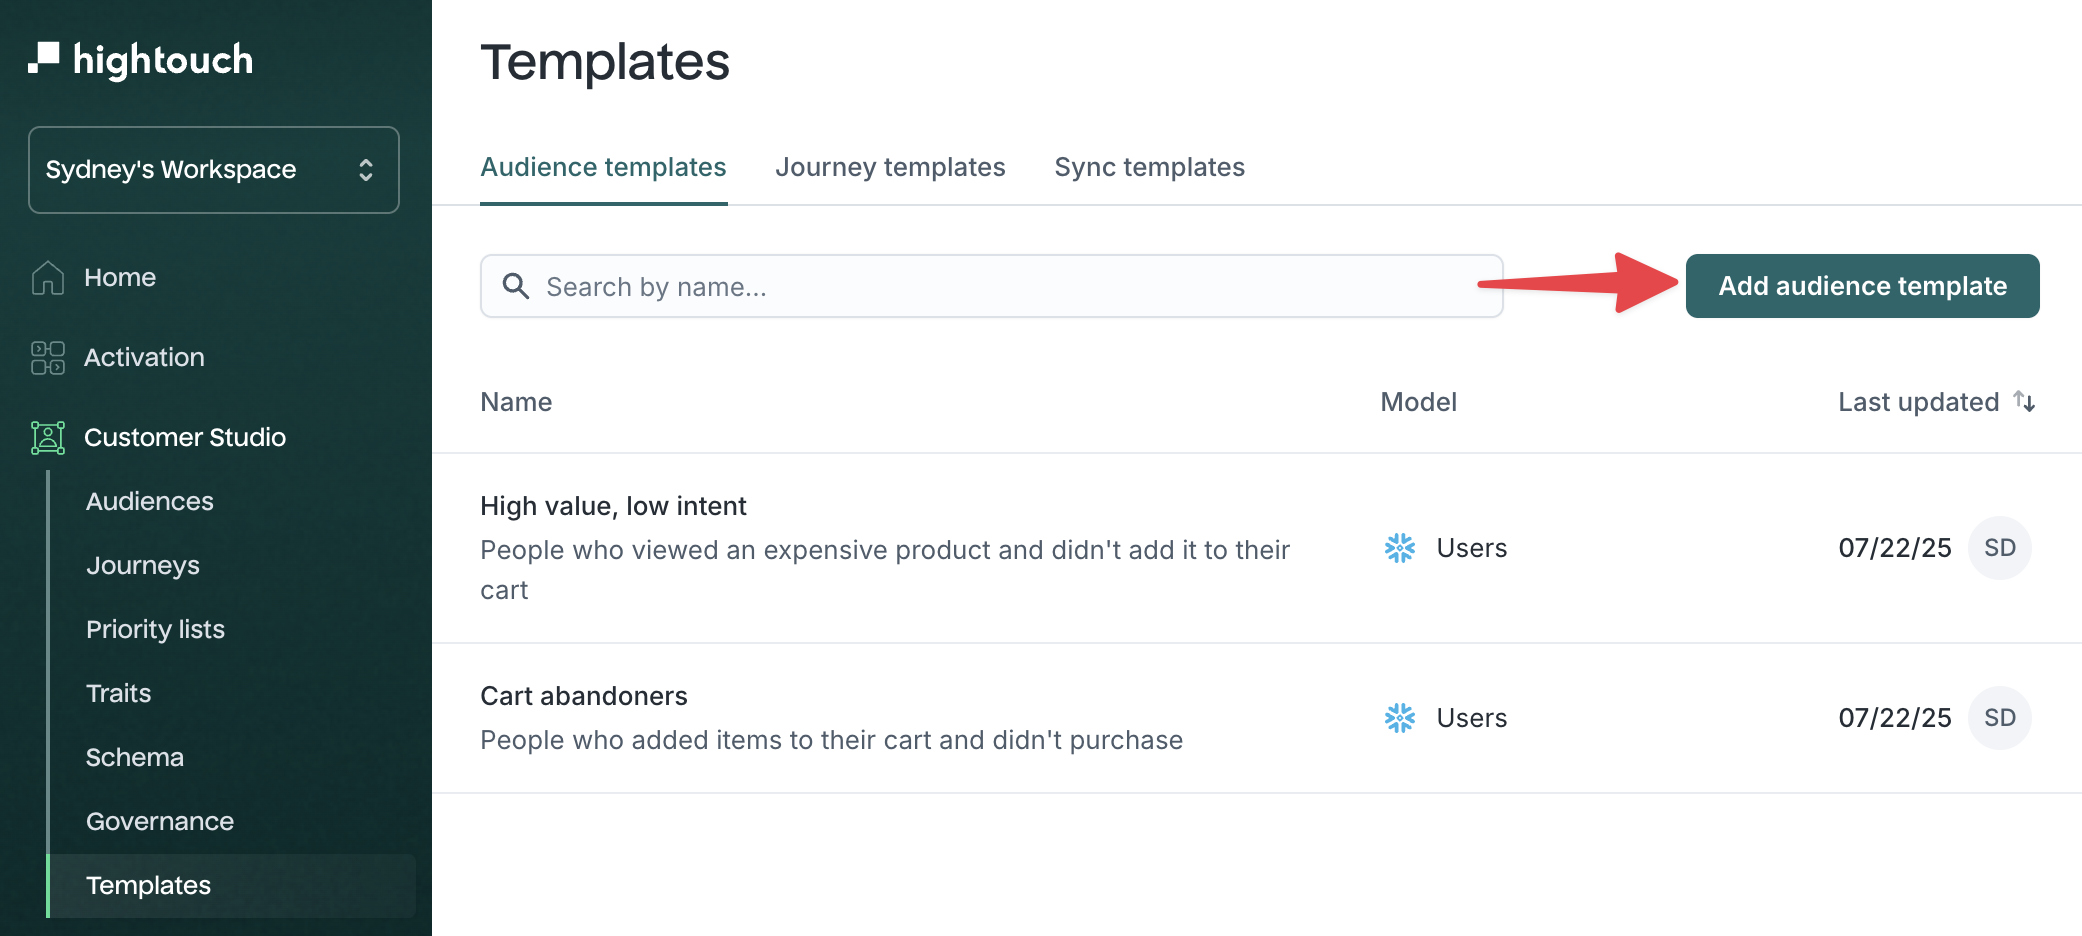
Go to Customer Studio > Templates > Audience templates.
-
Select Add audience template.
-
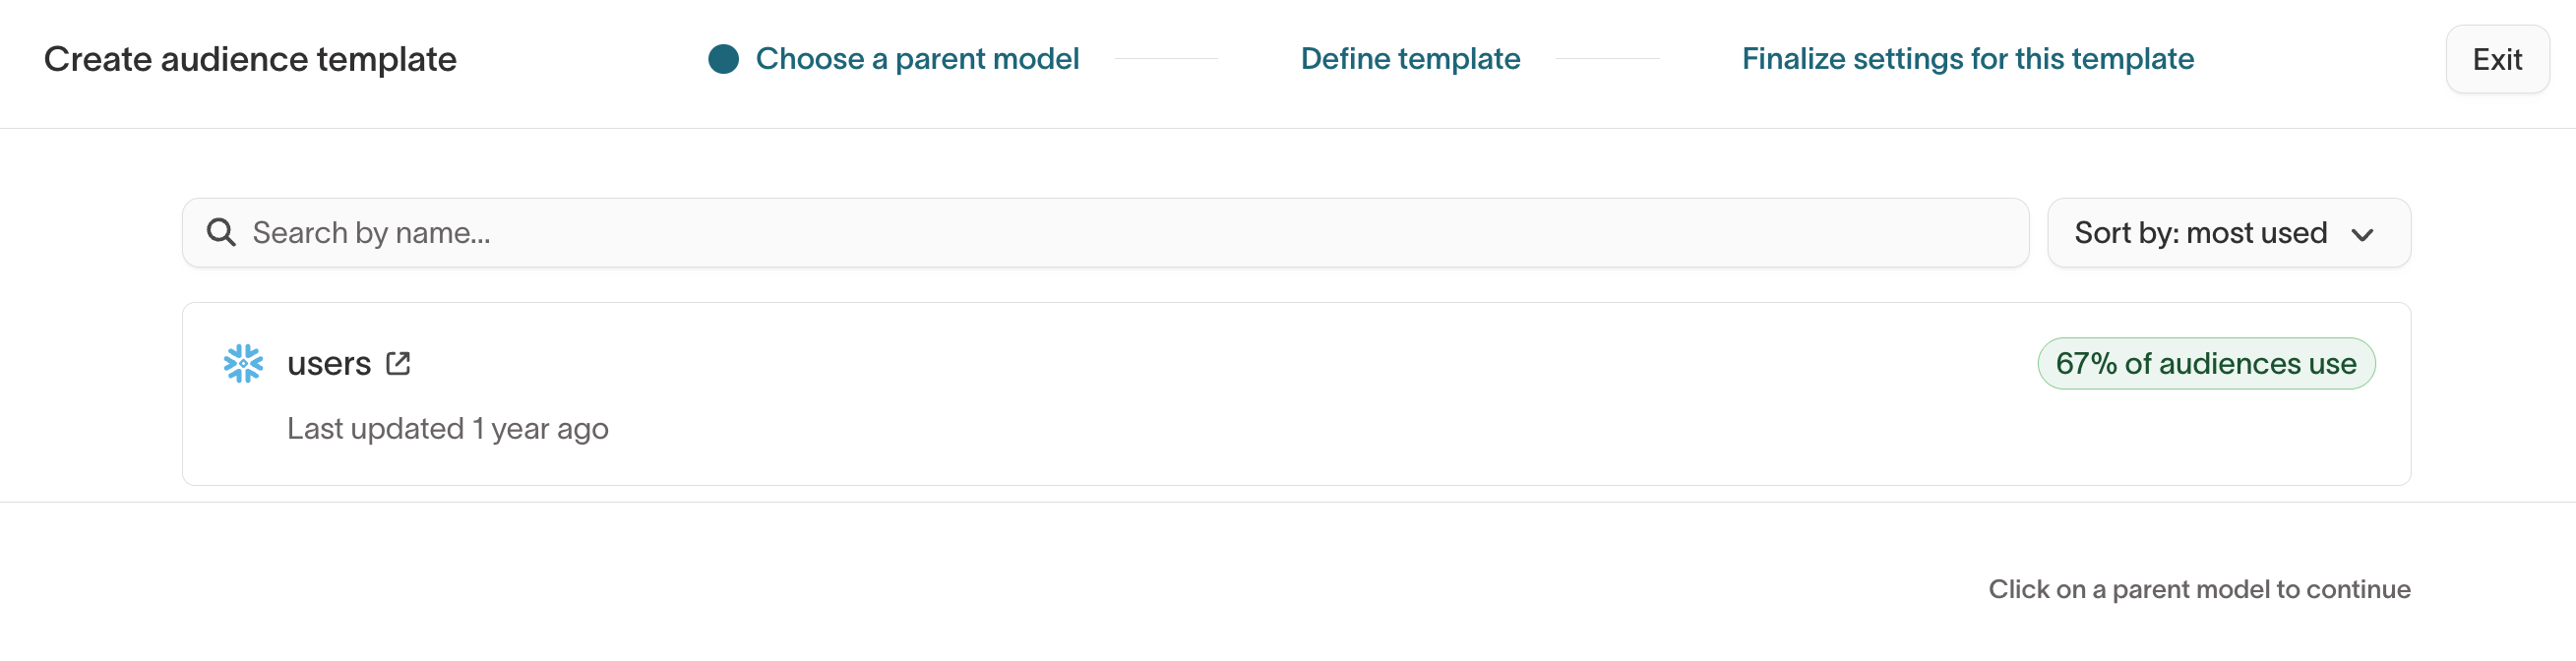
Select a parent model.
-
Add the filters, traits, and events you want the template to include.
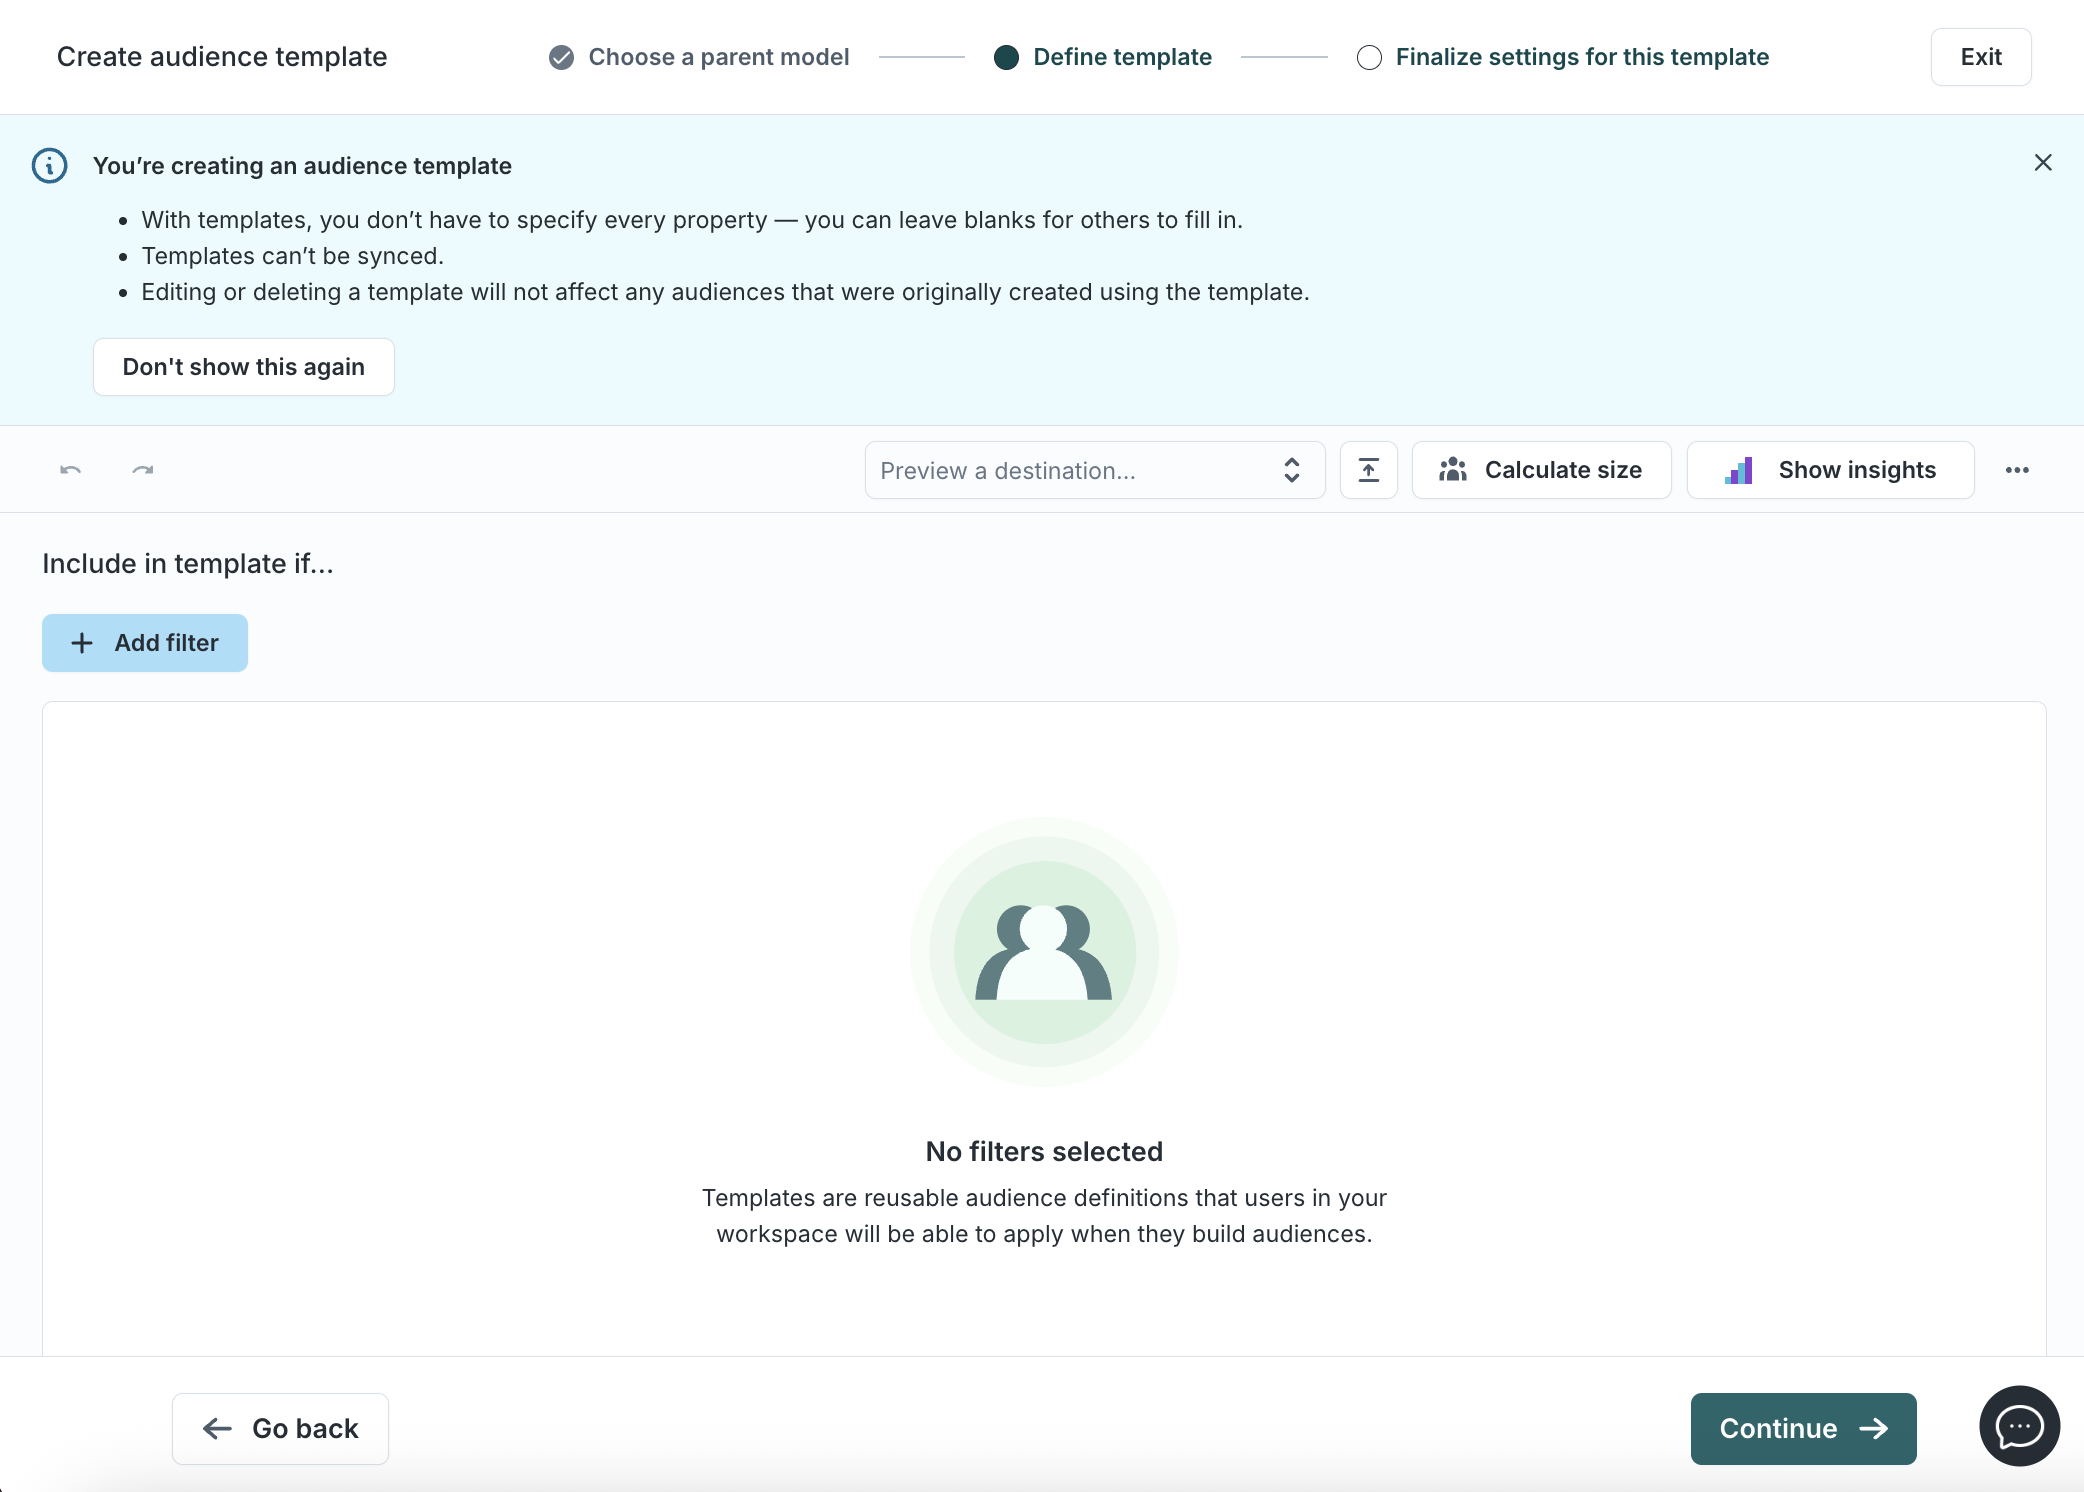
Leave fields blank when marketers should provide the value each time they use the template.
-
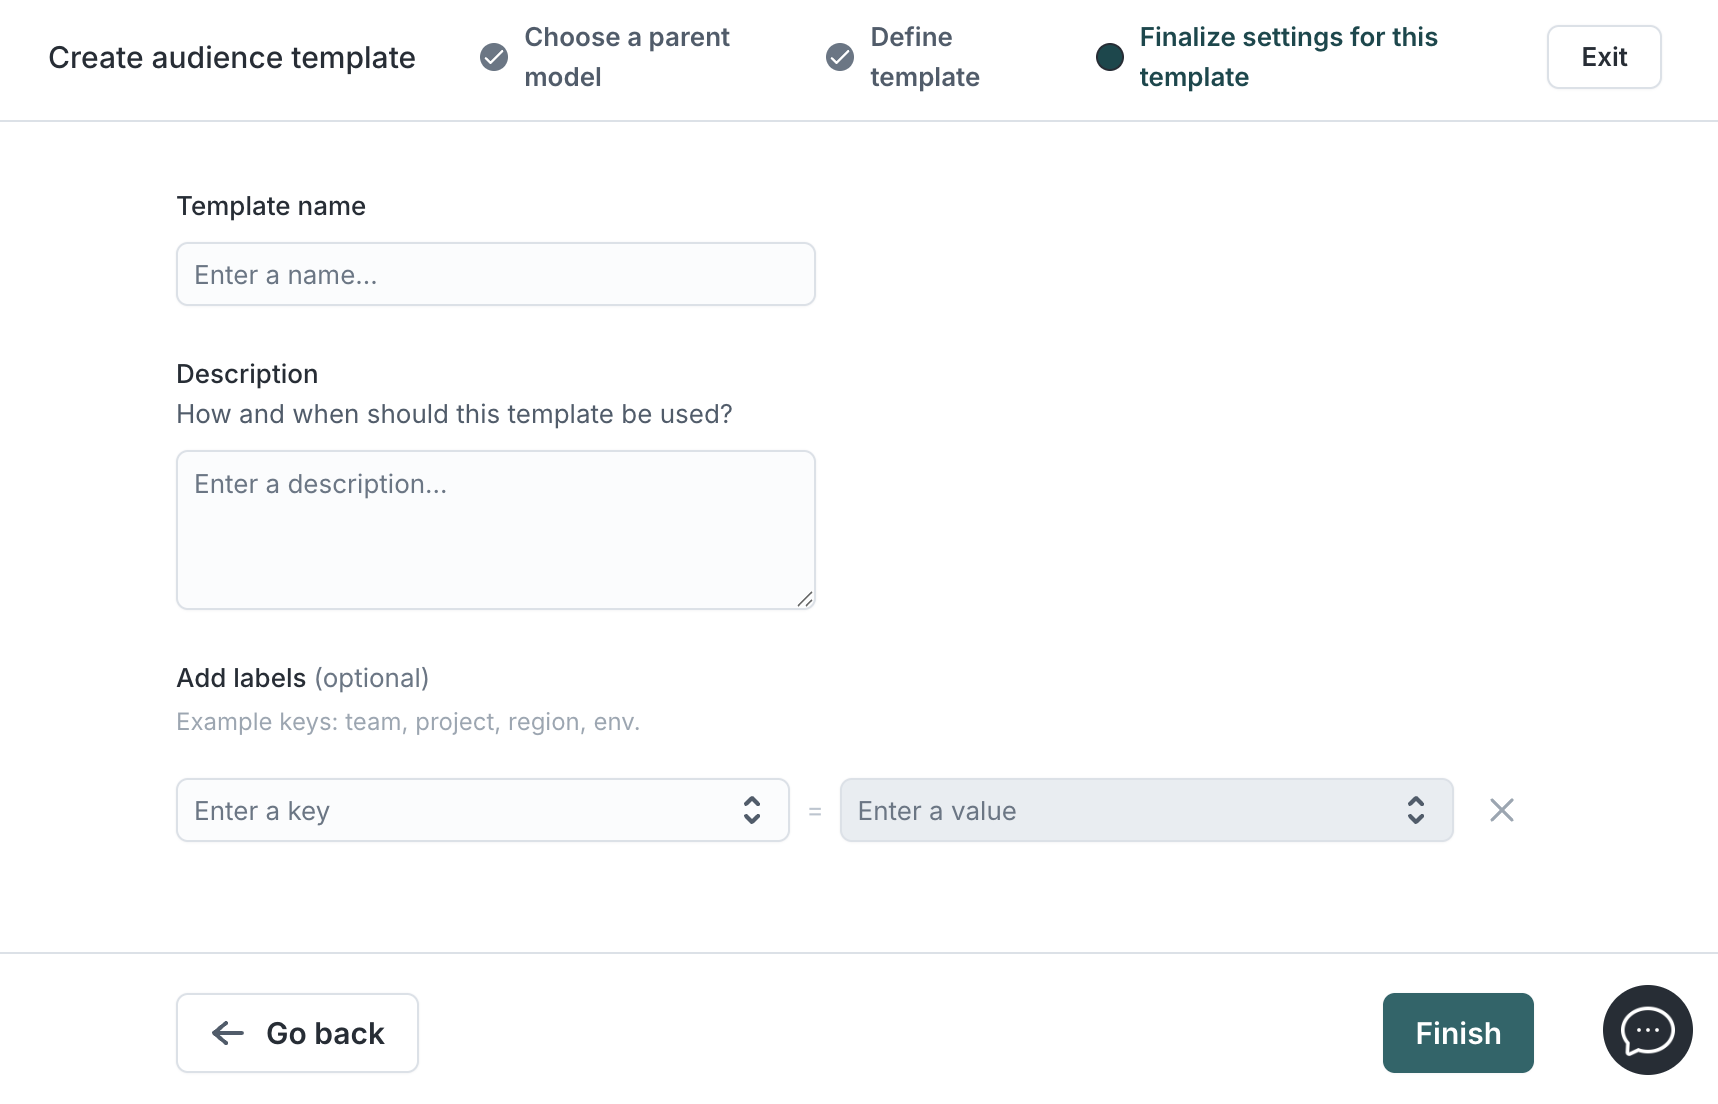
Name the template and optionally add a description.
-
Select Finish.
To create a template from an existing audience, open the audience, select the ... menu, and select Create template from this audience.
Apply an audience template
-
Go to Customer Studio > Audiences.
-
Select Add audience and select a parent model.
-
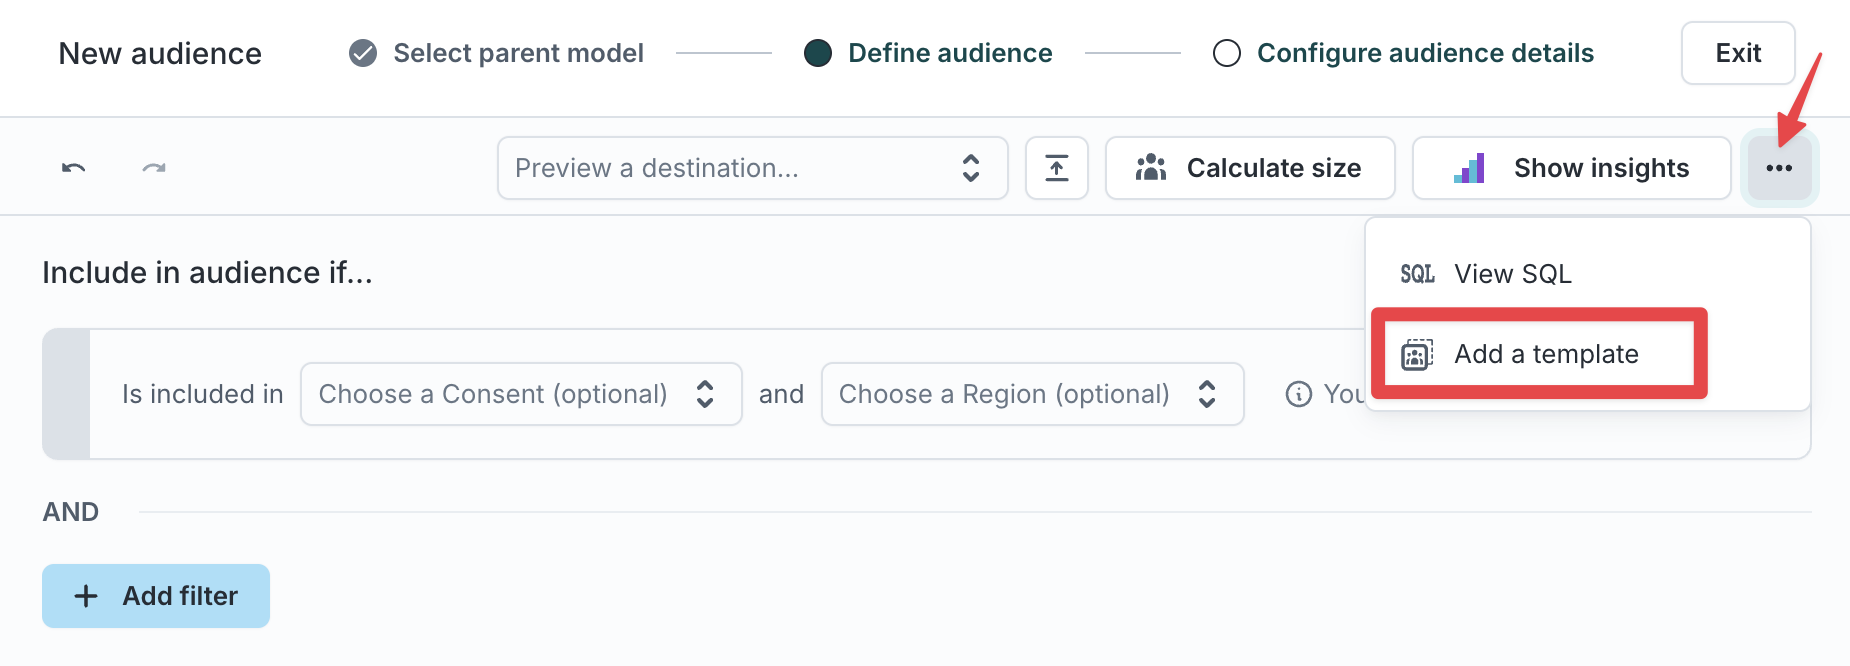
Open the ... menu and select Add a template, or select a template under Start with an audience template.
-
Select a template with a matching parent model.
-
Fill in any required blanks, highlighted in blue.
-
Save the audience and continue editing as needed.
You can apply more than one template to the same audience. Hightouch adds the conditions from each template to the audience builder, where you can review and edit the combined filters before you save.
Check a template before applying it
Open a template from the list to preview it before anyone builds from it. From the template editor, you can:
- Select Calculate size to see how many members the template resolves to.
- Select Preview a destination to check the rows the template would send.
- Select View SQL from the ... menu to inspect the generated query.
Sync templates
Sync templates reuse destination setup across audience and journey syncs. Configure the destination, record matching, and field mappings once, then apply that setup wherever your team needs the same sync configuration. You can apply multiple sync templates to one audience to create syncs to several destinations.
Create a sync template
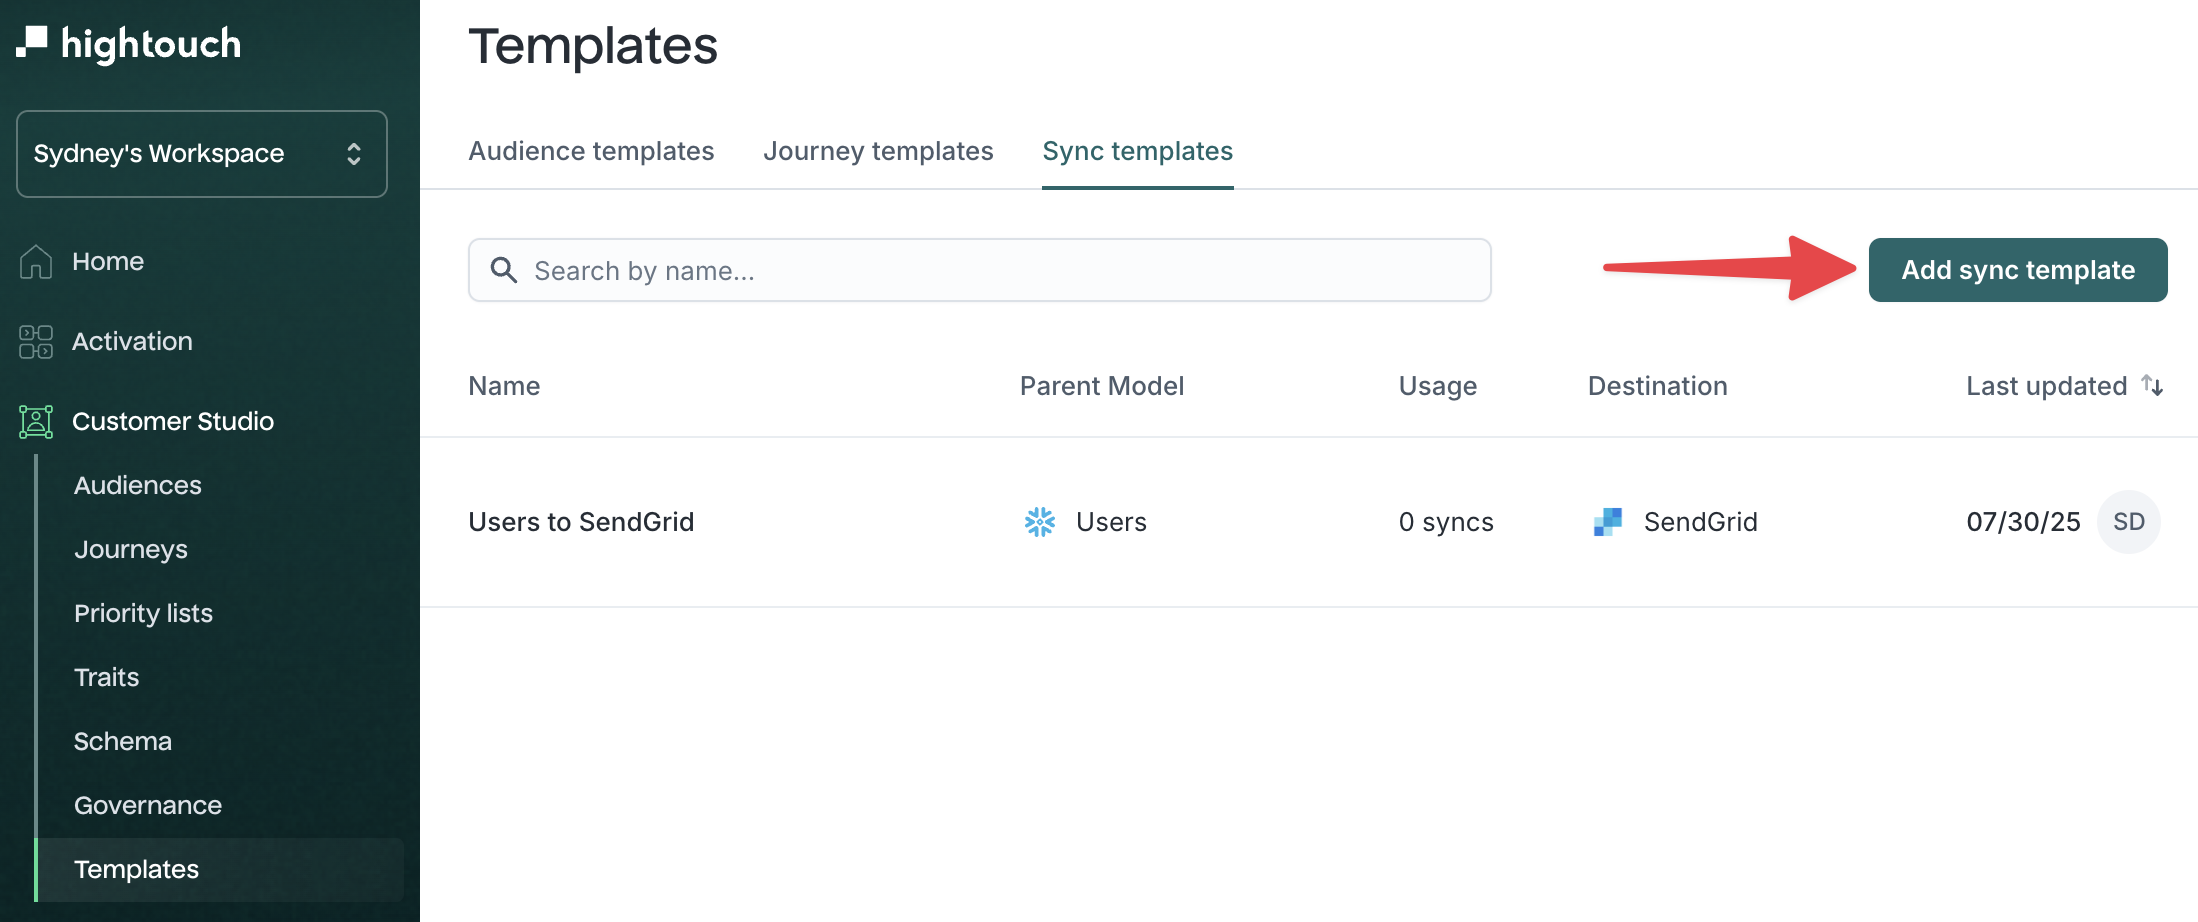
- Go to Customer Studio > Templates > Sync templates.
- Select Add sync template.
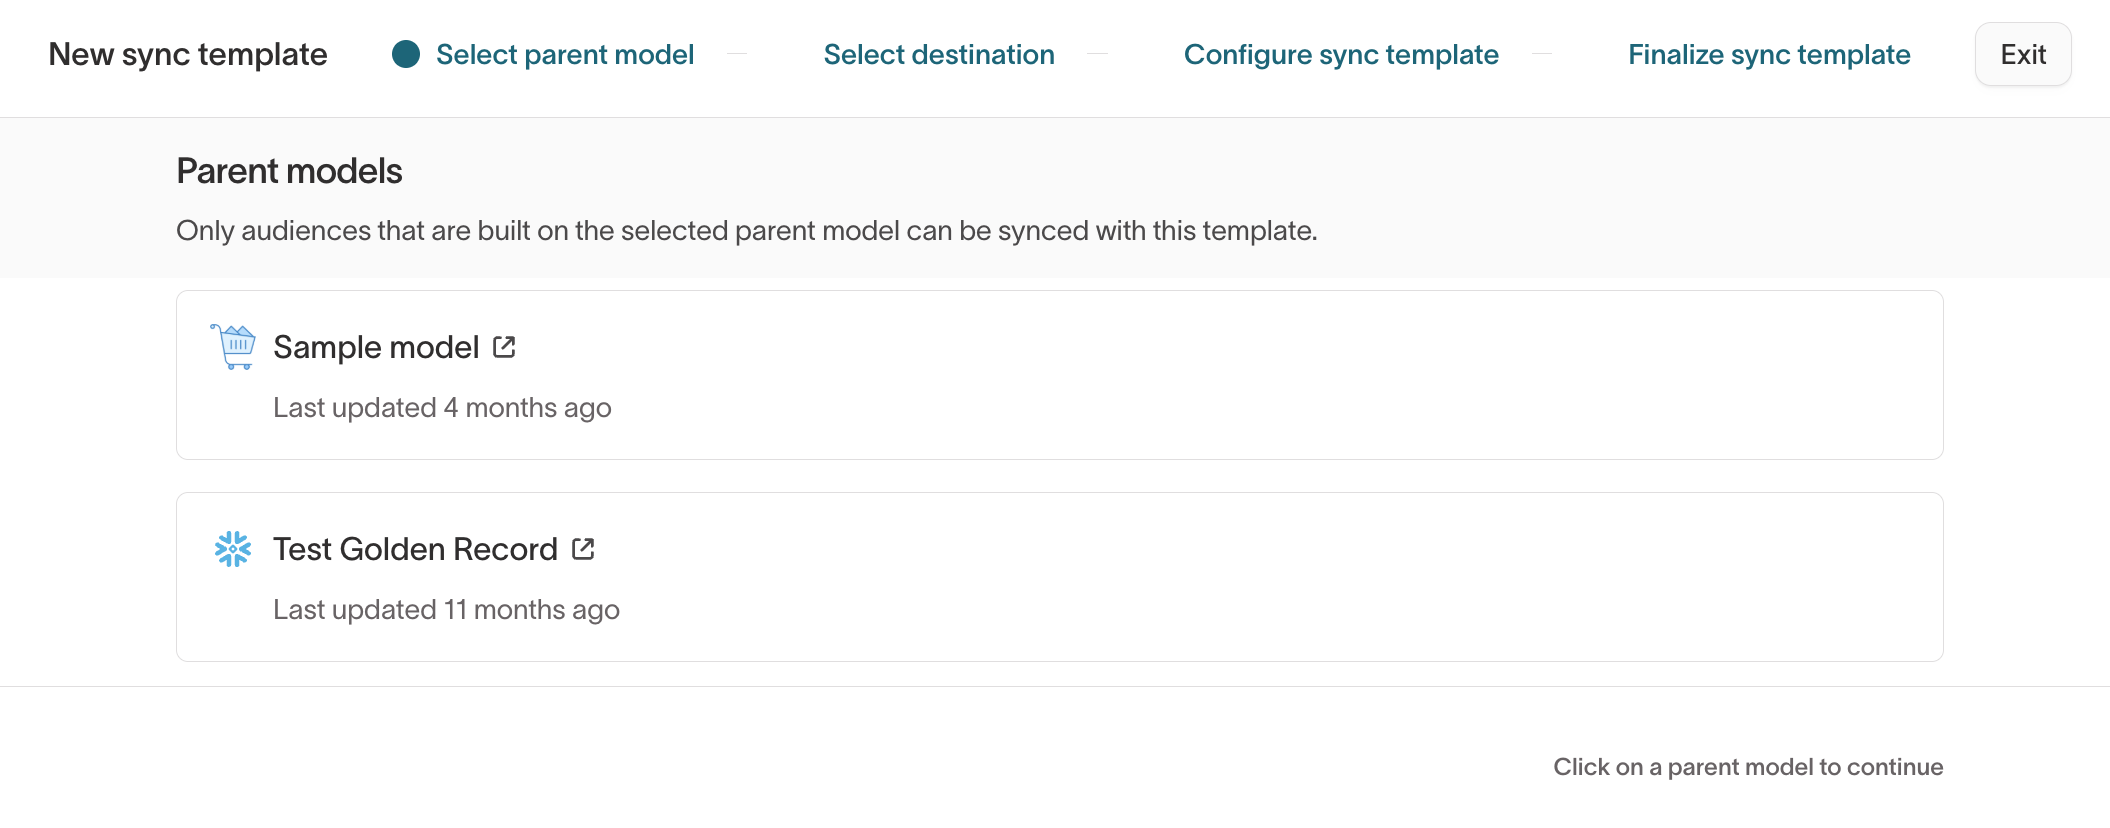
- Select a parent model. Only audiences built on the same parent model can use the template.
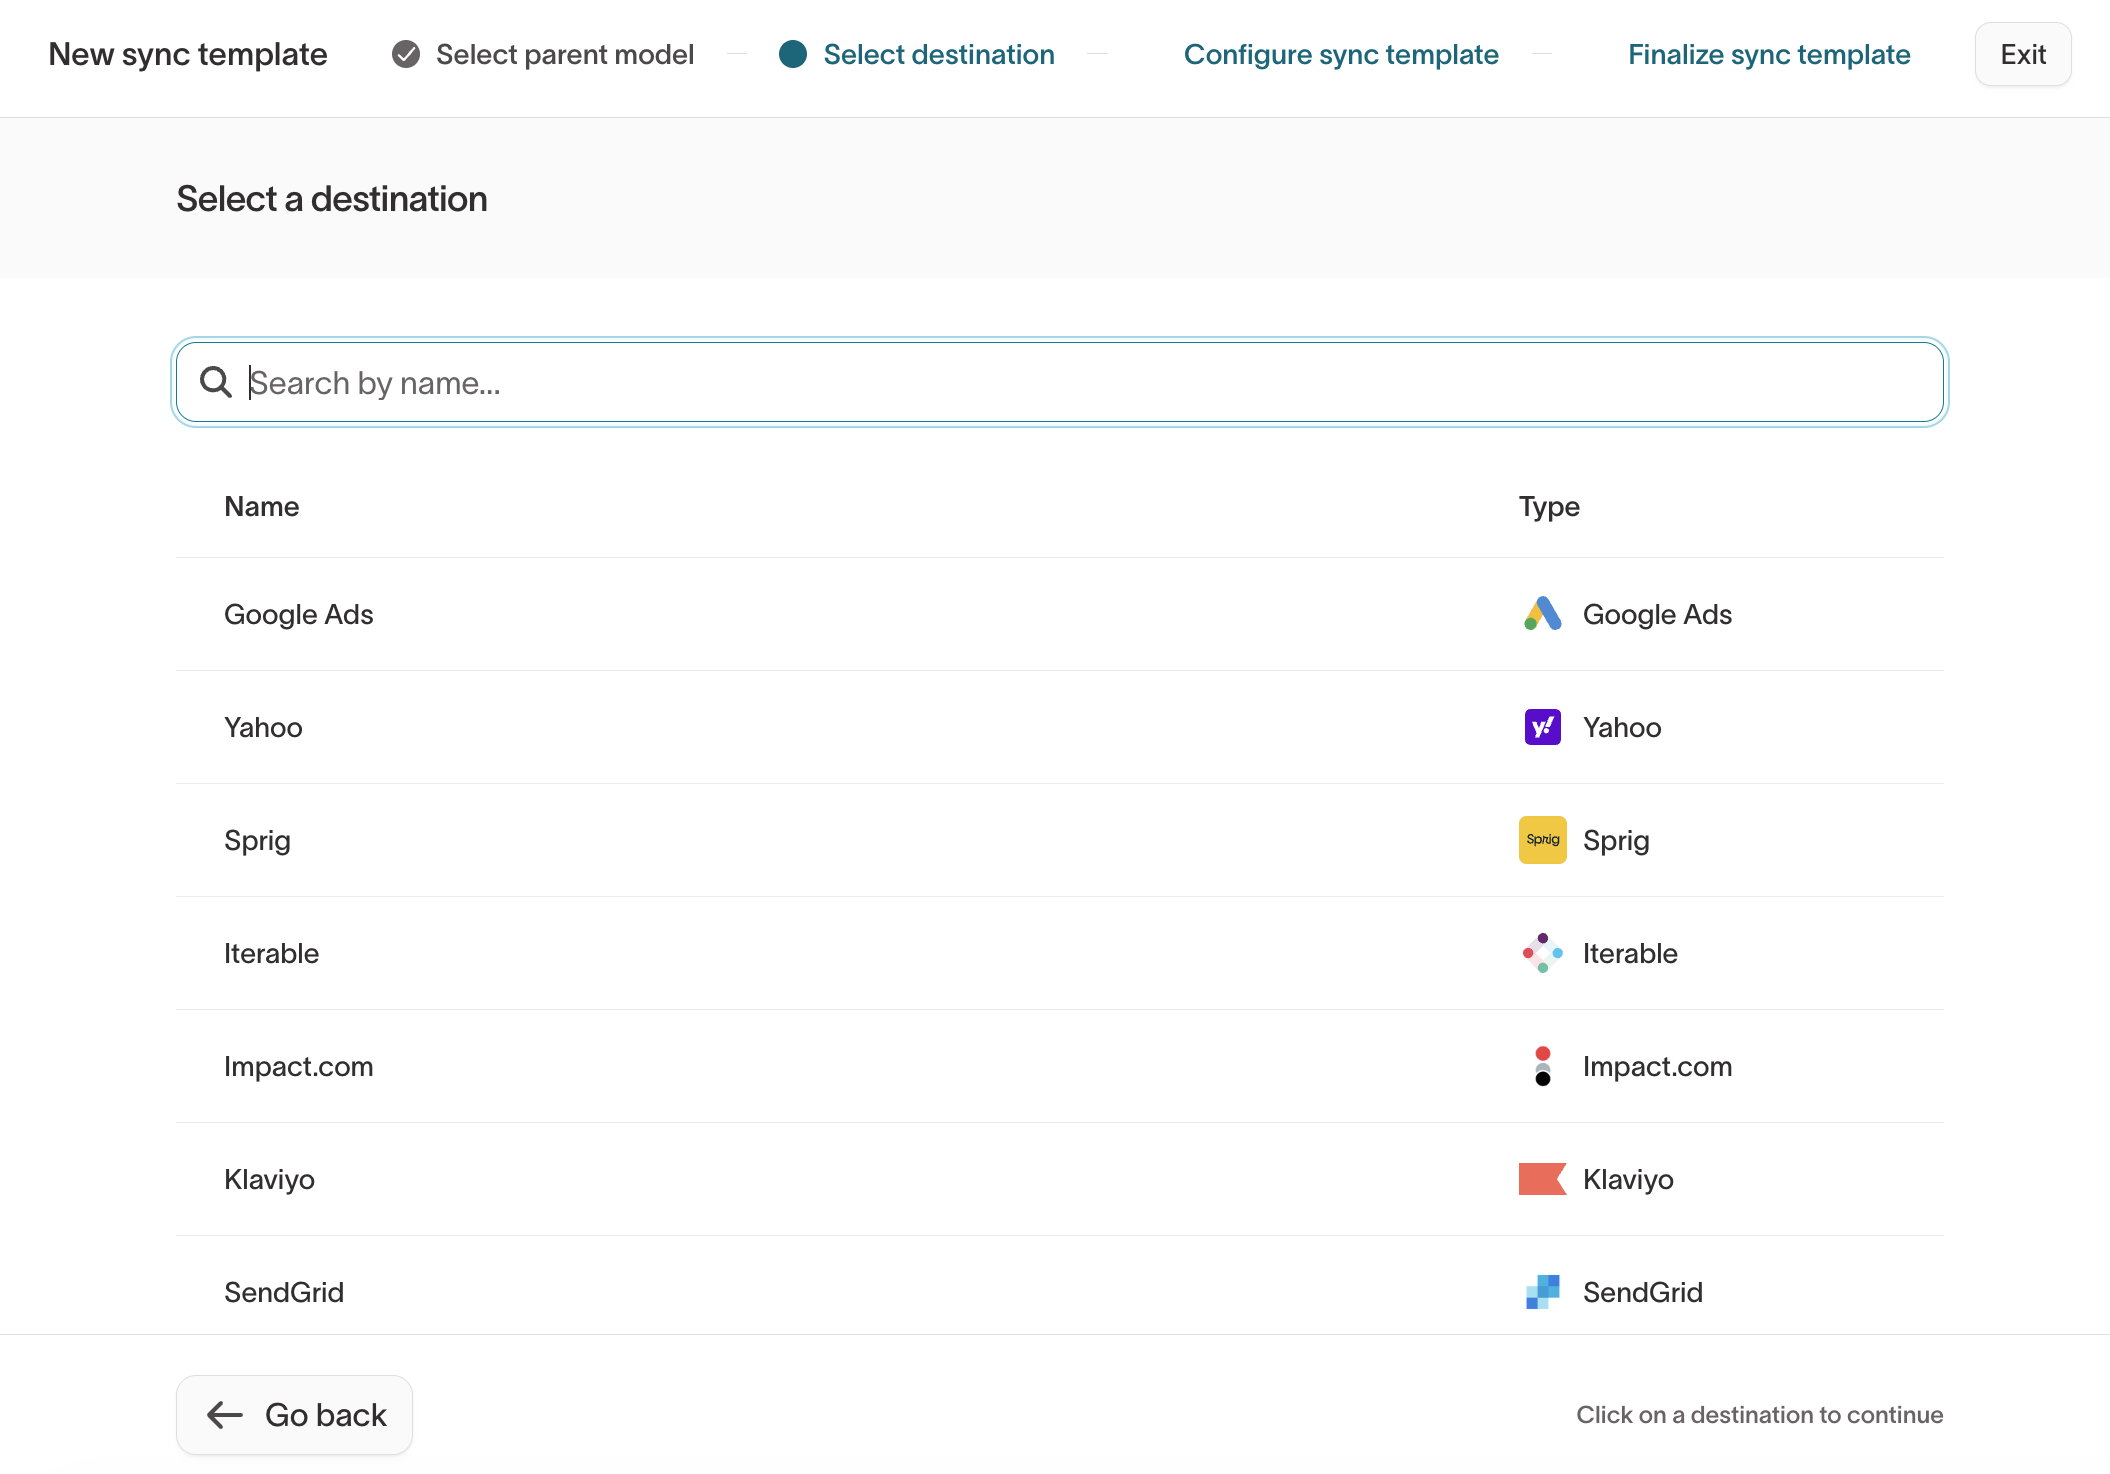
- Select a destination and configure the sync settings. Follow the destination configuration instructions for your destination.
- Select Save.
You can now use the sync template for multiple audience and journey syncs.
Apply a sync template during audience creation
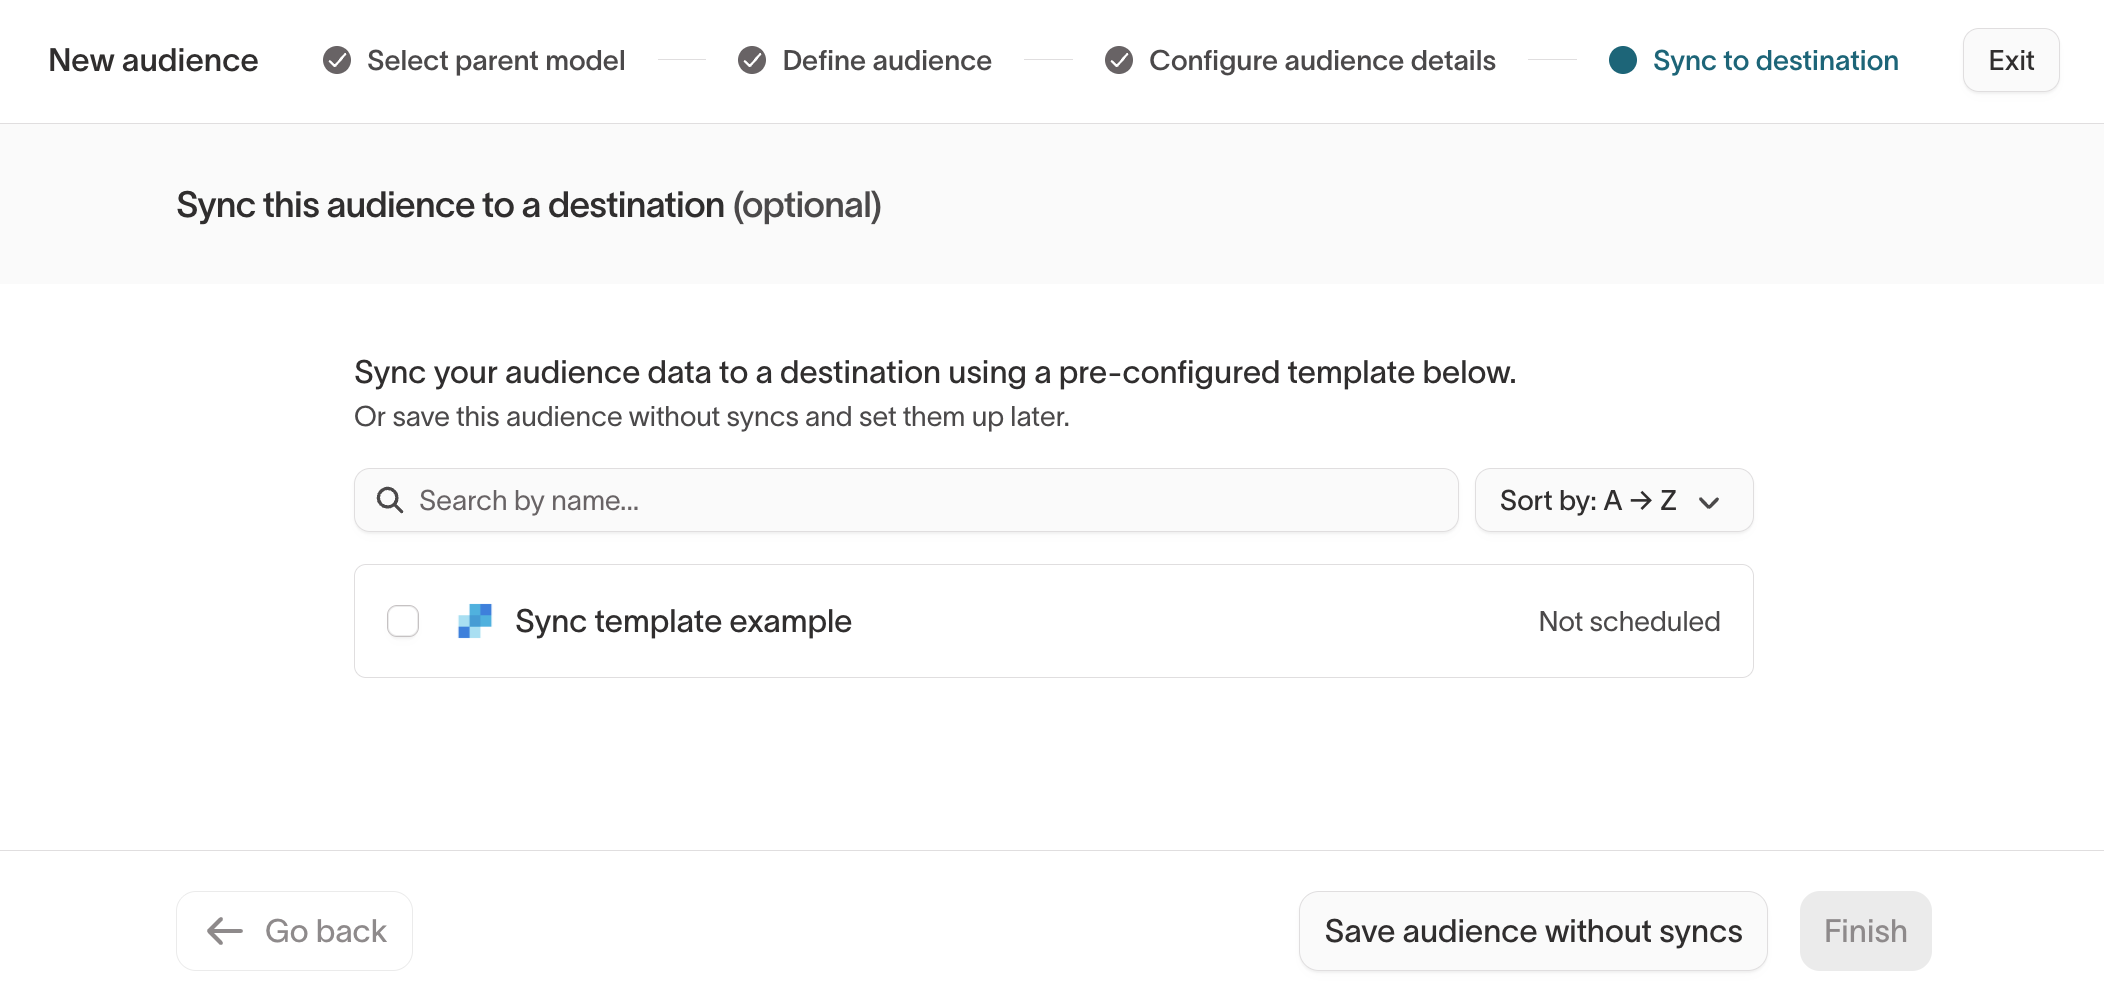
- Build a new audience and proceed through Select parent model, Define audience, and Configure audience details.
- On the Sync to destination step, select one or more matching sync templates.
- Select Finish, or select Save audience without syncs to skip for now.
Apply a sync template to an existing audience
An audience can only use sync templates derived from the same parent model as the audience.
- Go to Customer Studio > Audiences.
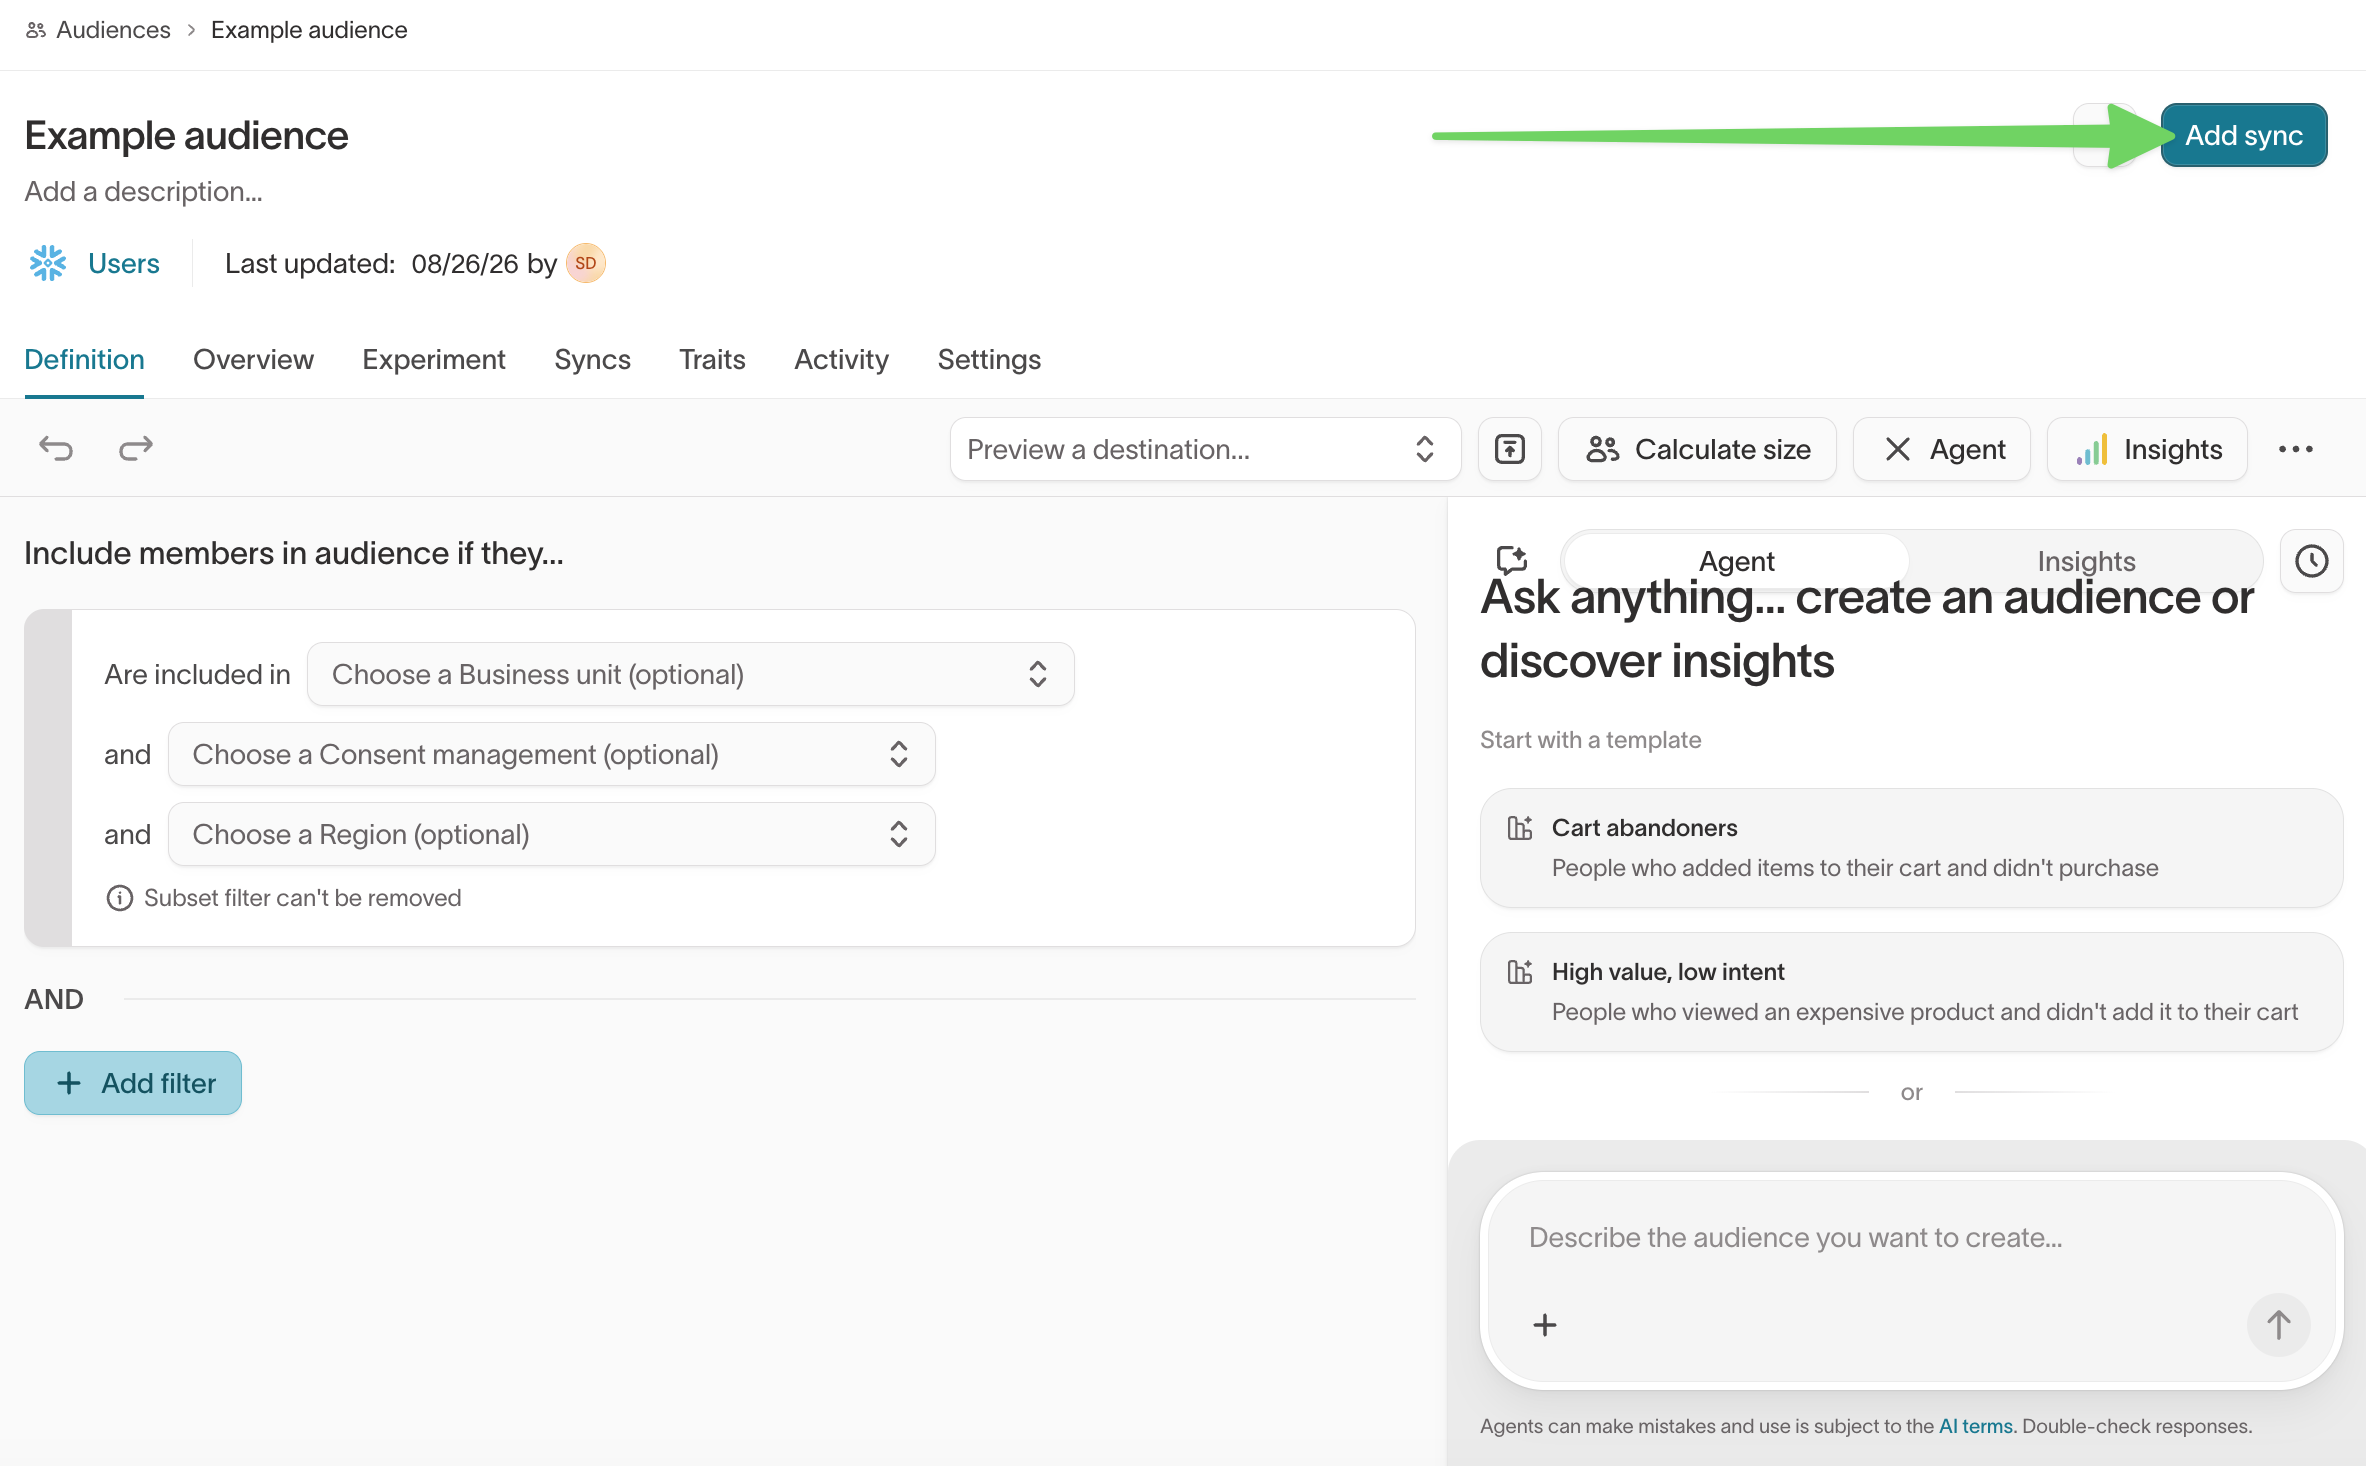
- Select an audience.
- Select Add sync.
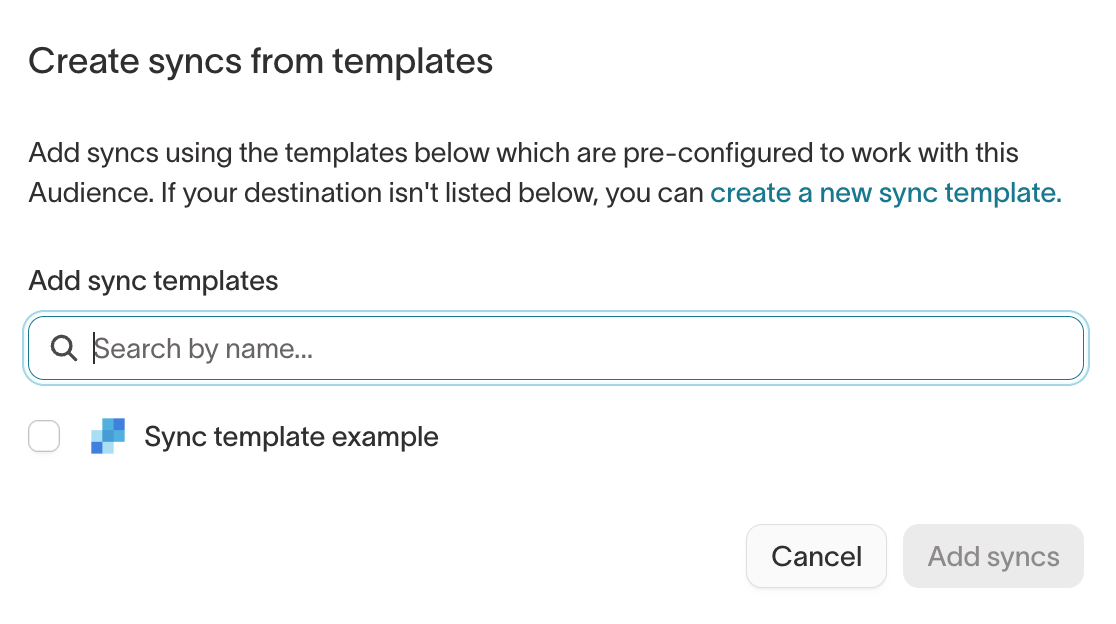
- In Create syncs from templates, select one or more sync templates.
- Select Add syncs.
The sync inherits configuration and scheduling from the template. See How changes to sync templates propagate.
Apply a sync template in a journey
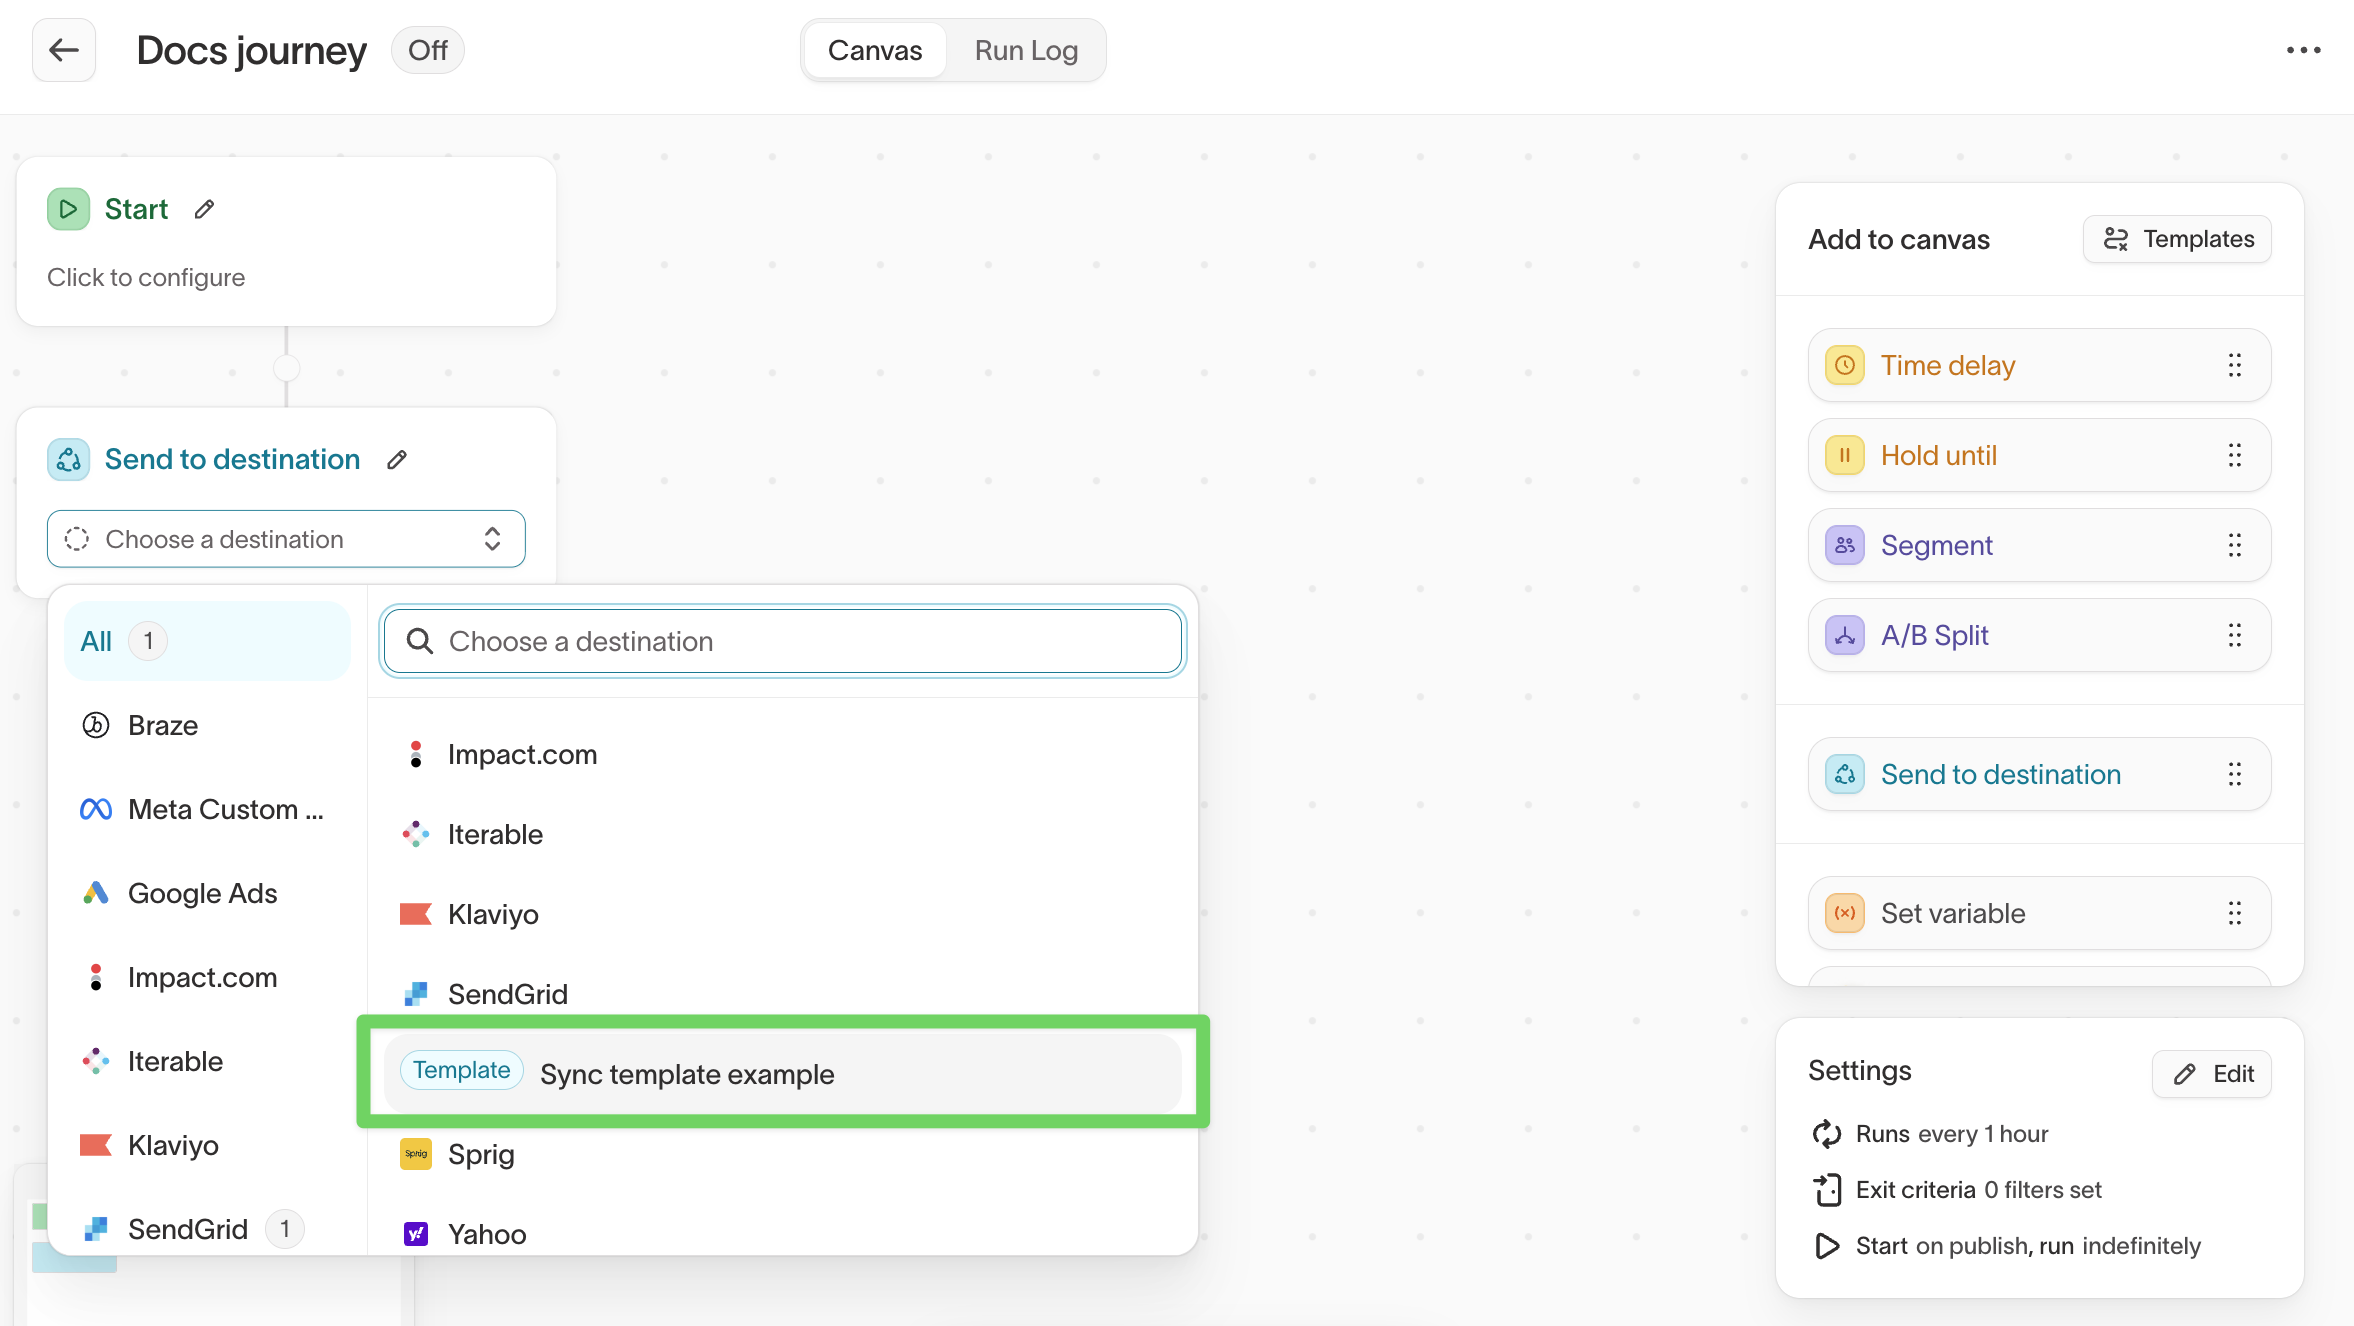
- Build your journey and add a Send to destination tile to the canvas.
- Choose a destination. Sync templates appear in the list with a Template badge.
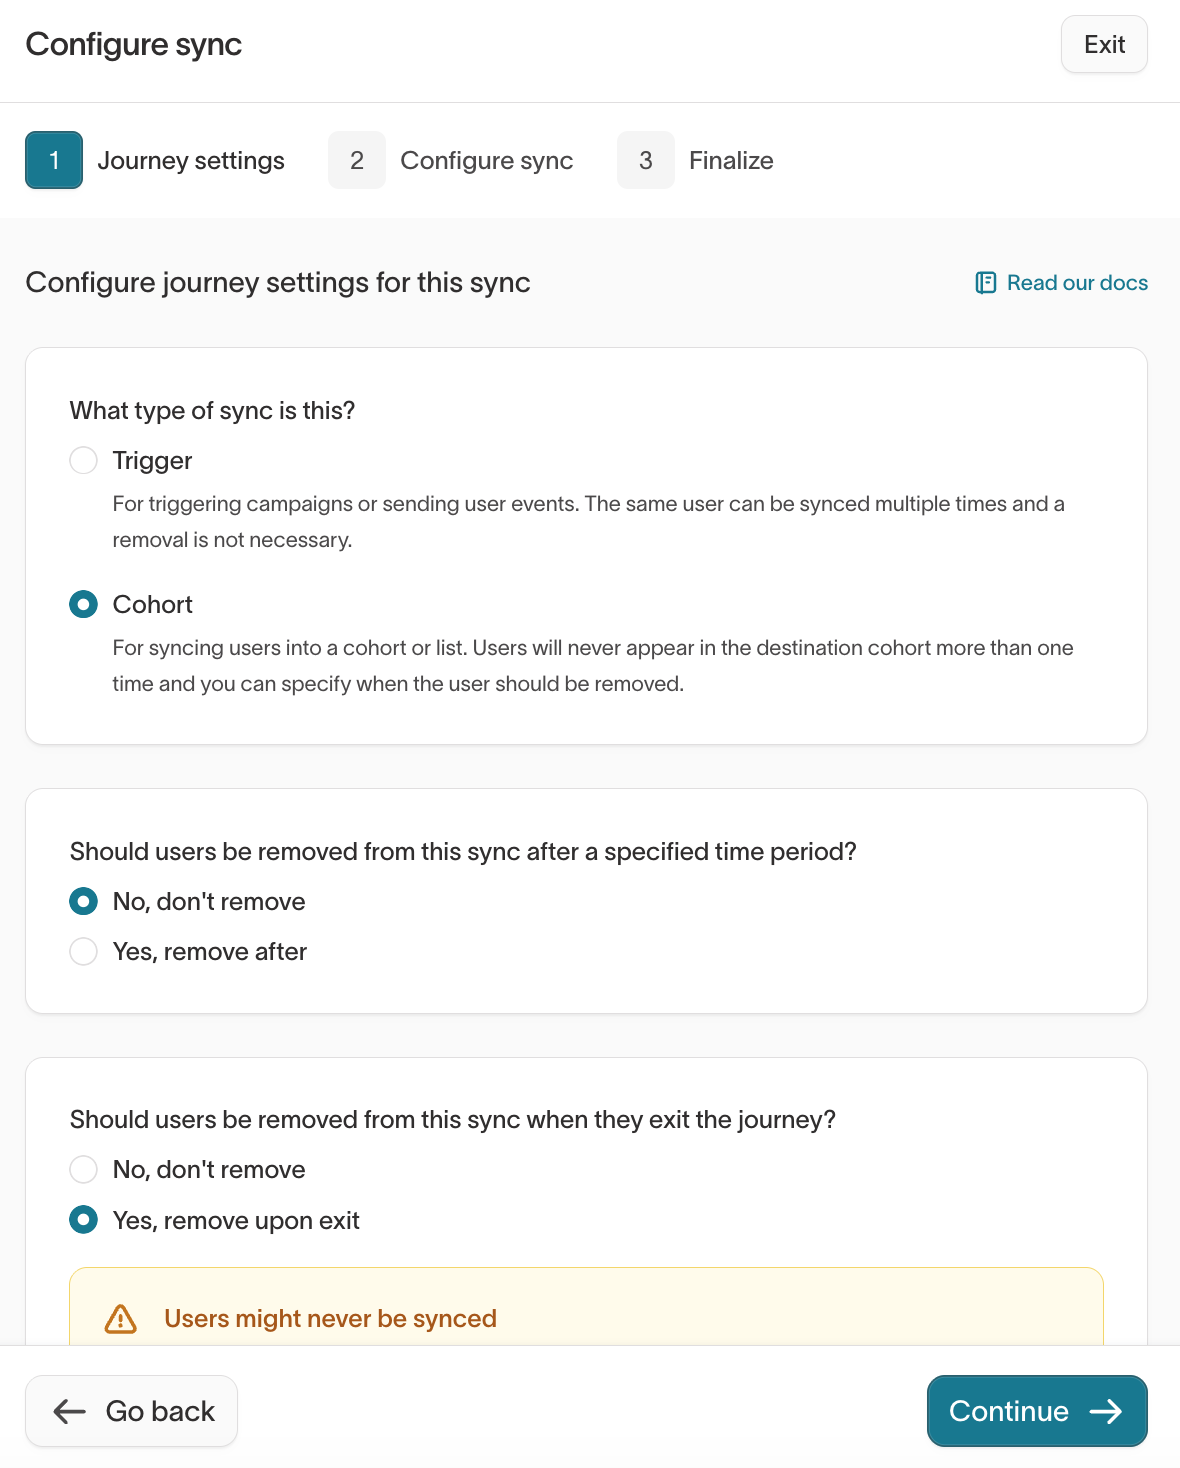
- In Journey settings, under What type of sync is this?, select Trigger or Cohort, and choose when to remove users.
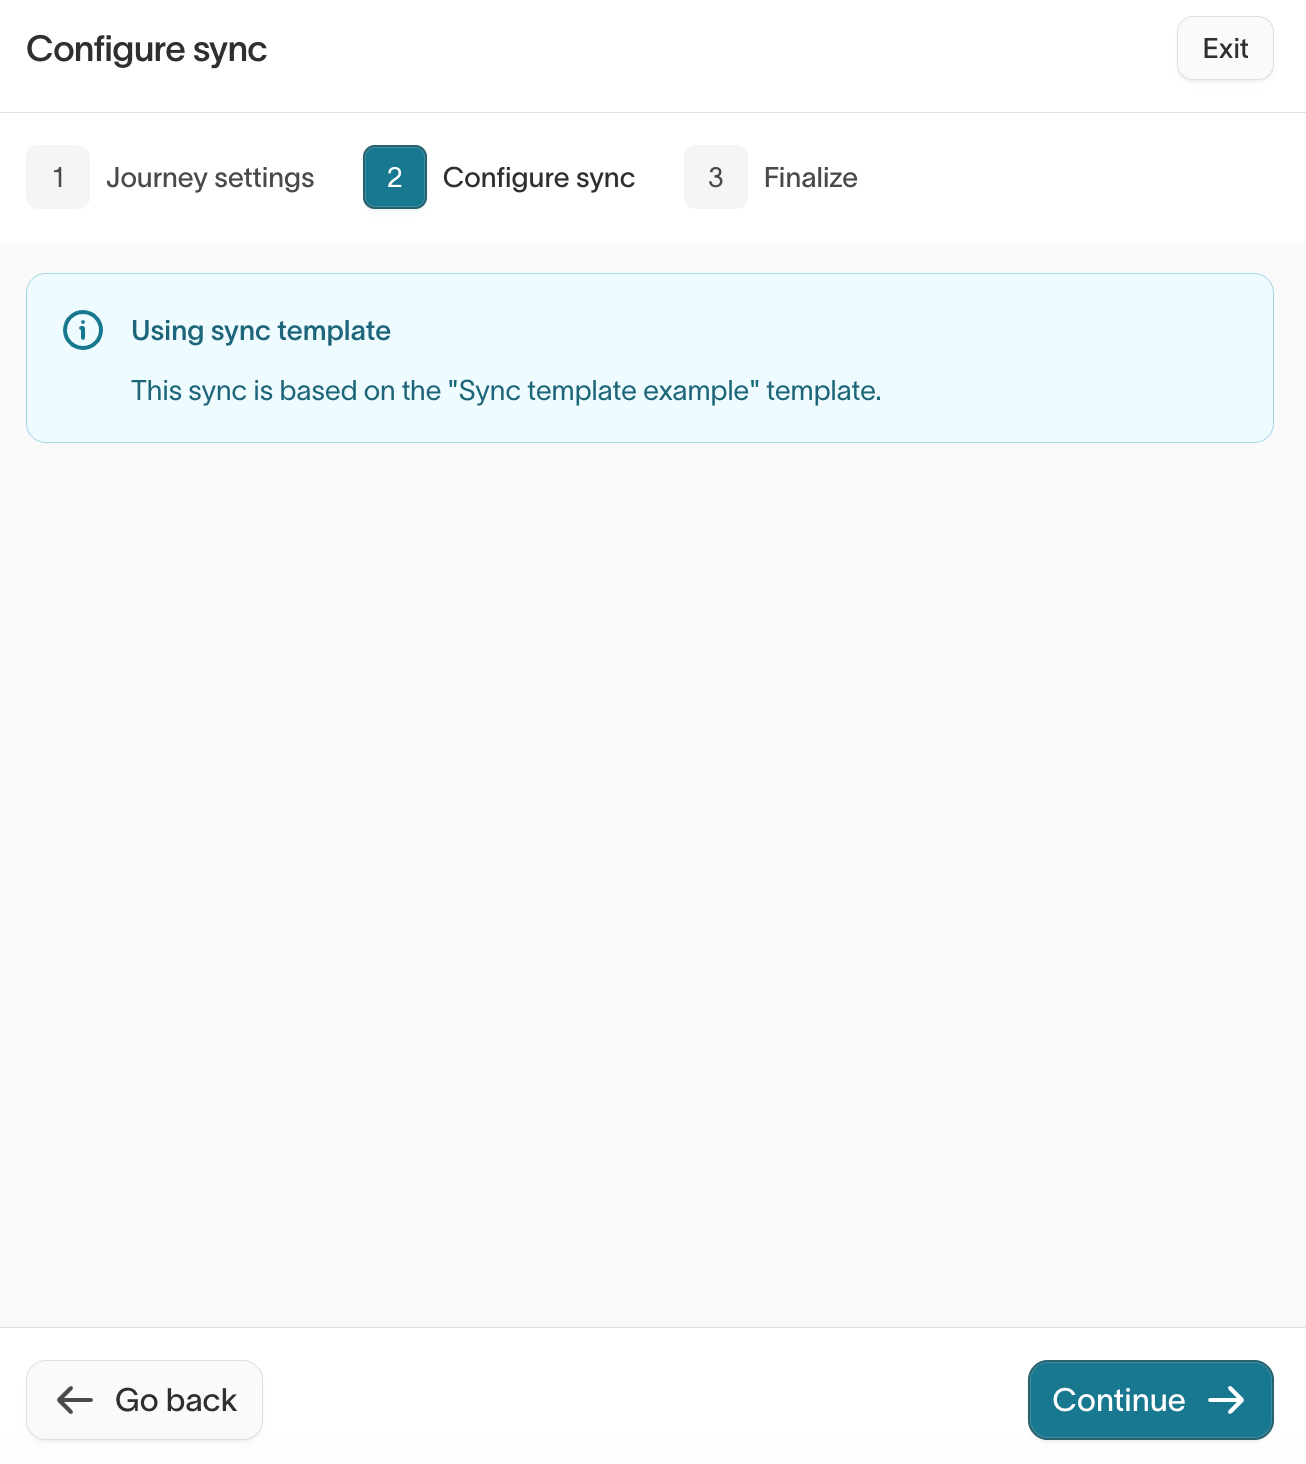
- In Configure sync, fill in any fields the template left blank and edit any editable fields.
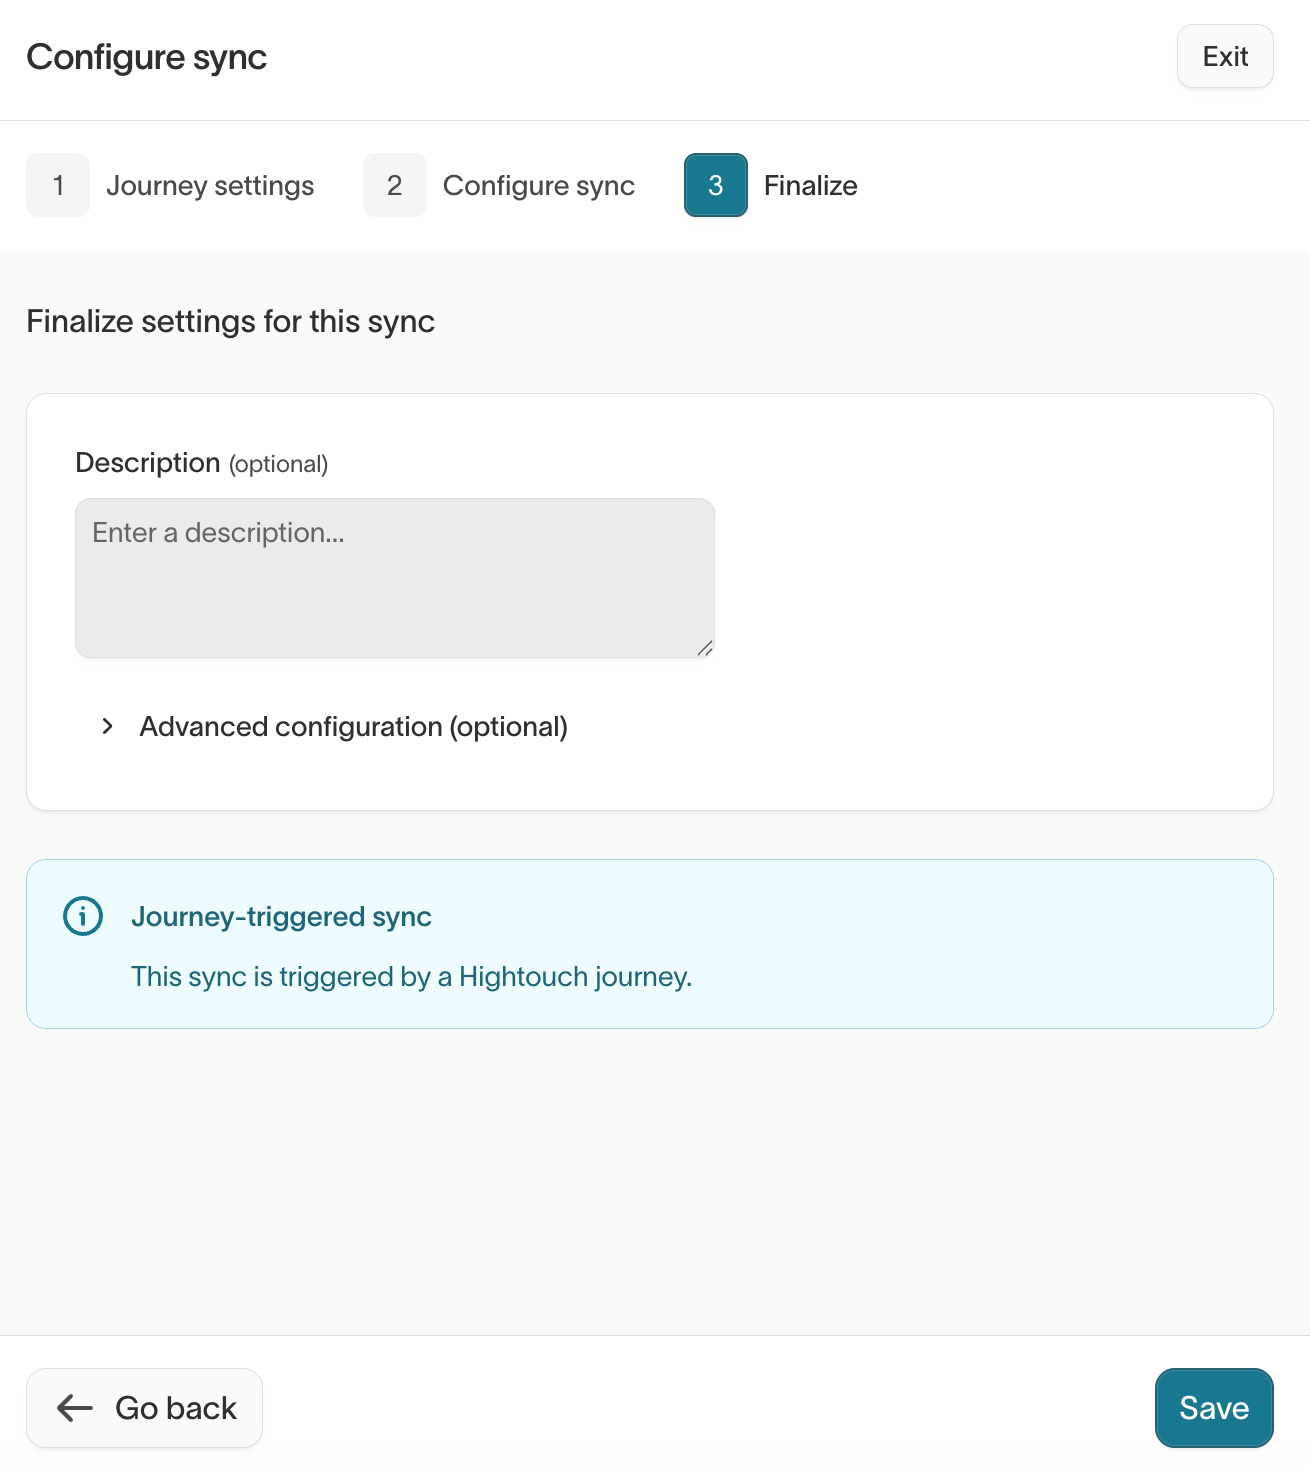
- In Finalize, add an optional description, then select Save.
- Save the journey.
The sync inherits configuration from the template. See How changes to sync templates propagate.
How changes to sync templates propagate
Syncs created from a sync template stay linked to it. When you change a locked field on the template, Hightouch applies that change to every sync derived from it. Editable fields keep the values set on each sync, so local customizations are preserved.
The What type of sync is this? setting (Trigger or Cohort) is an exception. Changes to that setting don't propagate to journey syncs, so update those syncs individually.
Require sync templates for audience activation
Workspace admins can require marketers to use a sync template whenever they add a sync to an audience. Use this setting when every audience sync should follow approved record matching, field mappings, or consent handling.
To enable it:
- Go to Settings > Workspace > Workspace.
- Turn on Require sync templates for audience activation.
- Select Save changes.
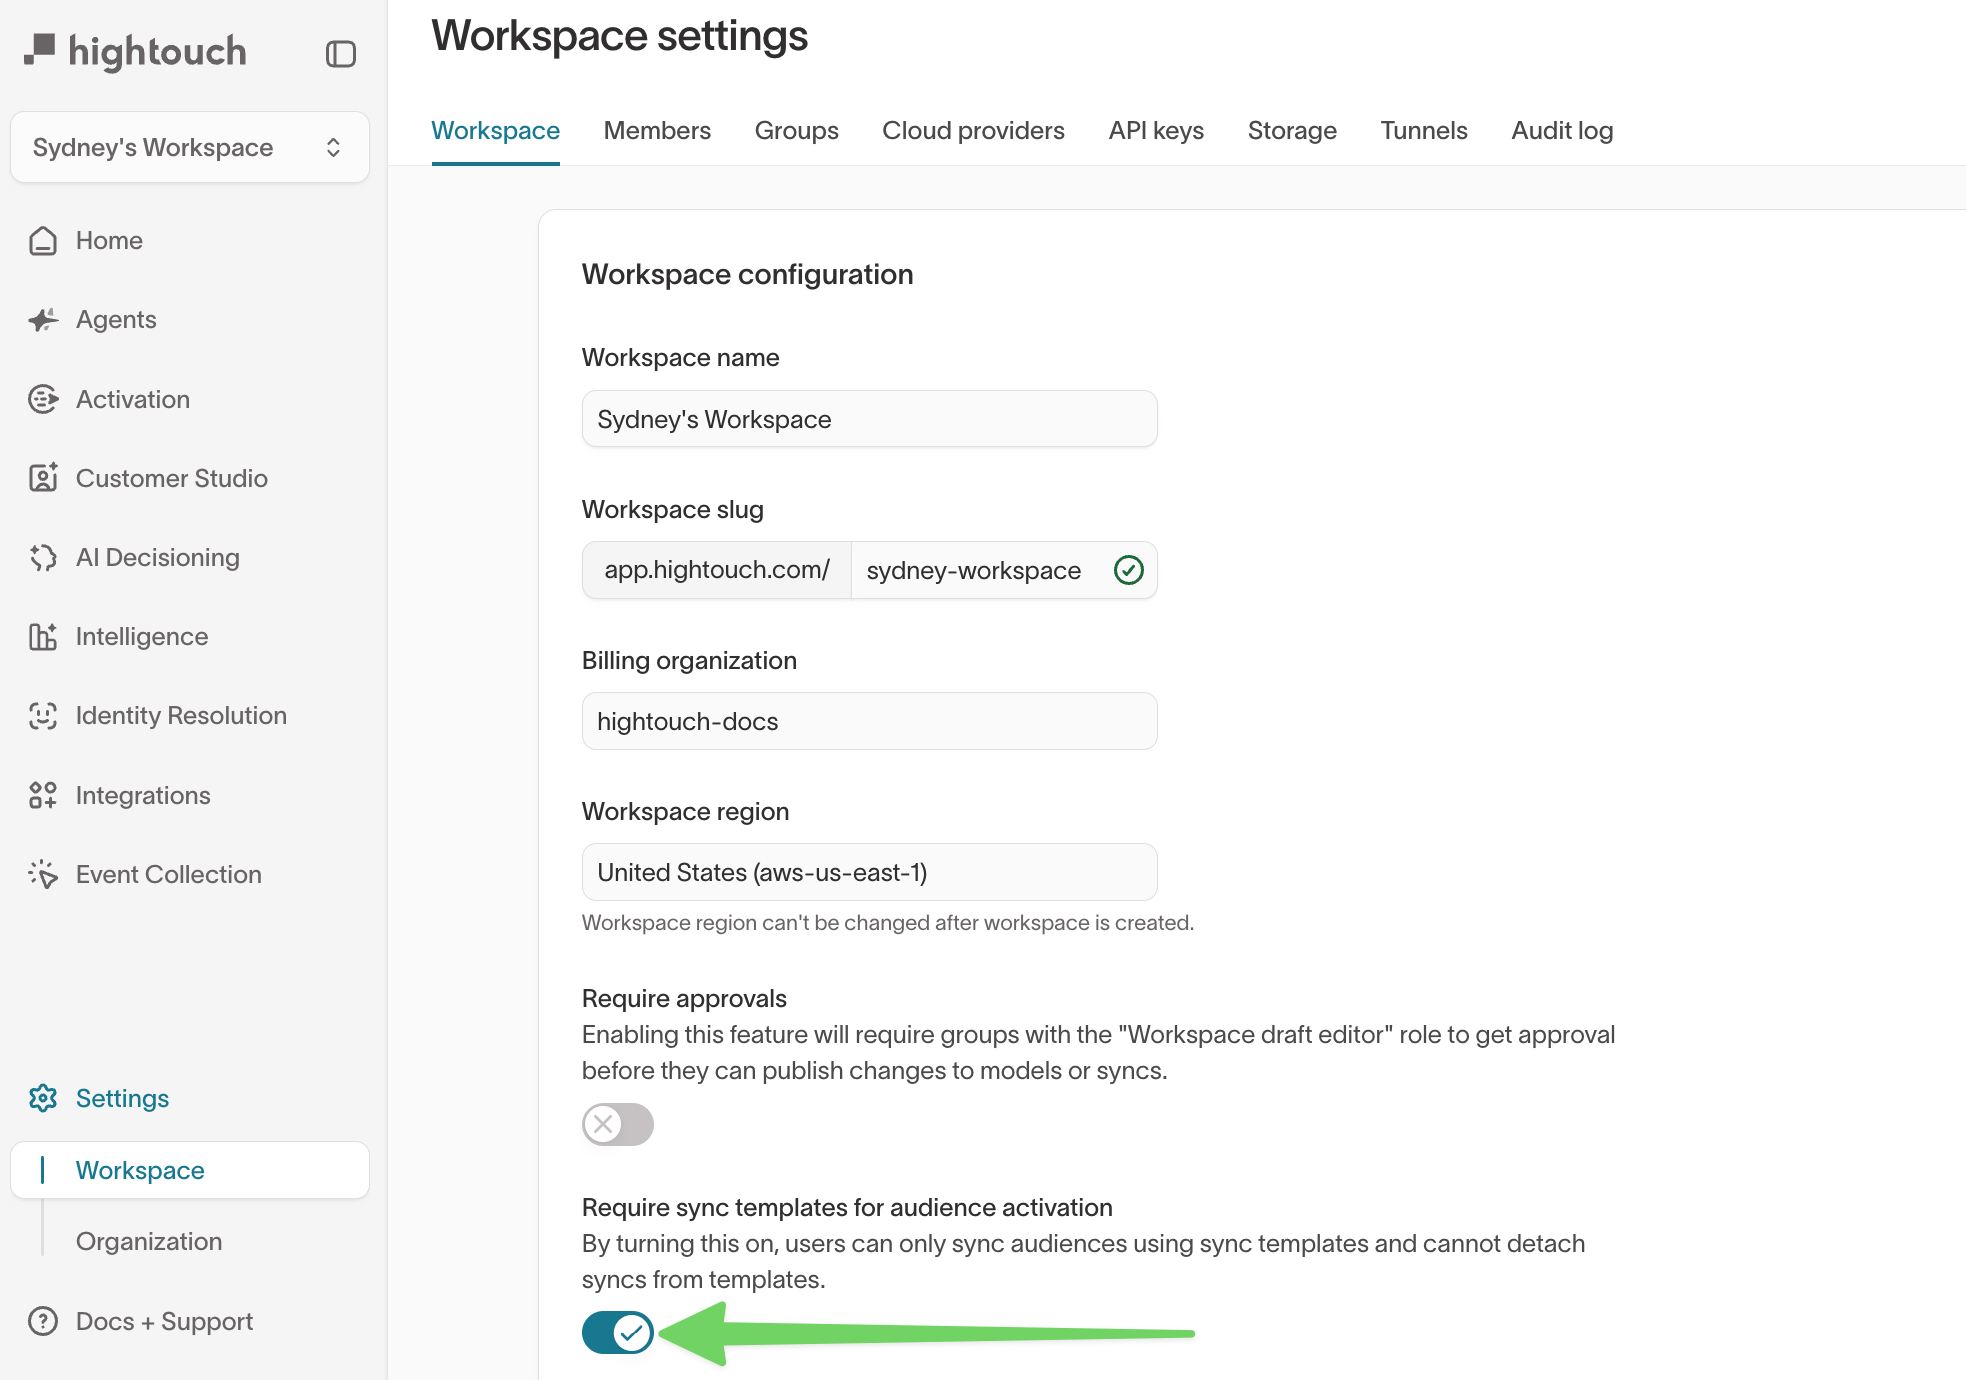
When this setting is on:
- Users can only add syncs to audiences using sync templates.
- Users can't detach audience syncs from their templates.
- If no sync templates exist in the workspace, users can't add audience syncs until you create at least one.
Make sync template fields editable
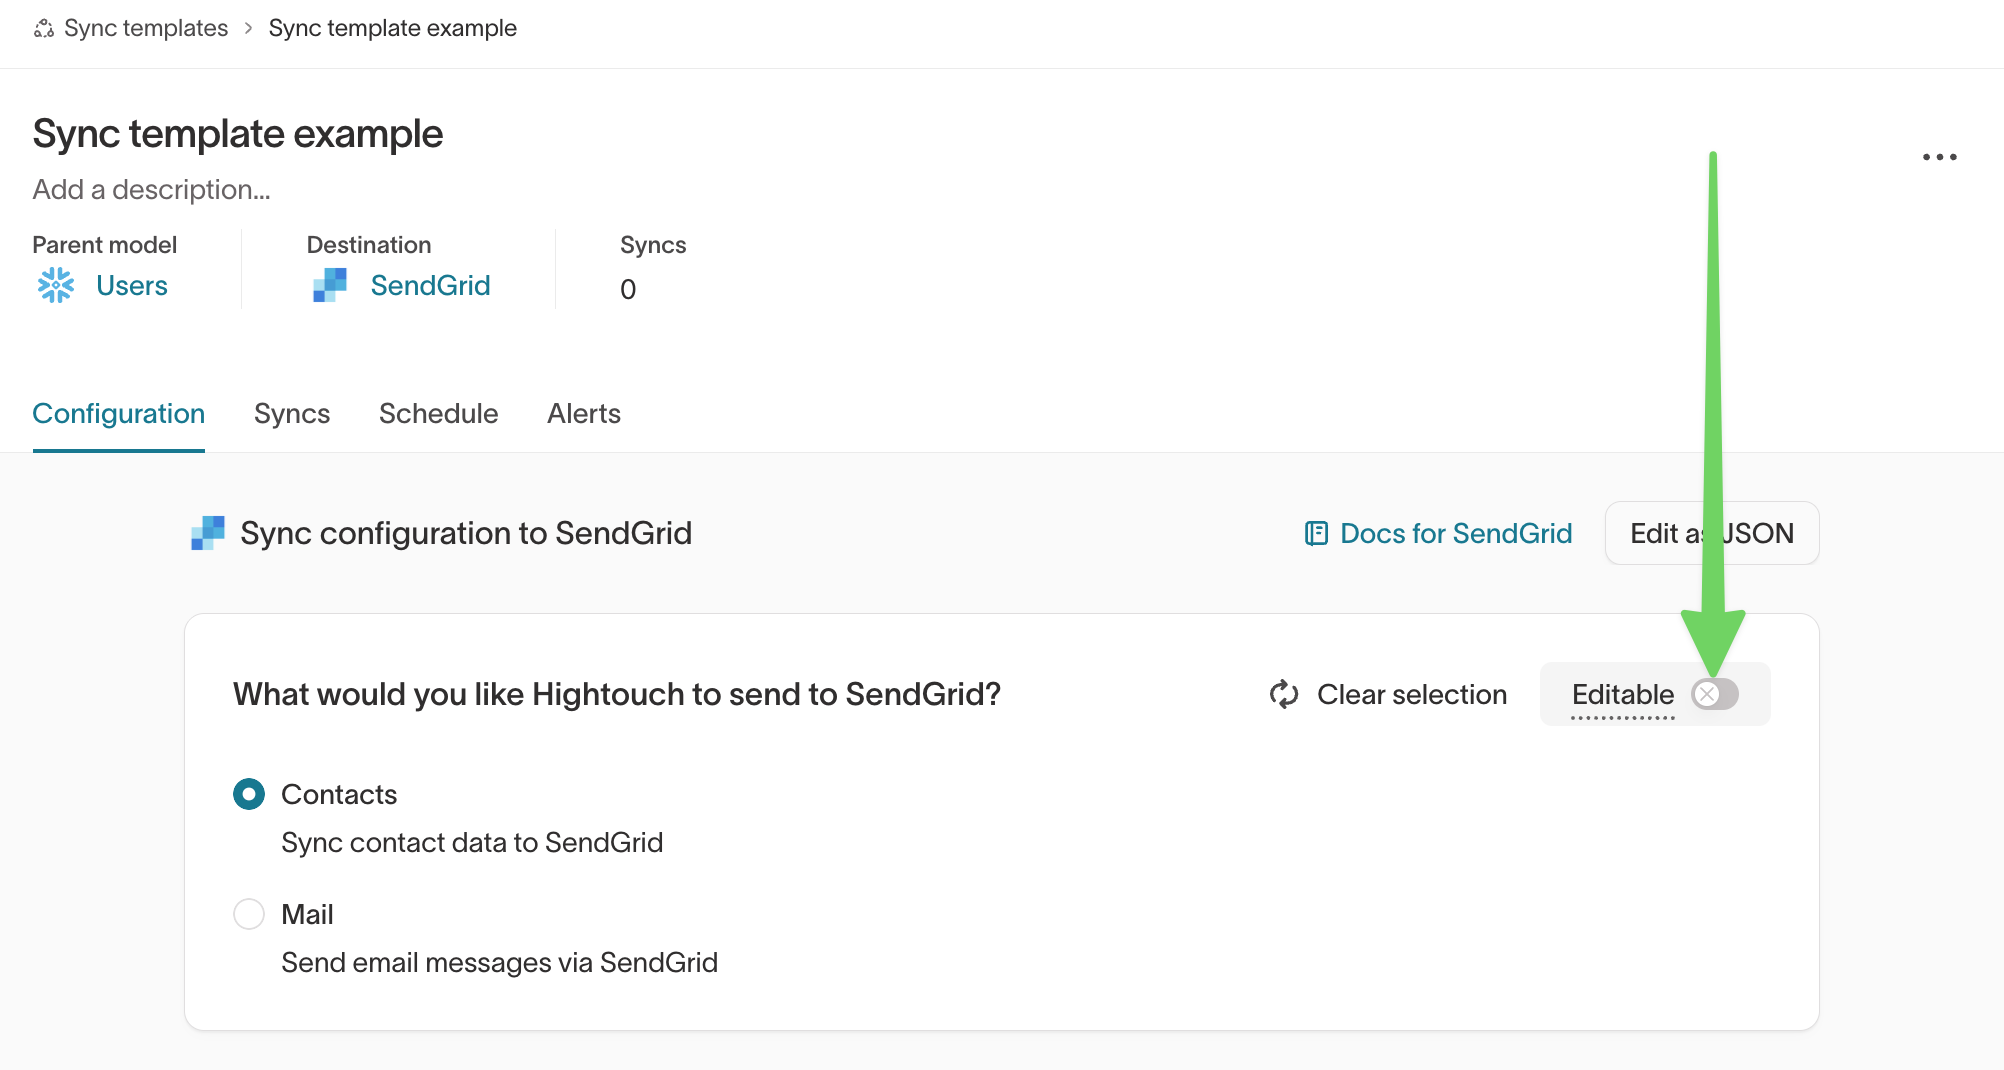
A field that isn't editable stays locked: it keeps the template's value and propagates template changes. Make a field editable when you want users to customize it per sync.
Which fields you can make editable depends on the destination and its sync mode. Editable fields are available for audience-sync destinations, primarily ad platforms and messaging tools. Open the sync template configuration to see which fields a destination exposes, check the destination's documentation, or .
To make a field editable, open the sync template configuration and turn on Editable for that field.
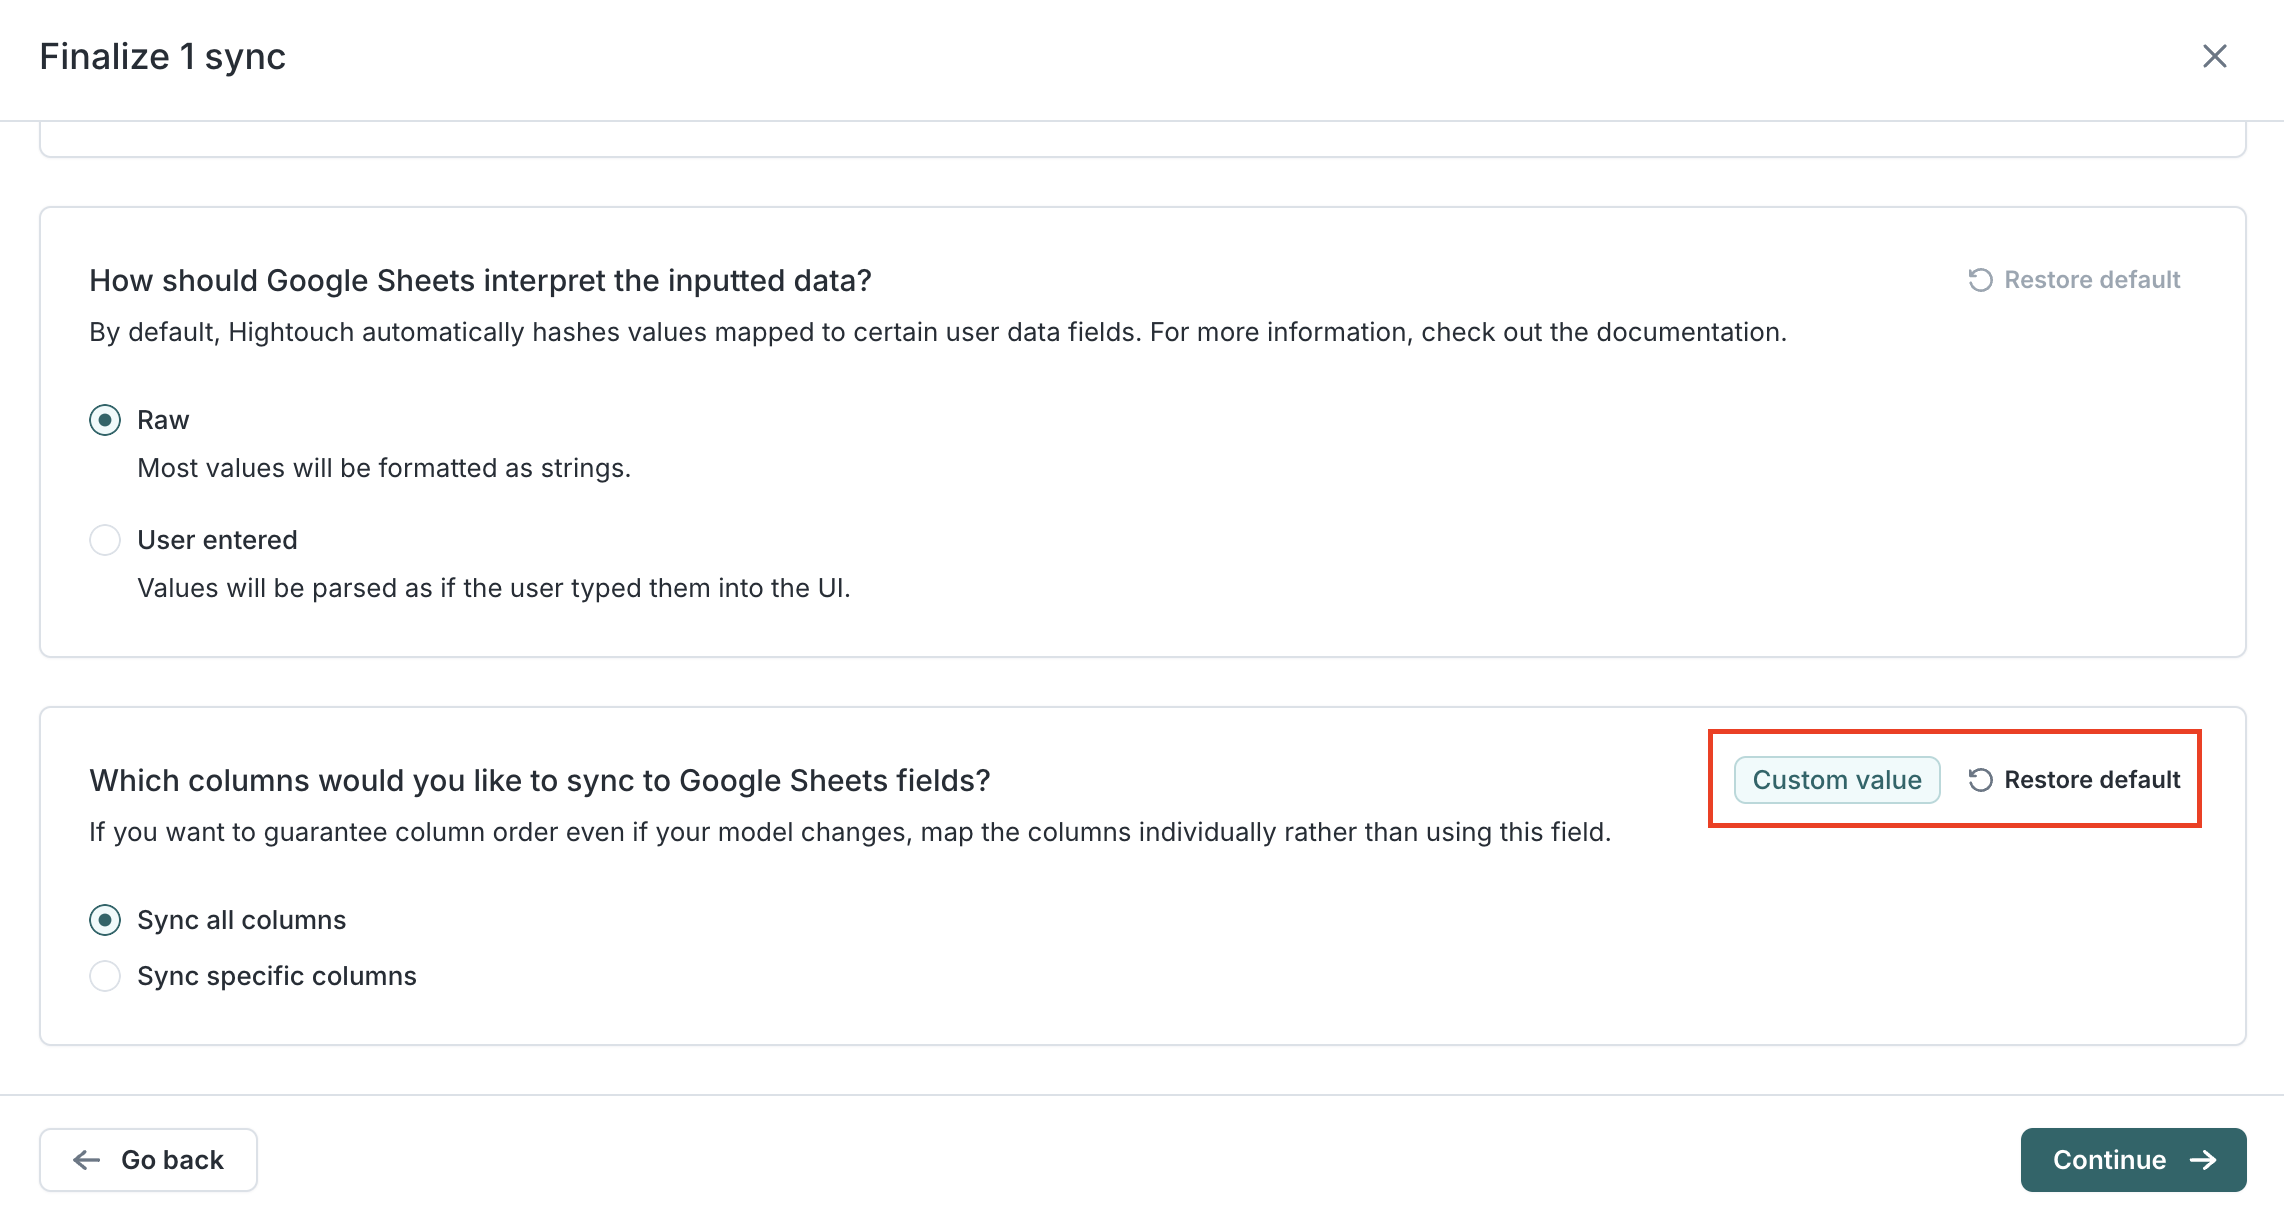
After the template is attached to an audience, users can override its editable fields when they configure the sync. A Custom value badge marks any field they change, and Restore default reverts it to the template's value. Users can update these overrides at any time from the sync configuration.
Journey templates
Use a journey template to give teams a reusable starting structure for common lifecycle campaigns, such as welcome, nurture, or re-engagement flows. When a marketer creates a journey from the template, Hightouch creates a new journey with the template's structure already in place. The marketer then configures it for the specific campaign.
Create a journey template
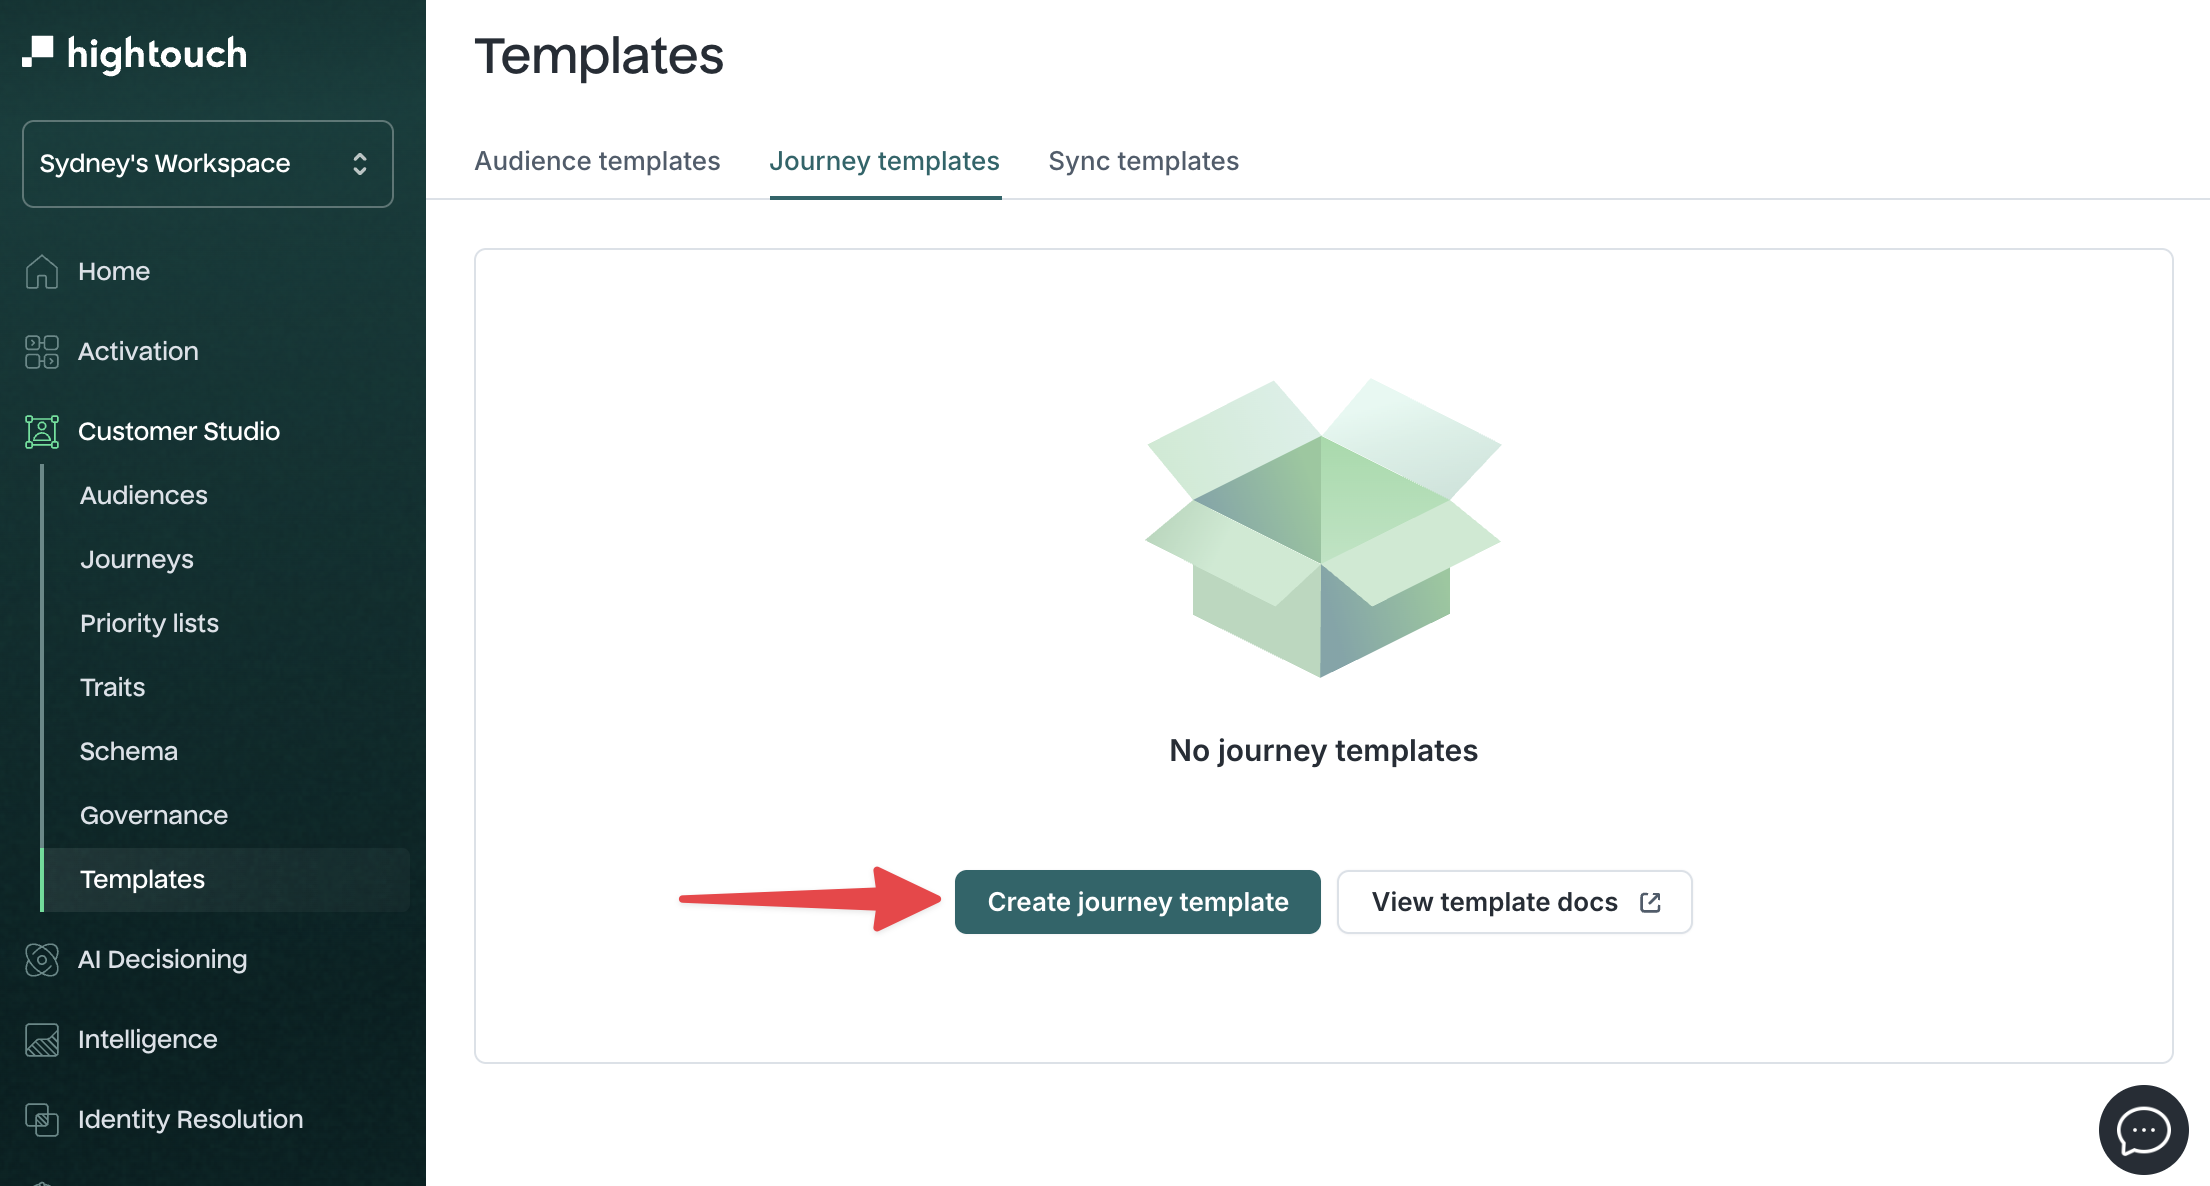
- Go to Customer Studio > Templates > Journey templates.
- Select Create journey template.
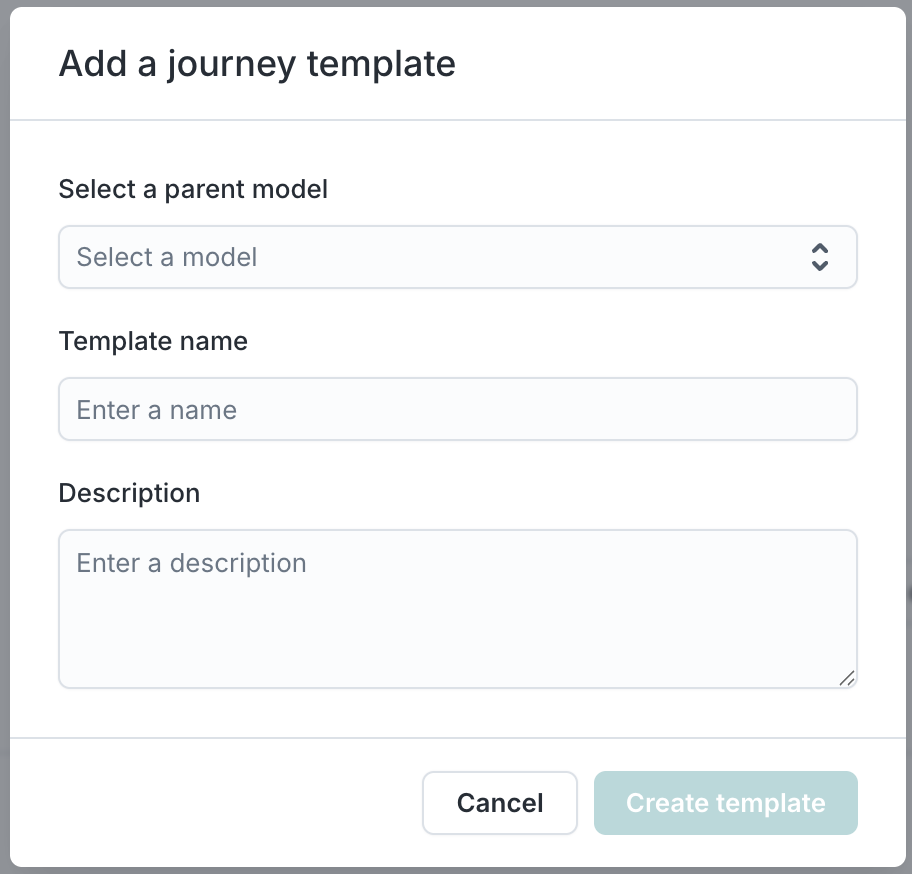
- Select a parent model.
- Enter a template name and optionally add a description.
- Select Create template.
Build the journey structure in the template editor. Any journey notes you add carry over to journeys created from the template.
To create a journey template from an existing journey, open the journey, select the ... menu, and select Create template from this journey.
Apply a journey template
Create a journey from a template to start with its structure instead of a blank canvas.
- Go to Customer Studio > Templates > Journey templates.
- Open the ... menu on a template and select Create journey from this template.
- In the Create journey dialog, enter a journey name and optional description. The parent model comes from the template.
- Select Create journey.
Hightouch creates a new journey from the template's structure and opens it in the journey builder.
You can also apply a template to a journey you're already editing: in the journey builder, open Templates from the Add to canvas panel and choose a template. Applying it replaces the tiles on the canvas with the template's structure.
Next steps
- Build an audience to create audiences you can save and reuse as templates.
- Sync audiences to apply sync templates when you activate an audience.
- Build a journey to start from a journey template instead of an empty canvas.