| Audience | How you’ll use this article |
|---|---|
| Marketing teams | Understand where event data lives and how it becomes available for activation and analytics. |
| Data teams | Configure warehouse storage, schema behavior, and table structure for event data. |
| Engineering teams | Set up secure warehouse connections and validate end-to-end event delivery. |
Overview
To write event data collected by Hightouch Events to your warehouse, you must configure an event storage destination.
An event storage destination defines:
- Where events are written (Snowflake, BigQuery, Redshift, etc.)
- How event tables and schemas are created
- How event properties and context fields are stored
Once configured, Hightouch automatically creates and manages event tables in your warehouse as new events and fields are received.
Event storage is optional but strongly recommended if you want to use events for analytics, modeling, or warehouse-based activation.
You can also use Hightouch Events in a streaming‑only mode to forward events directly to downstream tools without writing them to the warehouse.
Supported event storage destinations
Hightouch supports the following event storage destinations:
- Snowflake
- BigQuery
- Redshift
- Databricks
- Microsoft Fabric
- PostgreSQL
- Amazon S3
Each destination supports the same core event schema, with destination-specific configuration options.
Step-by-step: Set up an event storage destination
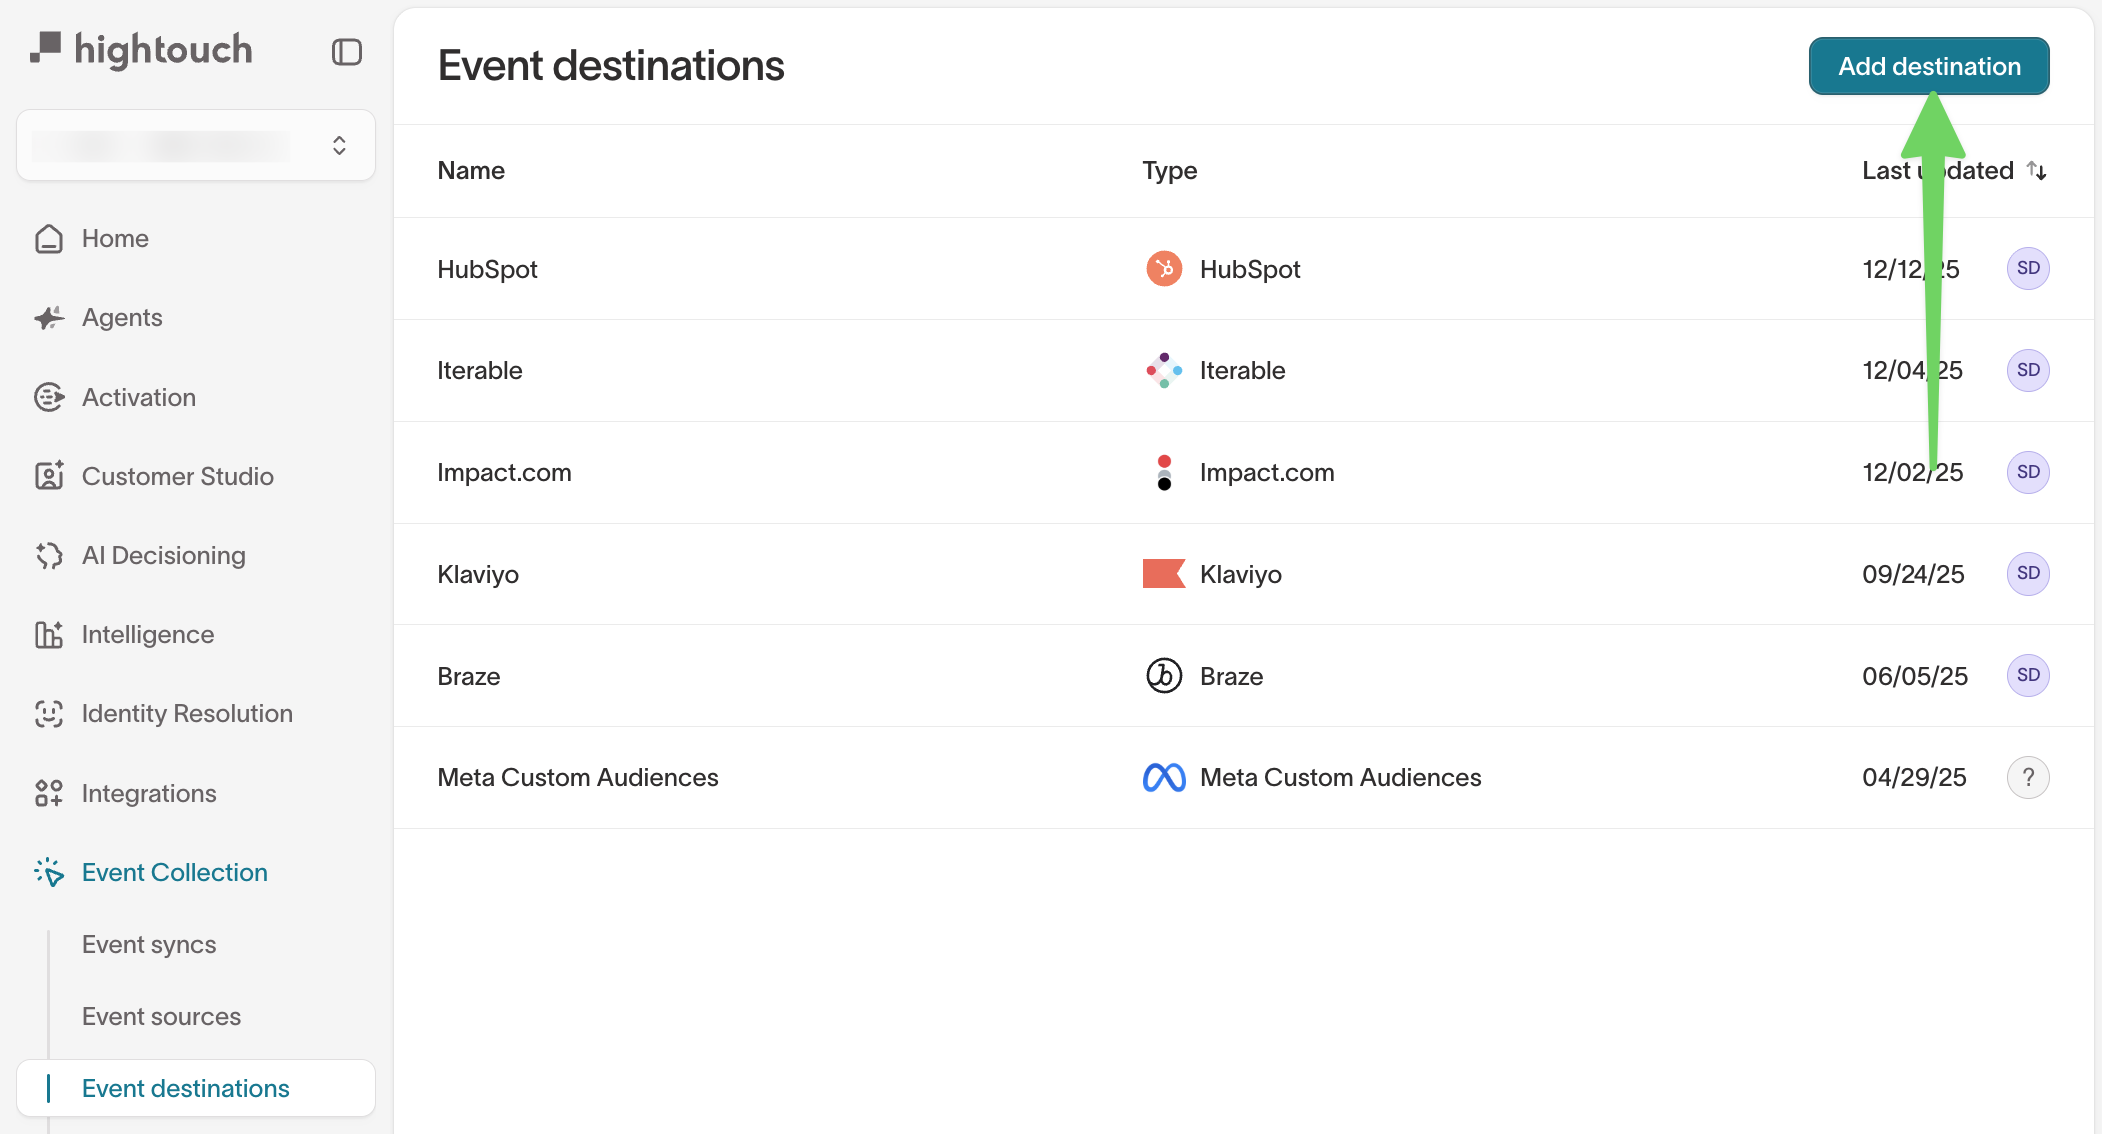
1. Add a destination
- In the left navigation, go to
Event Collection → Event destinations - Click
Add destination
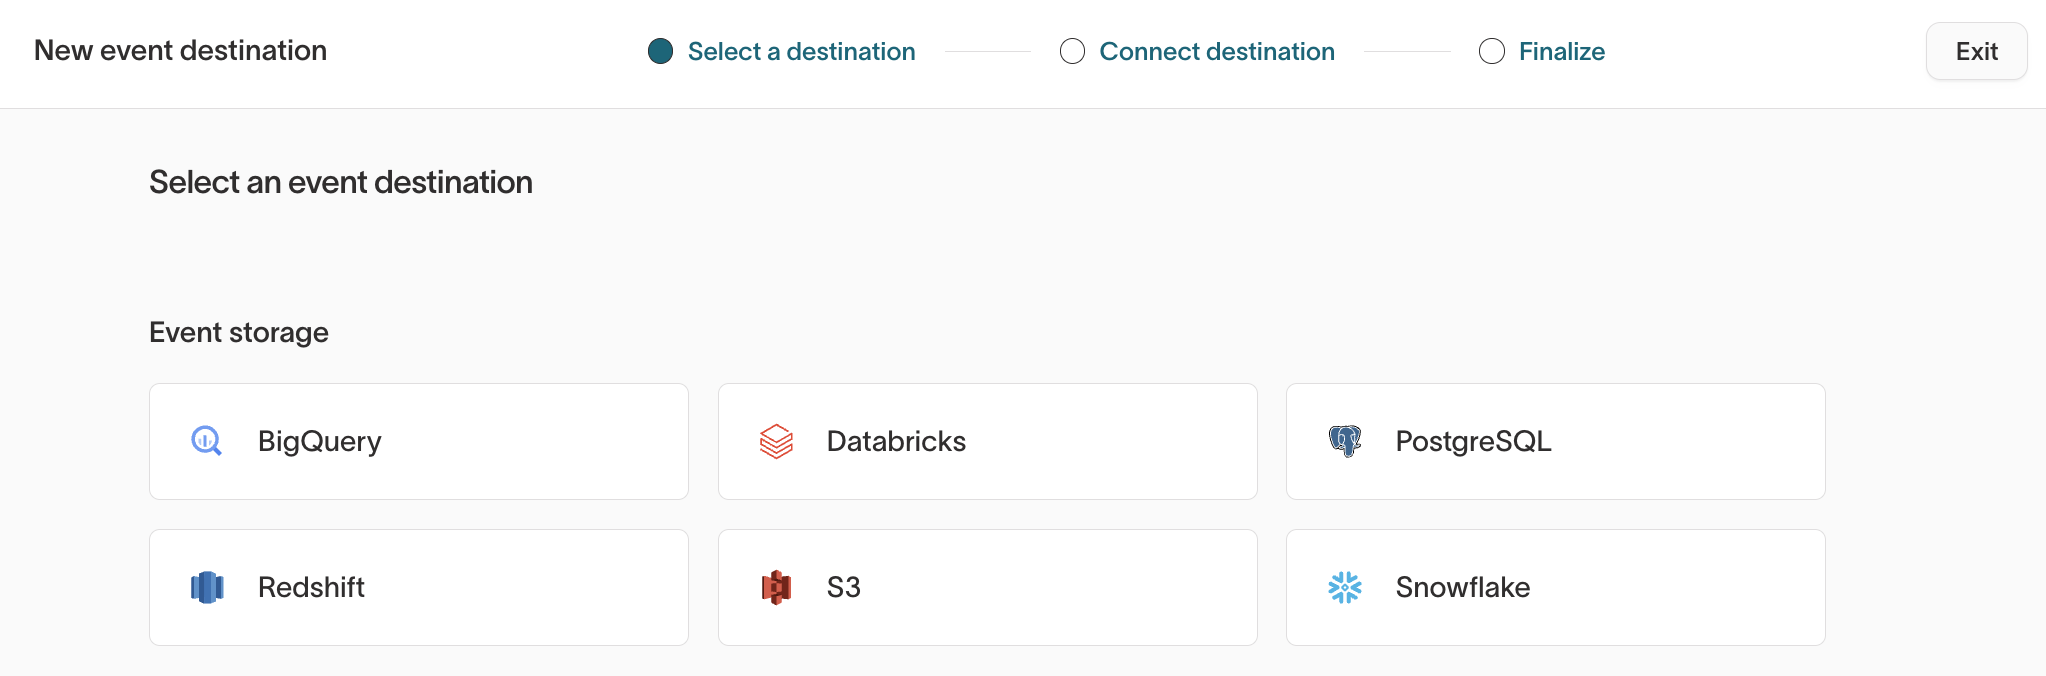
2. Select a destination type
On the Select a destination step:
- Under Event storage, choose your warehouse (for example, Snowflake)
- Click the destination tile to continue
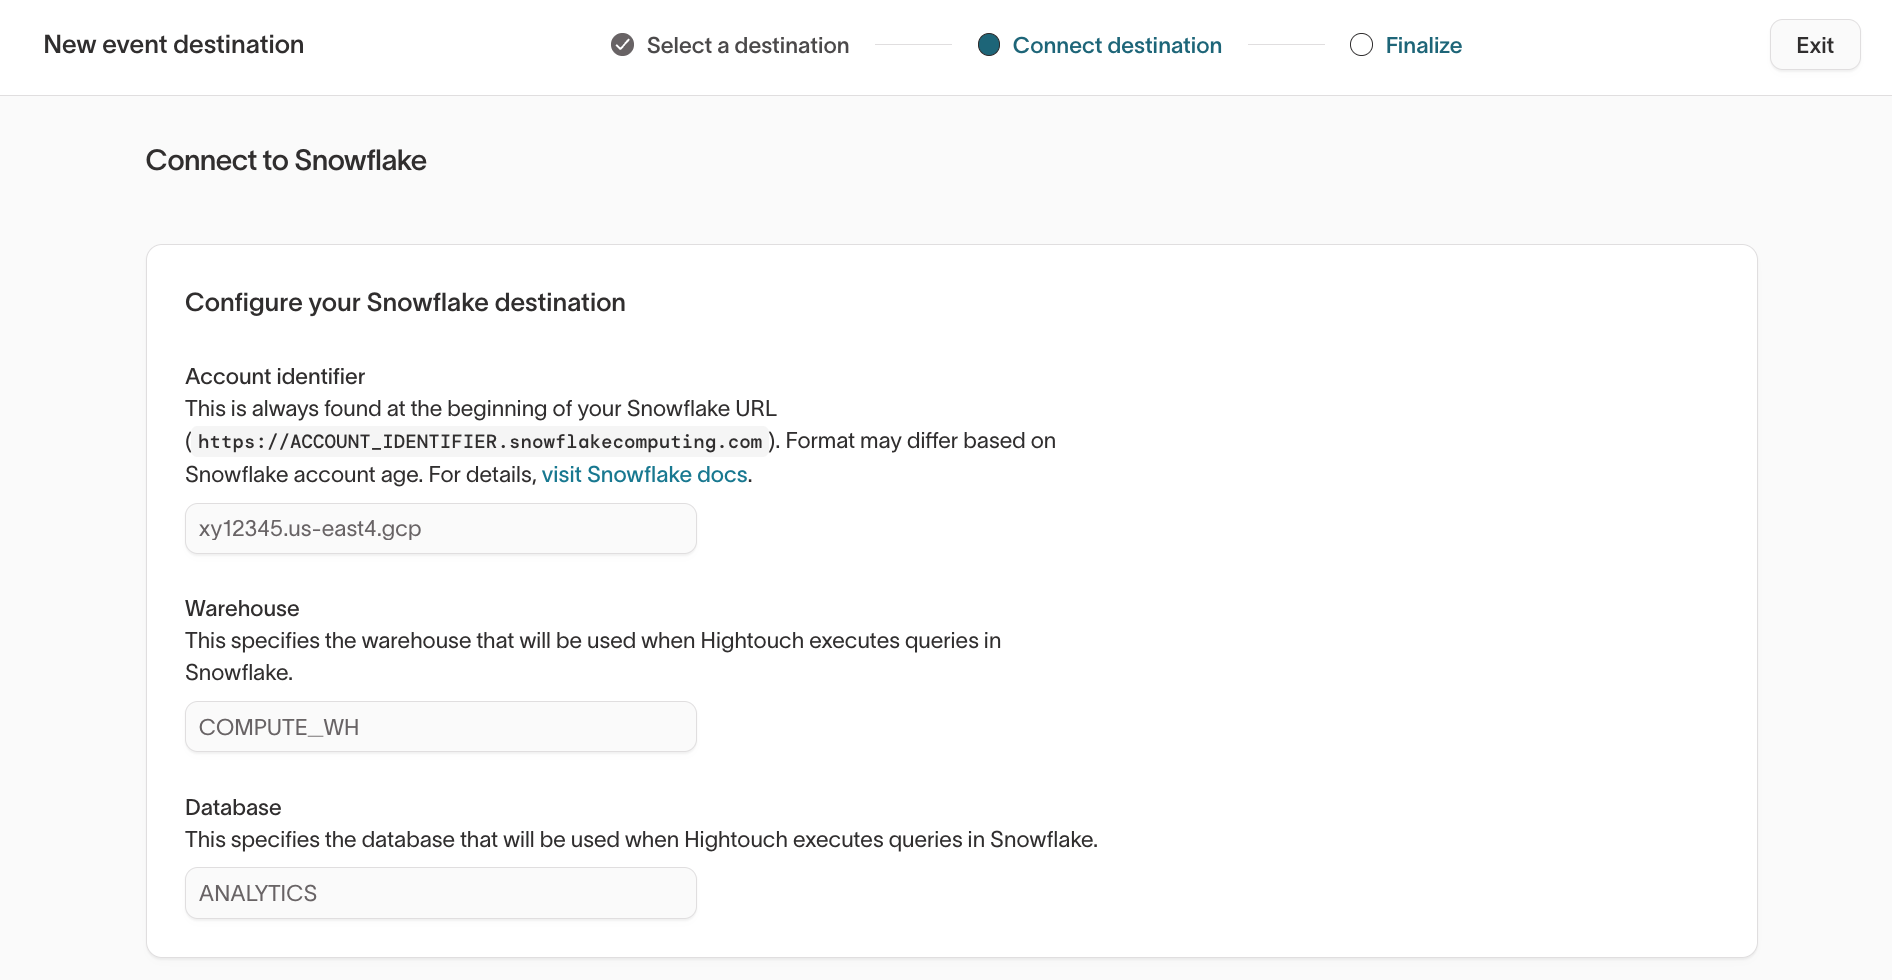
3. Connect the destination
On the Connect destination step, enter the required warehouse credentials.
For example, for Snowflake, you’ll configure:
- Account identifier
- Warehouse
- Database
- Authentication method (RSA key recommended)
You’ll also upload credentials and validate that Hightouch can connect successfully.
For credential and permission setup, see the destination-specific guides:
The destination docs linked below cover both credential setup and model-based sync configuration.
For event destinations, only the credential/permission setup applies. Skip sections like Sync configuration, Add sync, and any model mapping or sync mode instructions.
Click Continue once the connection details are complete.
4. Finalize the destination
On the Finalize step:
- Review the destination details
- Click
Finish
Once finalized, the destination becomes available for event storage.
What happens after setup
After your event storage destination is created and used in an event sync:
- Hightouch begins writing incoming events to your warehouse
- Schemas and tables are created automatically (see: Warehouse schema)
- New event fields are added as columns as they appear
You can manage this behavior using the destination’s Configuration and Schema settings tabs.
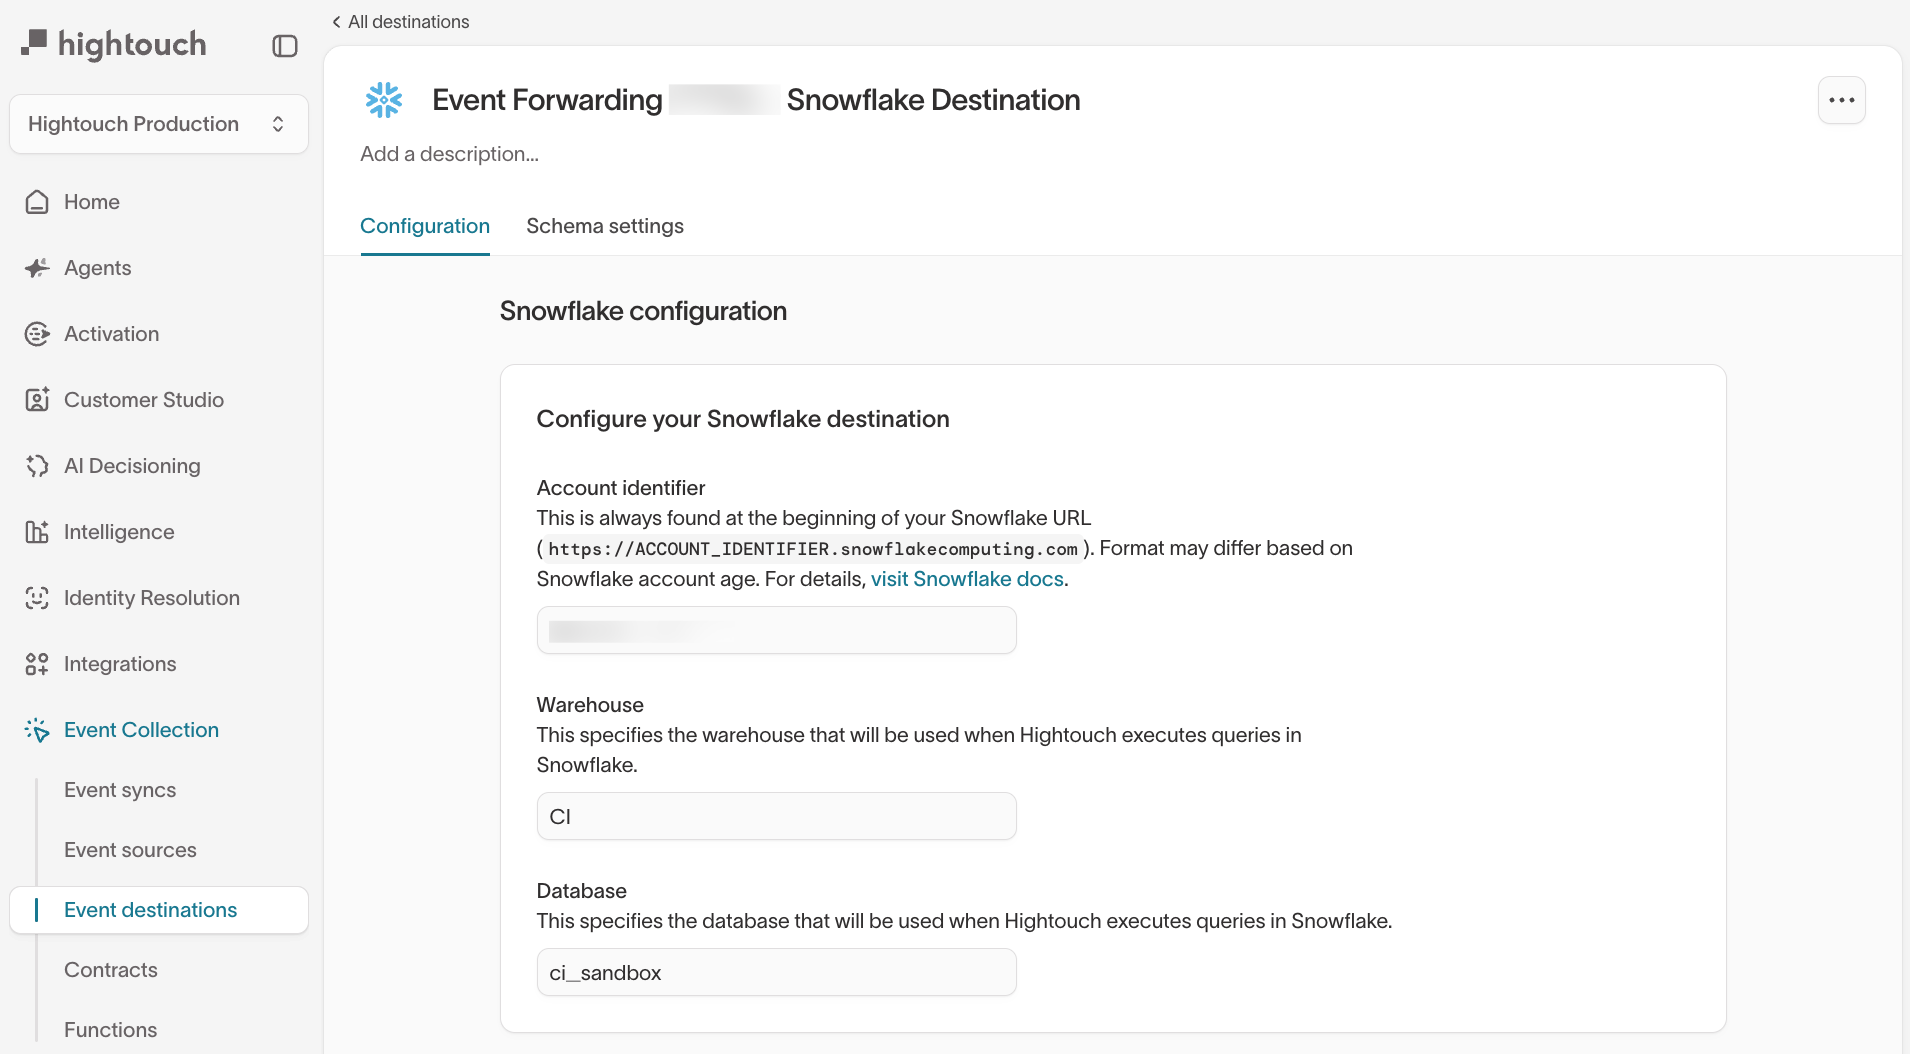
Configuration after initial setup
Navigate to:
Event Collection → Event destinations → [Select destination]
Configuration tab
The Configuration tab contains the core warehouse connection settings, including:
- Account and authentication details
- Warehouse, database, and role configuration
- Credentials and key management
Use this tab if you need to:
- Rotate credentials
- Update authentication methods
- Change the warehouse or database used for writes
Schema settings tab
The Schema settings tab controls how Hightouch writes event data into your warehouse.
From here, you can configure:
-
Schema name
Customize the schema Hightouch uses. By default, this is derived from the event source name. -
Per-event tables
When enabled, Hightouch creates a separate table for eachtrackevent type.
When disabled, all track events are written to a sharedtrackstable. -
Convert properties and context fields to columns
When enabled, event properties and context fields are written as individual columns.
When disabled, they are stored as JSON. -
Write Page and Screen events to the Tracks table
Useful if you want all user interactions in a single table.
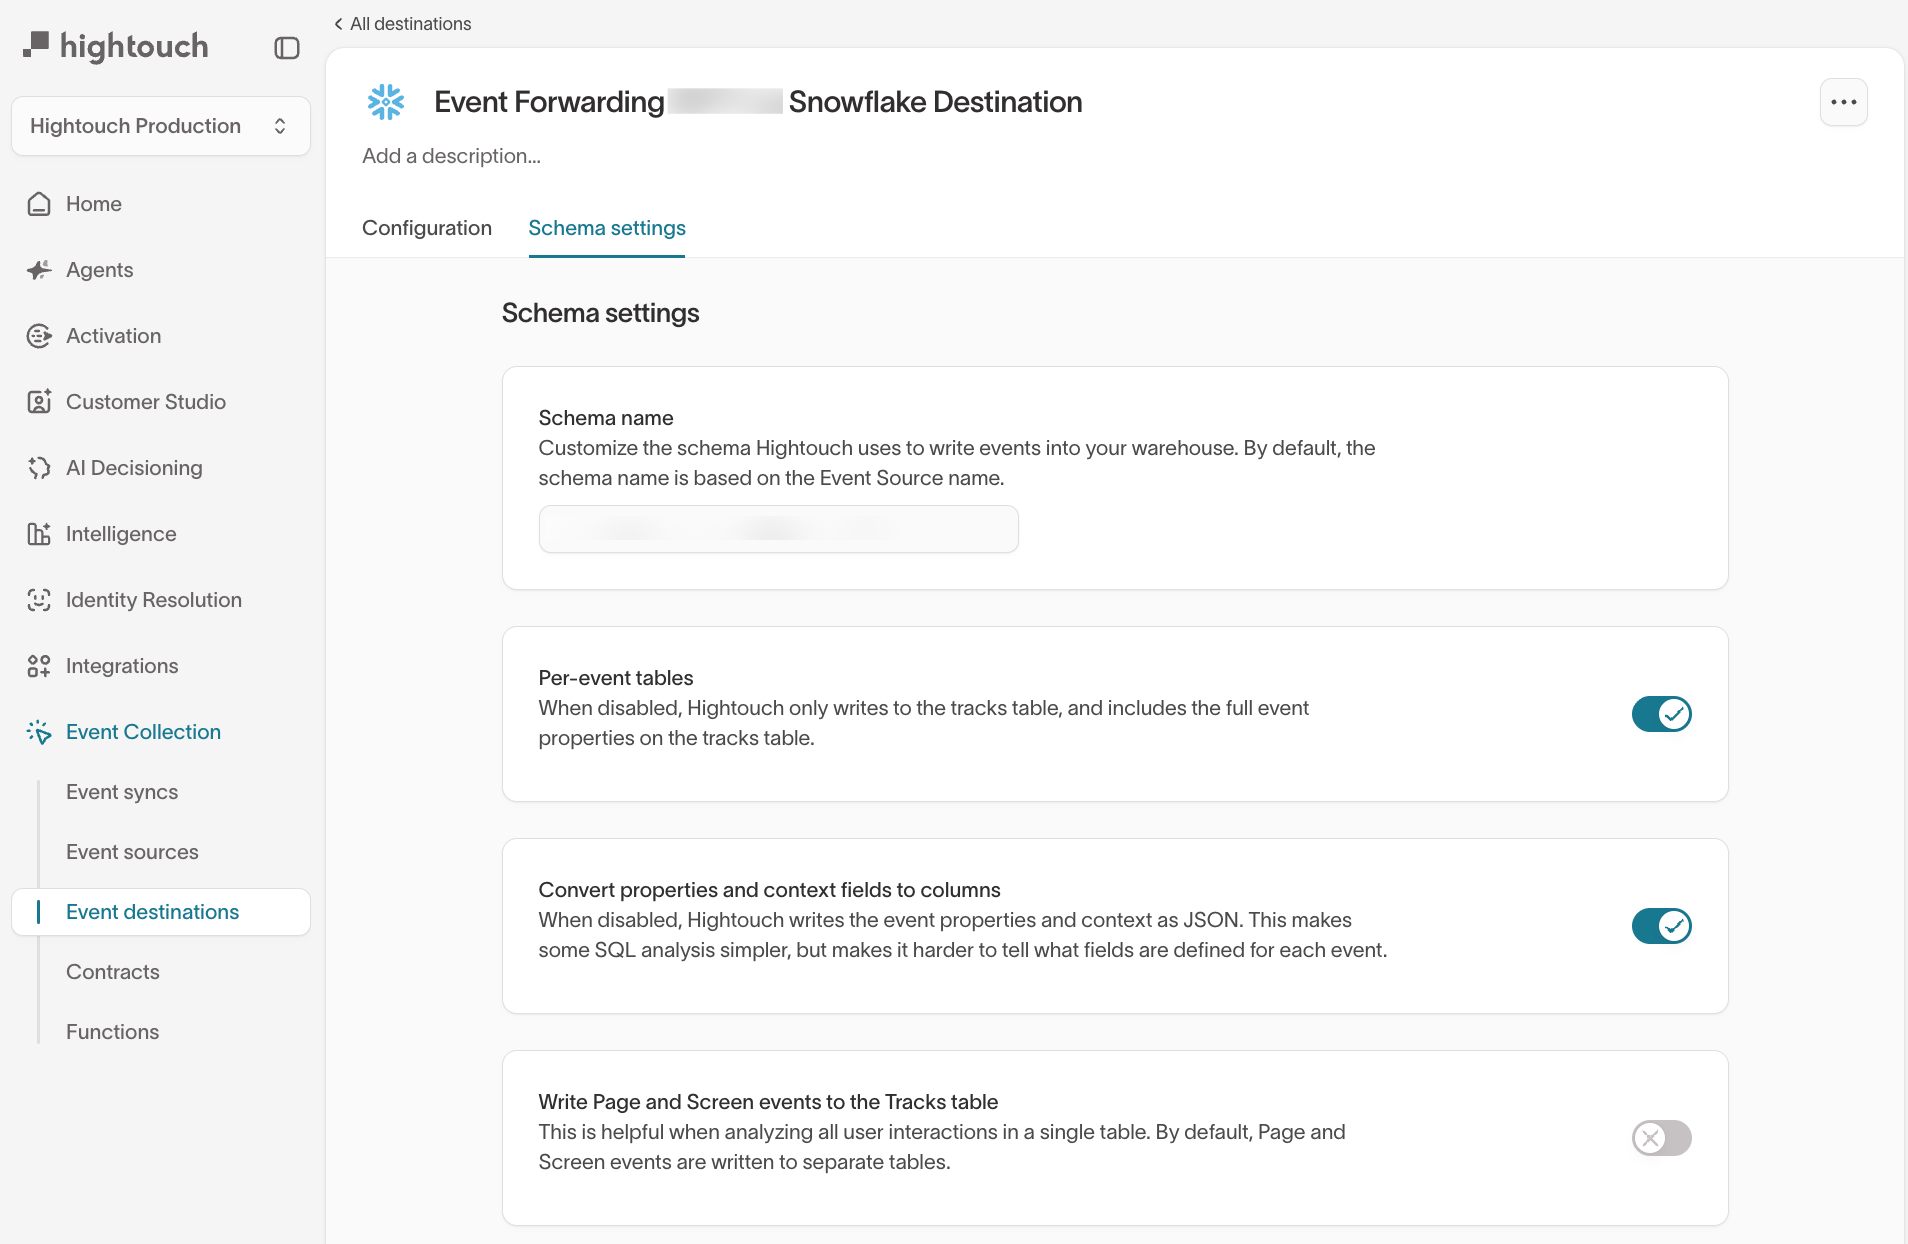
These settings apply to all events written to this destination.
Validating event storage
After setup, you should:
- Send test events from an event source
- Confirm tables and schemas appear in your warehouse
- Verify event fields match your tracking spec
You can also inspect events in the debugger before they’re written to storage.
→ See Warehouse schema for a full breakdown of tables and columns.
Enable, disable, and run event warehouse syncs
Manage your event warehouse syncs from Event Collection → Event syncs.
- Enable or disable a sync — open the sync and use the Enabled toggle in the header. A disabled sync stops running.
- Run a sync on demand — select Run on the sync's page.
- Manage syncs in bulk — select one or more syncs in the list to reveal the Actions dropdown, then choose Run, Disable, or Enable to apply it to every selected sync.
Events received while a sync is disabled are dropped, along with any queued events that haven't been delivered yet. They can't be recovered when you re-enable the sync.
Next steps
- Understand how events are written to your warehouse: Warehouse schema
- Review retries, failures, and archived events: Error handling
- Forward events to downstream tools: Event streaming