| Audience | Data engineers, analysts, and technical marketers |
| Prerequisites |
|
Use Connections to bring data from external tools--such as Salesforce, Klaviyo, or Braze--into your data warehouse for analysis and activation.
Learning Objectives
After reading this article, you will be able to:
- Understand when and why to use Connections.
- Create and configure a new Connection in Hightouch.
- Select which tables and columns to import using the schema picker.
- Schedule or manually run Connection syncs.
- Manage and monitor existing Connections from your workspace.
Overview
Connections let you bring data from third-party applications, such as Salesforce, Klaviyo, or Braze, into your data warehouse.
While destinations send data out of Hightouch to external tools, Connections bring data in. This allows you to centralize and analyze information from multiple systems within your warehouse, supporting downstream workflows in Hightouch.
You can use Connections to:
- Import data from marketing, sales, and engagement platforms
- Enrich warehouse data with external attributes and activity
- Support analysis, segmentation, and activation across Customer Studio and other Hightouch features
Each Connection uses a secure API or OAuth authentication flow and provides schema controls so you can decide which data to include and how it’s stored.
Prerequisites
Before creating a Connection, make sure you have:
- Access permissions for both Hightouch and your target application (for example, admin-level or API key access)
- Warehouse permissions to write tables or manage schemas
- API credentials (if required by your integration). Some tools, like Klaviyo or Iterable, require API keys while others authenticate through OAuth.
Create a Connection
Access Connections
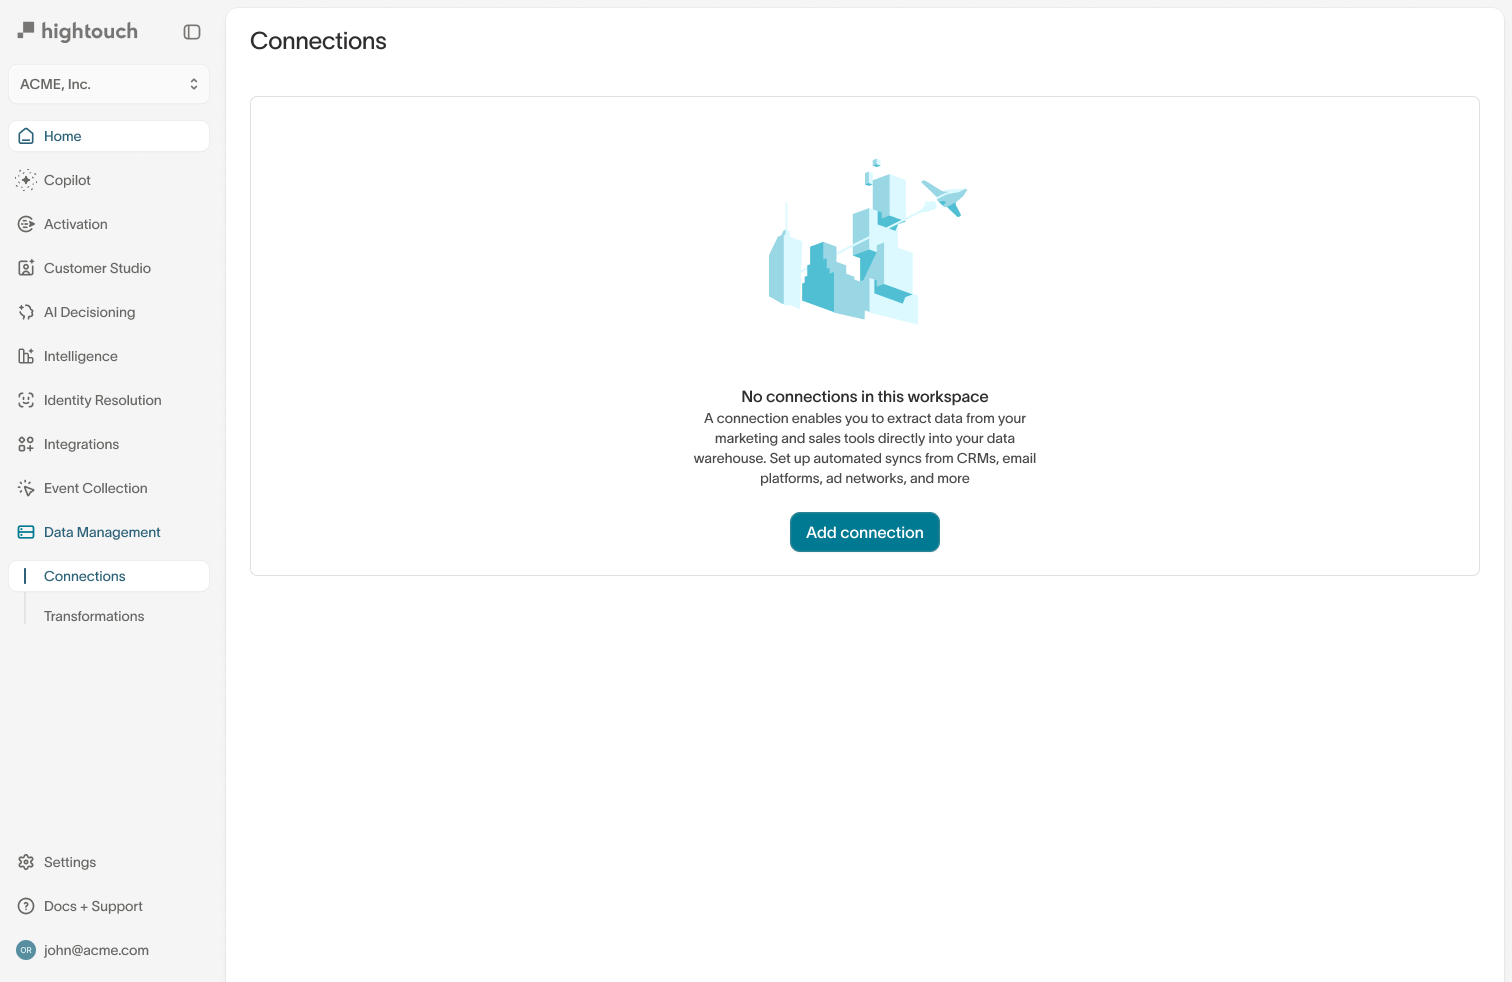
To create or manage Connections, go to Data Management → Connections in your Hightouch workspace or visit app.hightouch.com/connections.
From this page, you can view existing connections or click Add connection to start a new one.
1. Select a data source
Choose the external application you want to import data from.

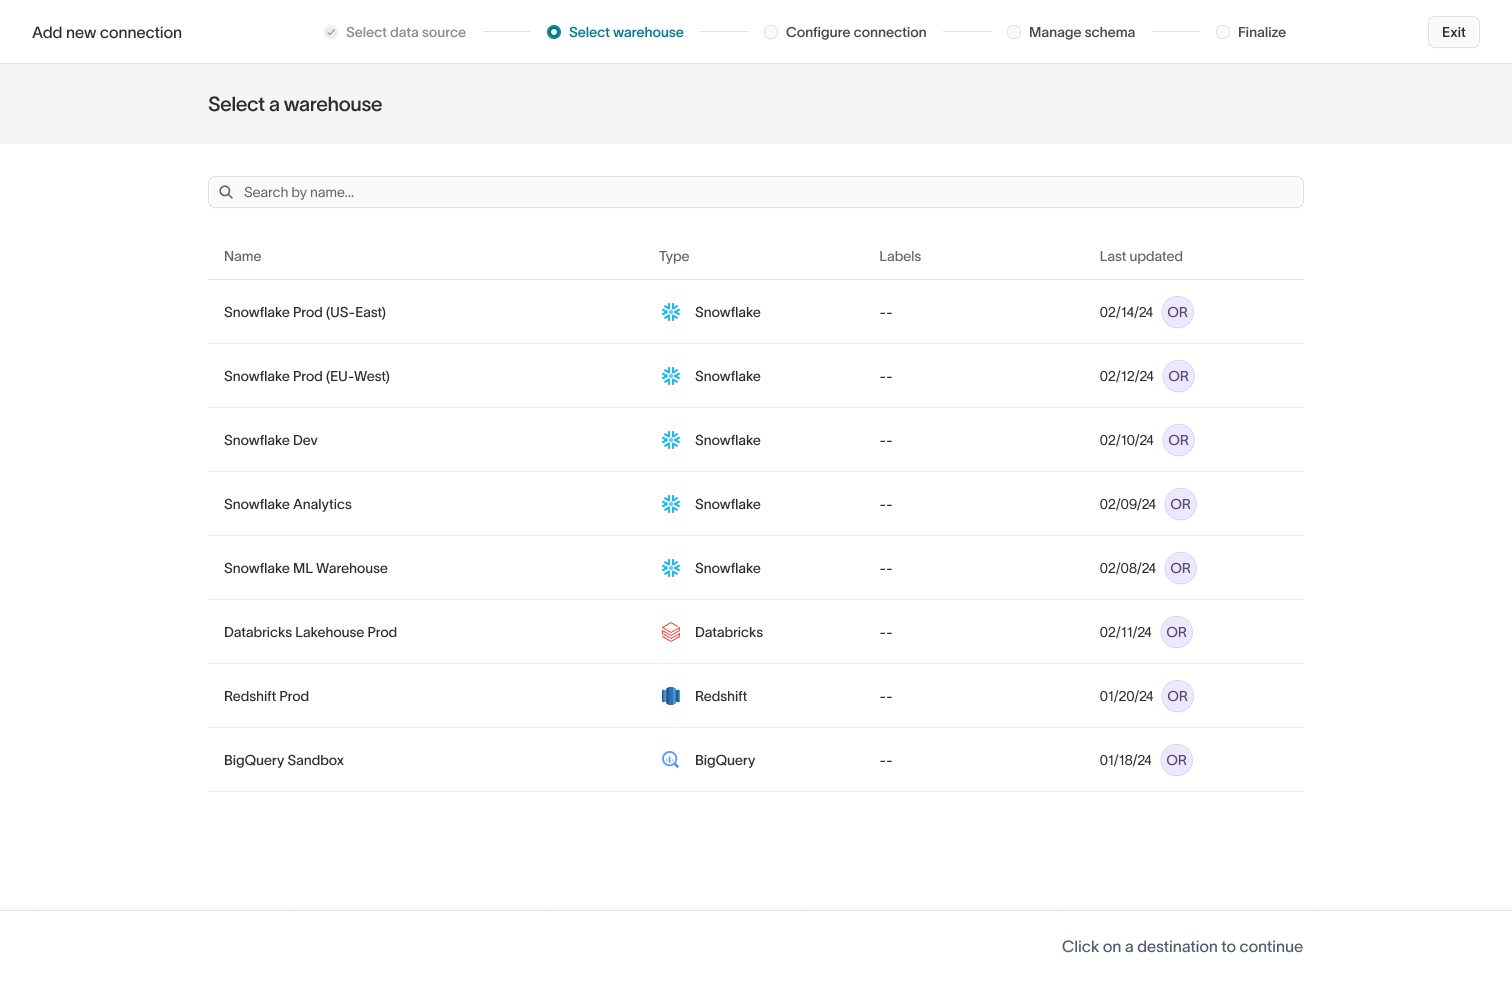
2. Select a warehouse
Choose the warehouse where you want to store your imported data.
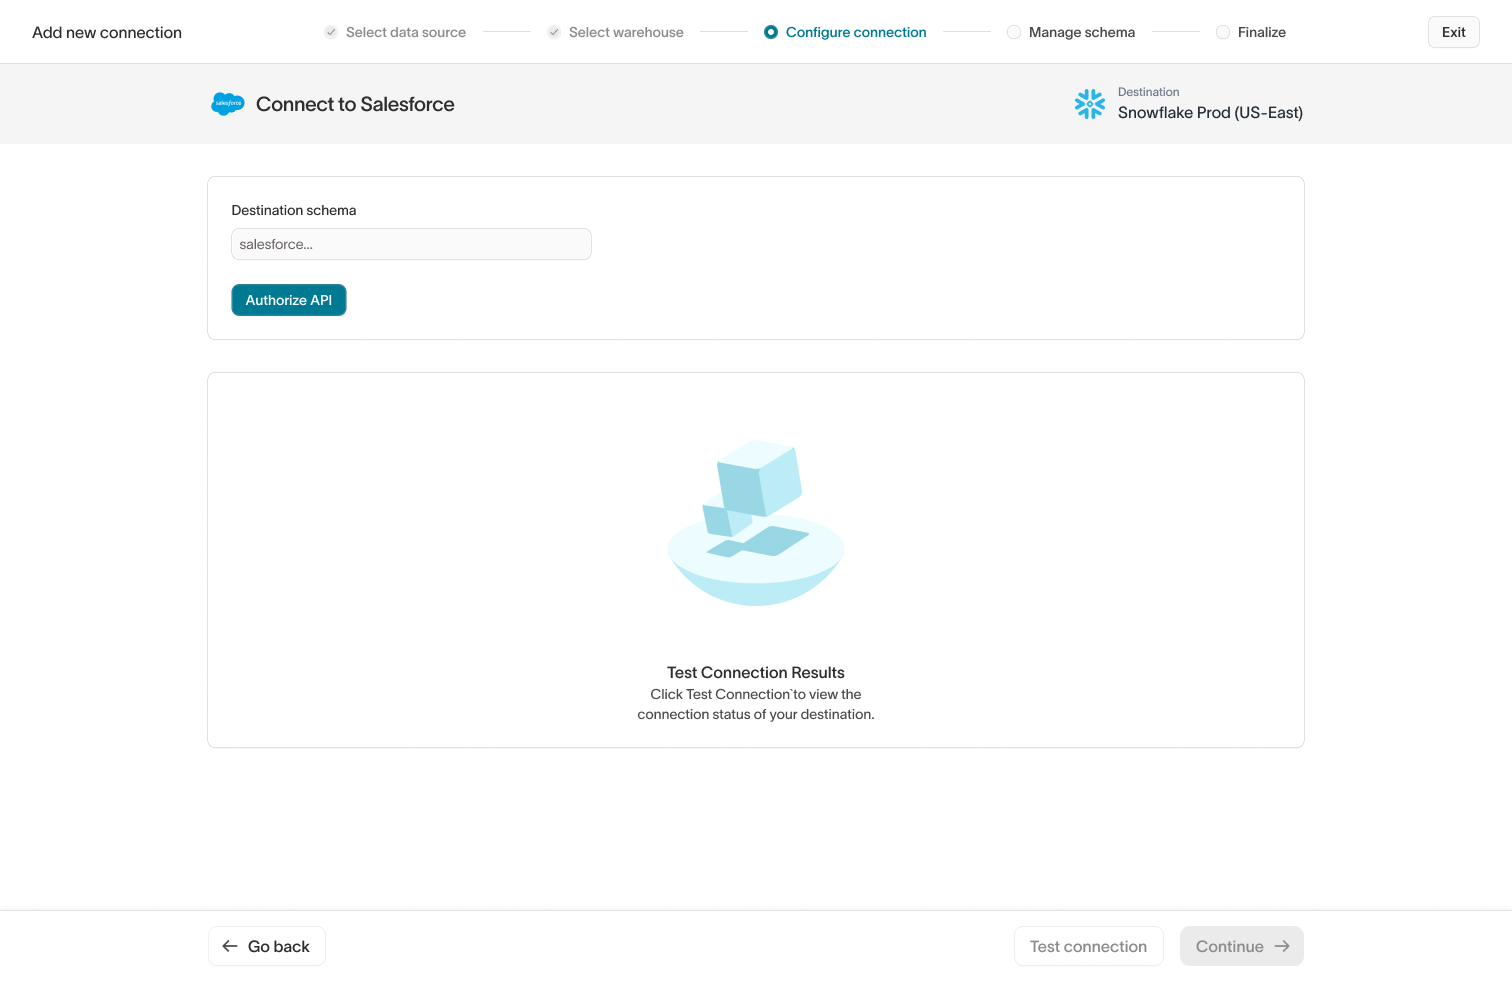
3. Configure connection
Authenticate your selected tool using OAuth or API credentials. Read documentation for your specific destination for detailed instructions.
After entering your credentials, click Test connection to verify that Hightouch can connect successfully before continuing.
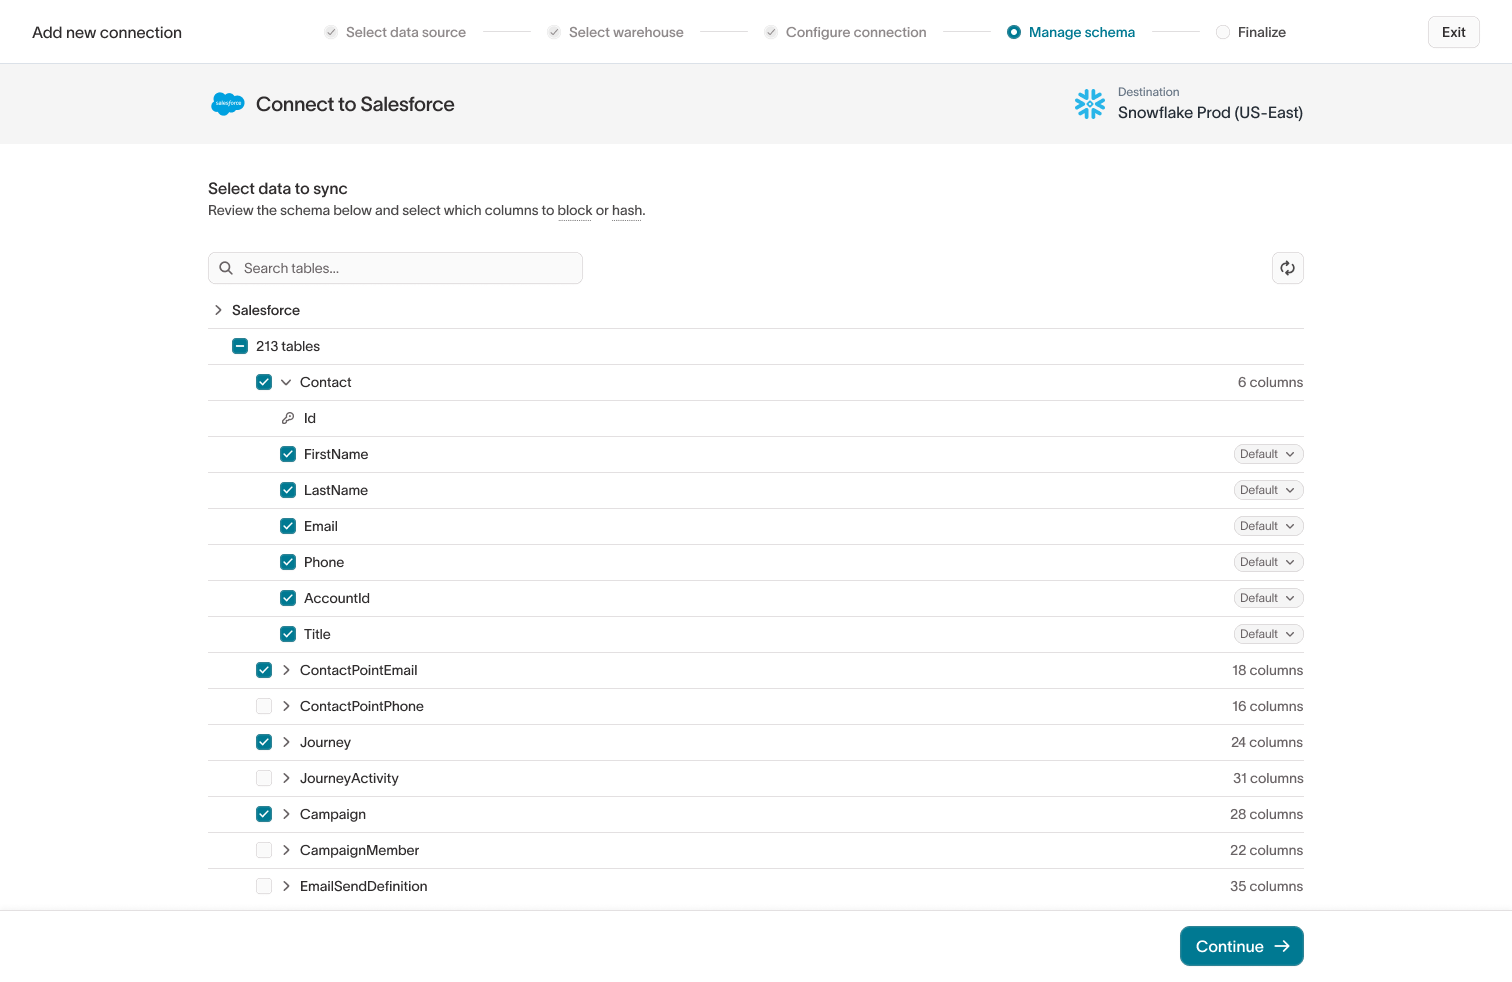
4. Manage schema
After connecting, Hightouch will detect the schema from your external application.
Use the visual schema picker to select which tables and columns to import into your warehouse.
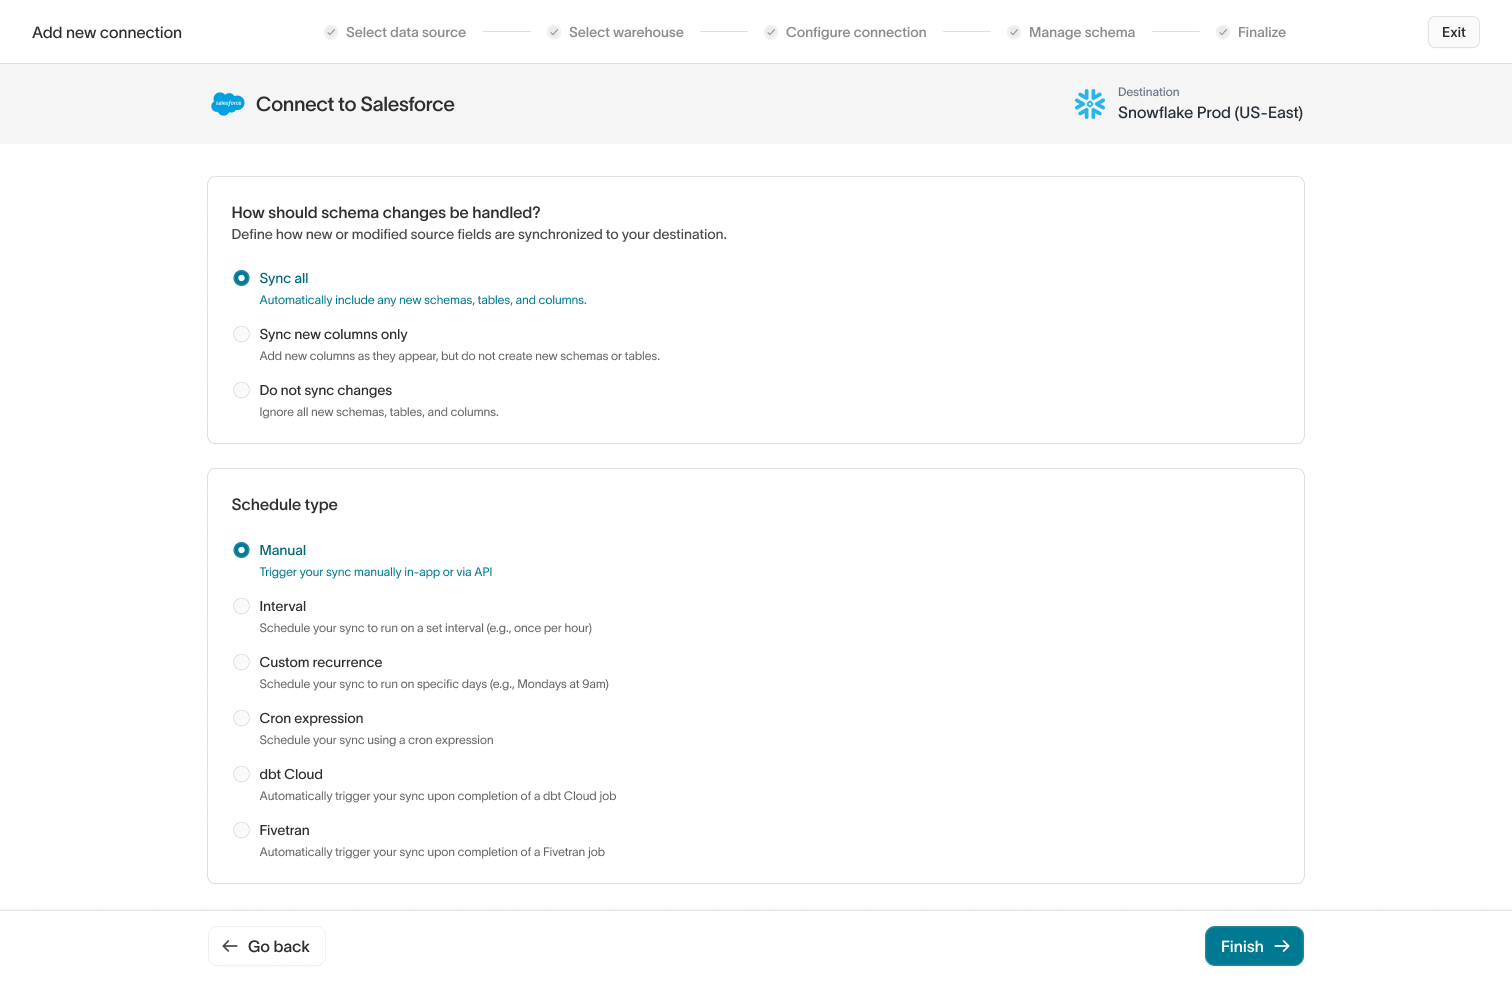
5. Finalize and schedule
Before completing setup, decide how schema changes should be handled over time:
- Sync all: Include all new schemas, tables, and columns automatically
- Sync new columns only: Add new columns to existing tables but skip new tables or schemas
- Do not sync changes: Keep your schema fixed and ignore new data structures
Then, choose how and when your Connection should sync:
- Manual: Run the sync manually in the app or through the API
- Interval: Schedule syncs to run at a set interval (for example, every hour)
- Custom recurrence or Cron expression: Define your own schedule
- dbt Cloud or Fivetran: Trigger syncs automatically after jobs finish in these tools
When finished, click Finish to complete setup.
For integration-specific setup instructions, such as authentication details, required permissions, or field mappings, see the relevant Destination documentation for your tool.
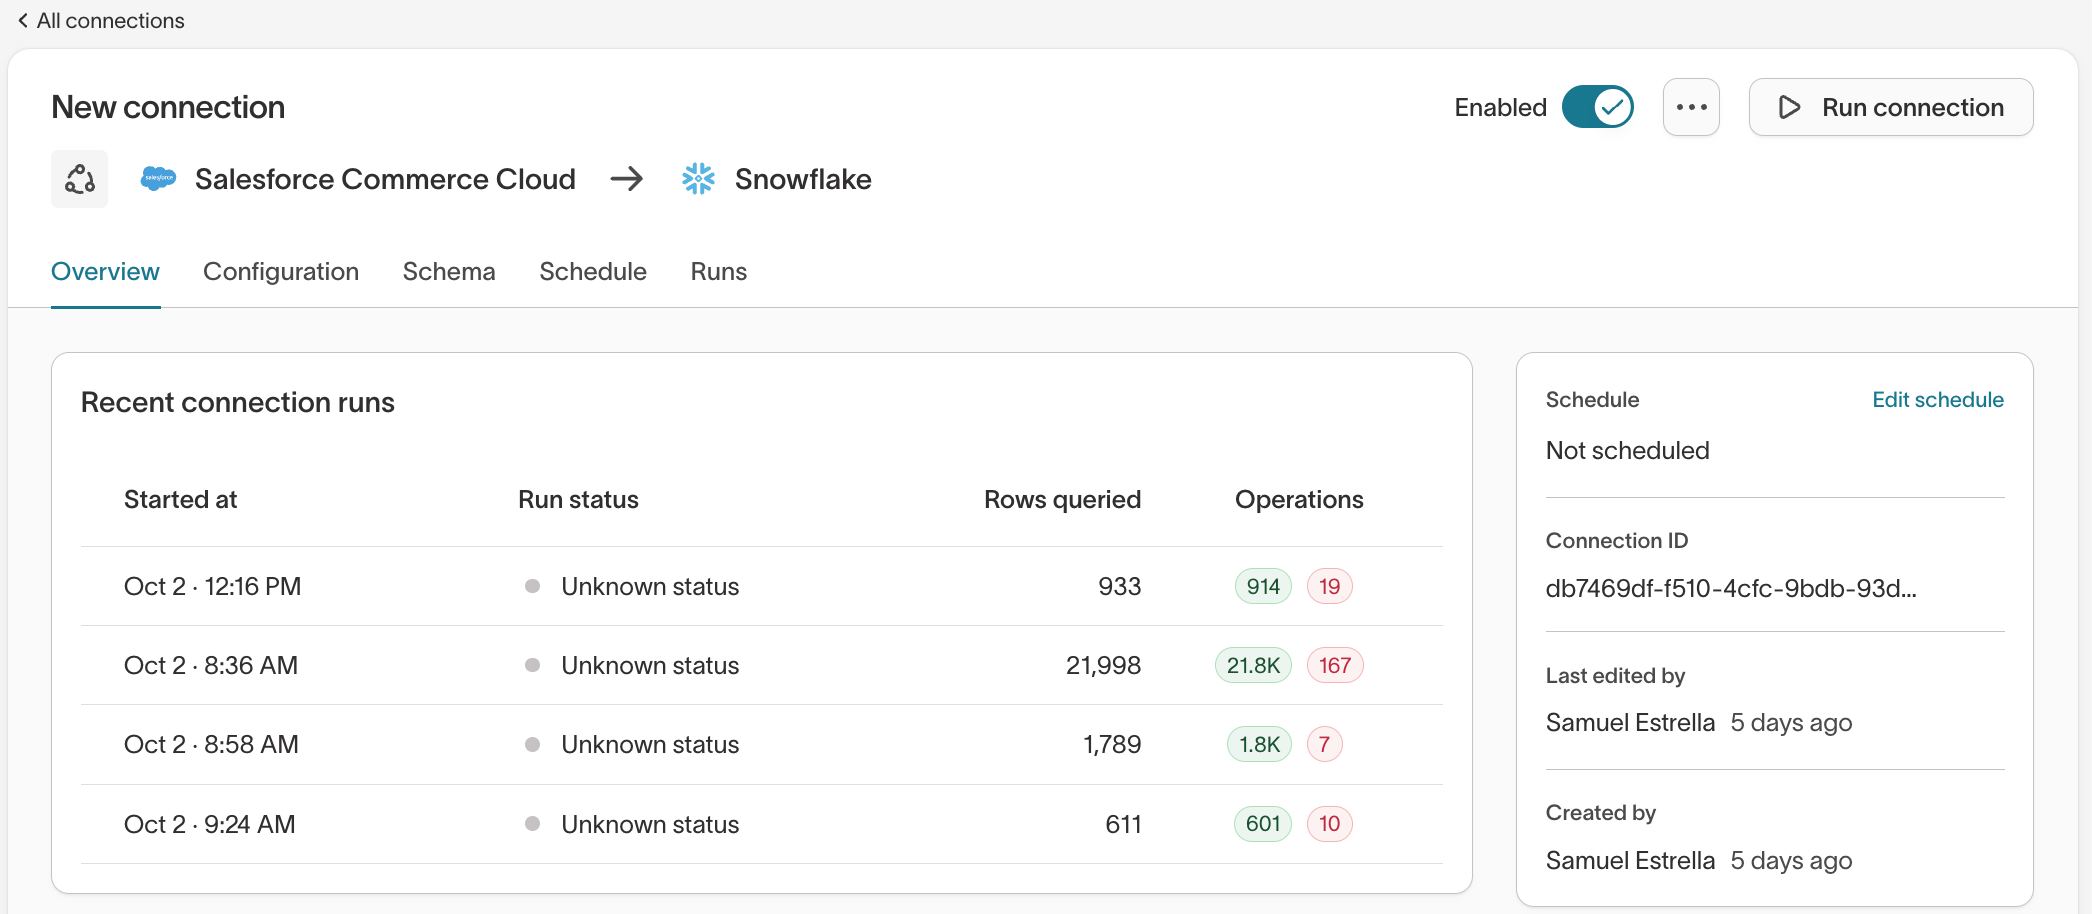
Manage and Edit Connections
After creating a Connection, you can manage it from the Connections page in your workspace.
From here, you can:
- View recent connection runs and their status
- Edit how schema changes are handled
- Update selected tables and columns when new fields become available
- Modify your sync schedule
Hightouch tracks connection activity and run results automatically, so you can monitor data freshness and resolve issues directly from the UI.
Related articles
- Learn more about integration setup in Destination documentation
- Visit Alerting to configure sync alerts for your Connections
- Review the Syncs Overview to understand how incoming data supports downstream activation