
Sync your database or data warehouse to your Airtable bases for DataOps, CRM, and much more
Supported syncing
| Sync Type | Description | Supported Sync Modes |
|---|---|---|
| Objects | Insert new objects without updating others or push new objects and update fields that change | Insert, Upsert |
| Object fields | Update particular fields on existing objects without adding new objects | Update |
Connect to Airtable
Go to the Destinations overview page and click the Add destination button. Select Airtable and click Continue. You can then authenticate Hightouch to Airtable using an Airtable personal access token.
Create Airtable personal access token
Navigate to your Airtable Personal access tokens page and click Create token.
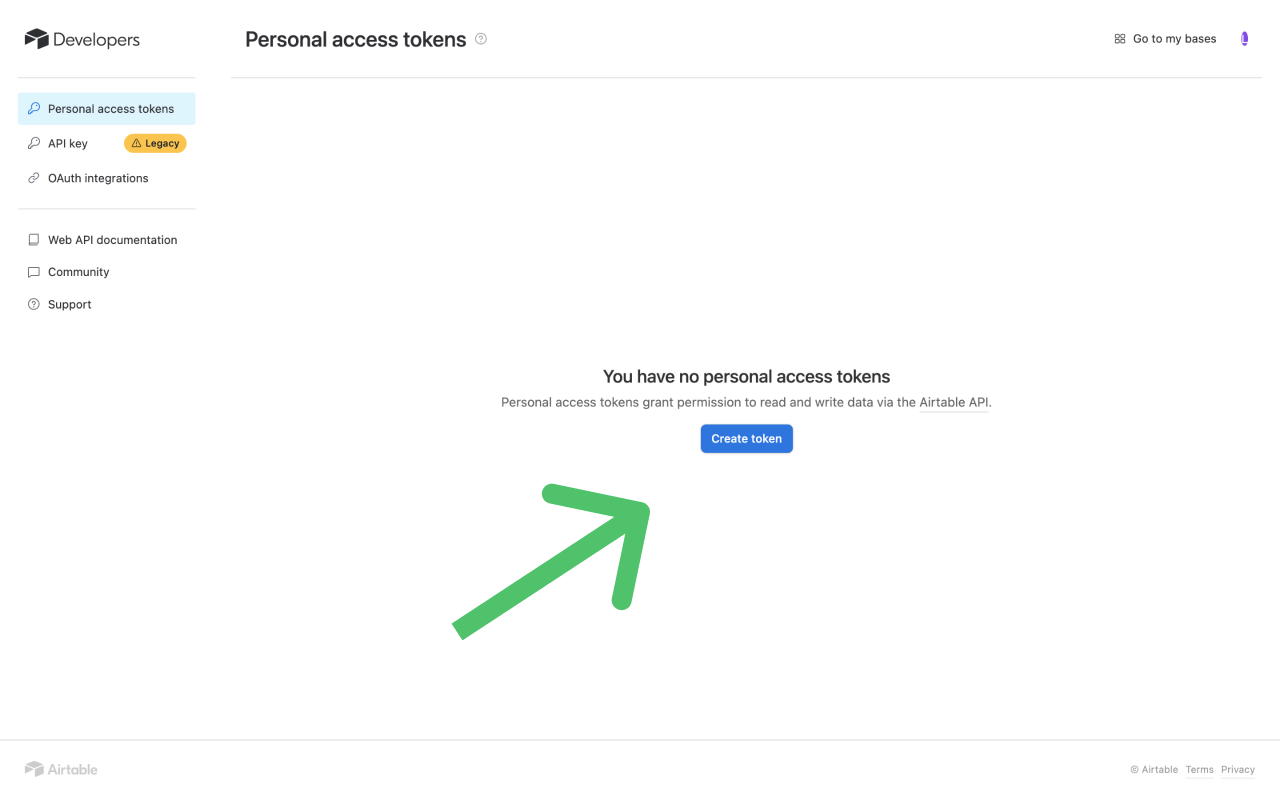
Give your token a descriptive name, for example, "Hightouch Integration Key," and grant your token the following scopes:
data.records:readdata.records:writeschema.bases:readschema.bases:write

Grant your token access to the bases and workspaces you need Hightouch to access, and then copy your token to use it in Hightouch.
Sync configuration
Once you've set up your Airtable destination and have a model to pull data from, you can set up your sync configuration to begin syncing data. Go to the Syncs overview page and click the Add sync button to begin. Then, select the relevant model and the Airtable destination you want to sync to.
Choose the Airtable base and table you want to sync to using the two drop-down lists.
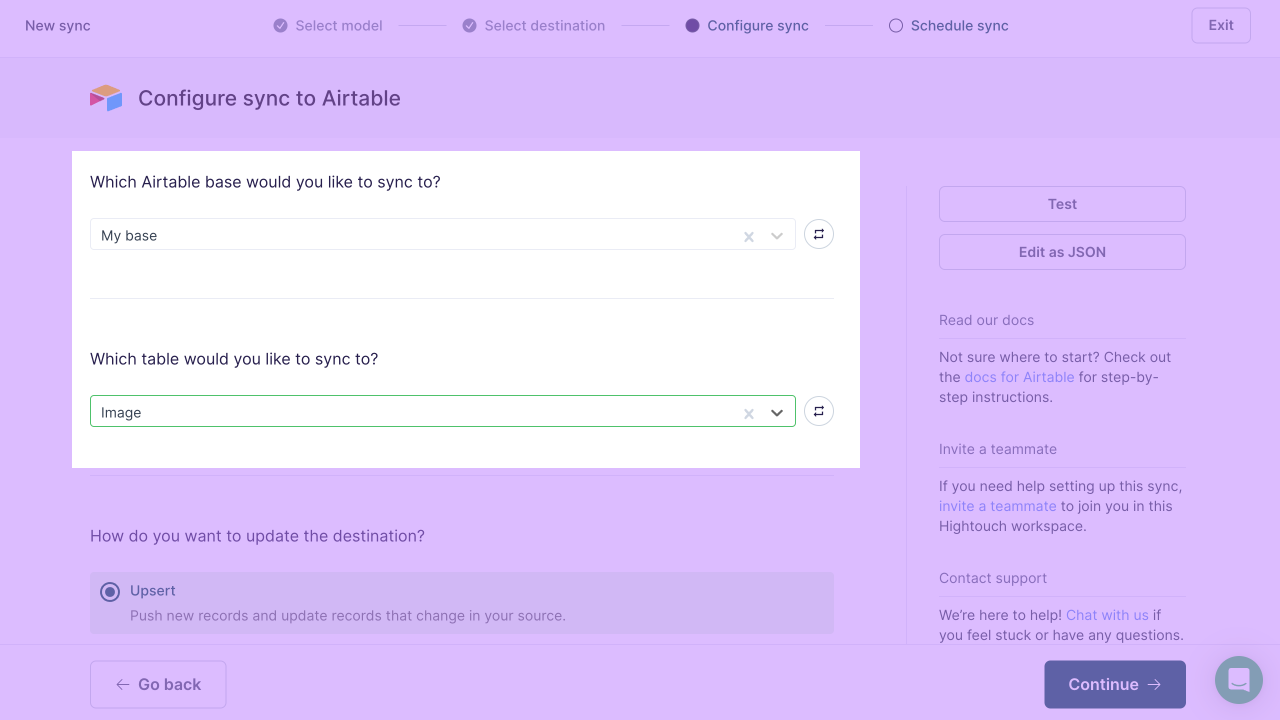
Then select the mode for how to alter Airtable objects:
- Insert: pushes new objects to Airtable. It doesn't update any objects.
- Upsert: pushes new objects to Airtable and updates fields that change in your warehouse.
- Update: updates particular fields on existing objects in Airtable. It doesn't add new objects.
Record matching
If you are using Upsert or Update mode, you must select a record matching field. You can match records from your source to your Airtable workspace by the table's primary key or any other unique fields in the table. You can choose the field you would like to use from the dropdown.

You should match the record using a unique identifier with a string type, otherwise the sync may not update the intended records properly.
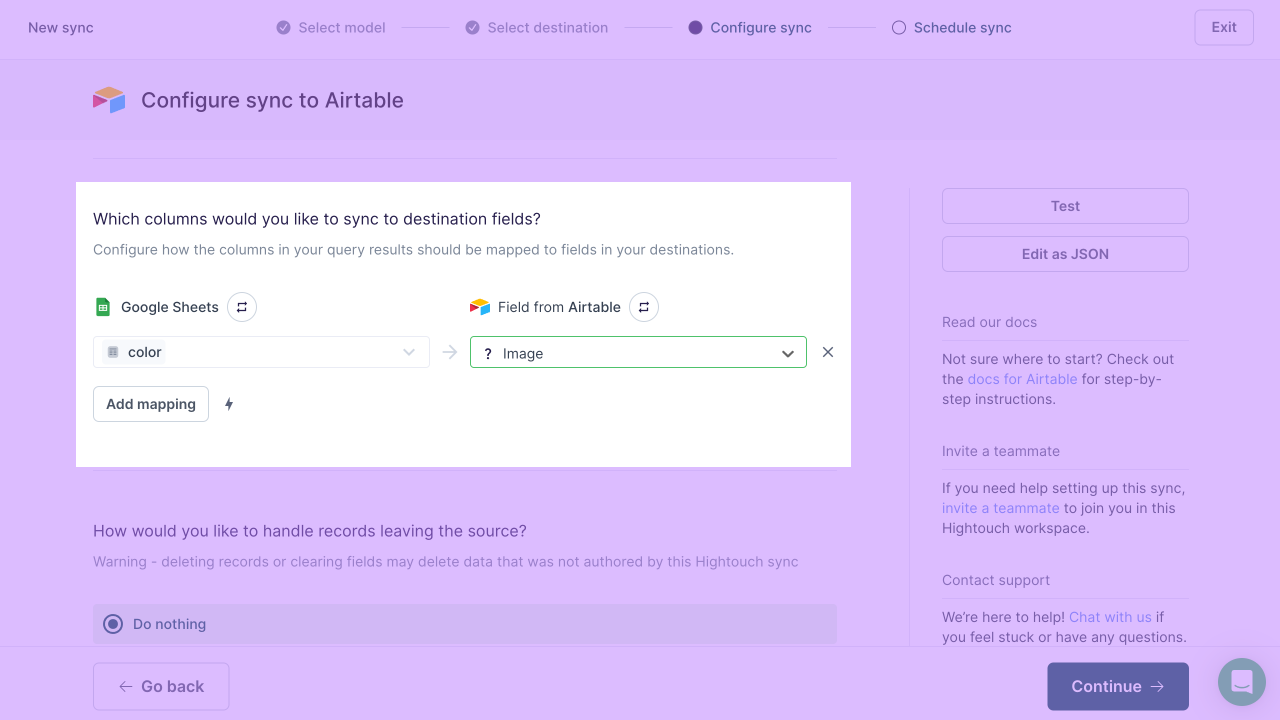
Field mapping
You can sync columns from your source to any of your Airtable properties. The Airtable API performs best-effort automatic data conversion from string values. You can choose the field names from the drop-down lists.
Tips and troubleshooting
Common errors
If you encounter an error or question not listed below and need assistance, don't hesitate to . We're here to help.
Duplicated records
Duplicated records in Airtable may occur if a data type mismatch between the model column and the Airtable field selected for record matching occurs.
Hightouch automatically stringifies the model column you select for your primary key. If you choose your model's primary key for record matching, you need to select a string type Airtable field for record matching as well. If you select a number type Airtable field, duplicate records could occur because, for example, "1234" doesn't match 1234.
If you want to use the primary key column for record matching, but need to match it to a number type Airtable field, you can use SQL aliasing to create a new column. The new column is a "copy" of the primary key column, but because Hightouch won't automatically stringify it, you can cast it to number type and use it for record matching.
Live debugger
Hightouch provides complete visibility into the API calls made during each of your sync runs. We recommend reading our article on debugging tips and tricks to learn more.
Sync alerts
Hightouch can alert you of sync issues via Slack, PagerDuty, SMS, or email. For details, please visit our article on alerting.