| Audience | Marketers, Platform admins |
| Prerequisites |
|
Once you’ve built and saved an audience, you can sync it to destinations—like CRMs, ad platforms, or email service providers. Hightouch keeps those destinations up to date by automatically adding or removing users as the audience changes.
What you'll learn
After reading this article, you’ll know how to:
- Sync a saved audience to a connected destination
- Configure sync frequency, identifier fields, and removal settings
- Monitor and manage sync status
- Apply sync templates to save time
Overview
Once you've created an audience, the last step is to sync it to your desired destination(s).
For example, say you've created an audience of users who've added a particular product type to their cart without purchasing it. You likely want to sync this audience to ad platforms like Meta or Google so you can target them with personalized ads about the product in their cart.
Sync configuration for an audience is the same as any other sync configuration. You need to map fields, schedule the sync, and set up alerts as desired.
Most syncs run on a set schedule and send the full audience to your destination (e.g., hourly CRM updates or daily data warehouse exports). For event-driven campaigns—like retargeting users after a checkout or suppressing ads after a purchase—Hightouch also supports real-time syncs that deliver users the moment they enter or exit an audience.
To learn more about syncing audiences in real time, see Real-time audiences.
Add a sync to an audience
To create a sync for an existing audience:
- Go to Customer Studio → Audiences
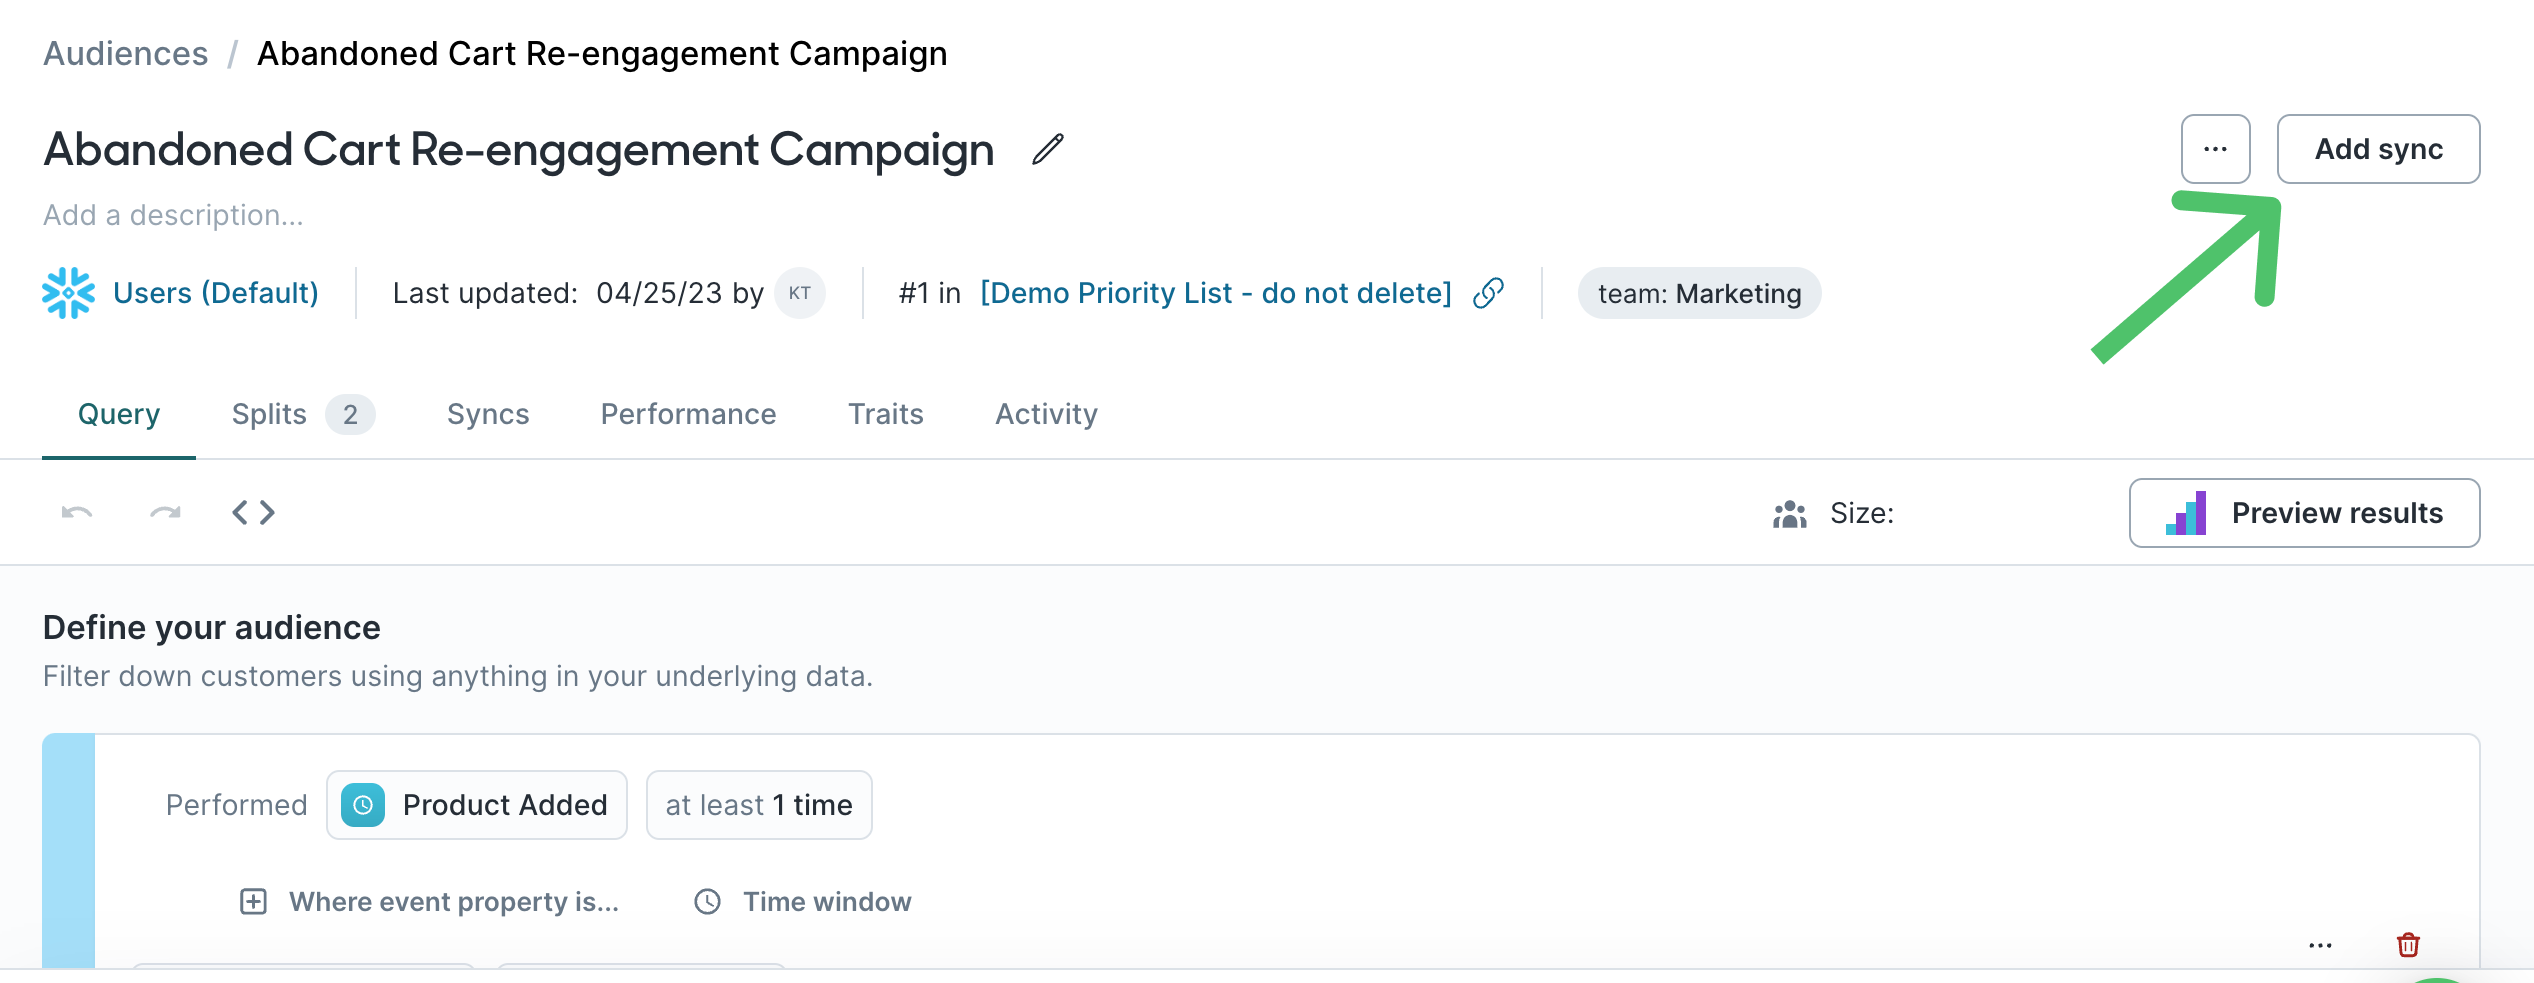
- Open a saved audience and click Add sync

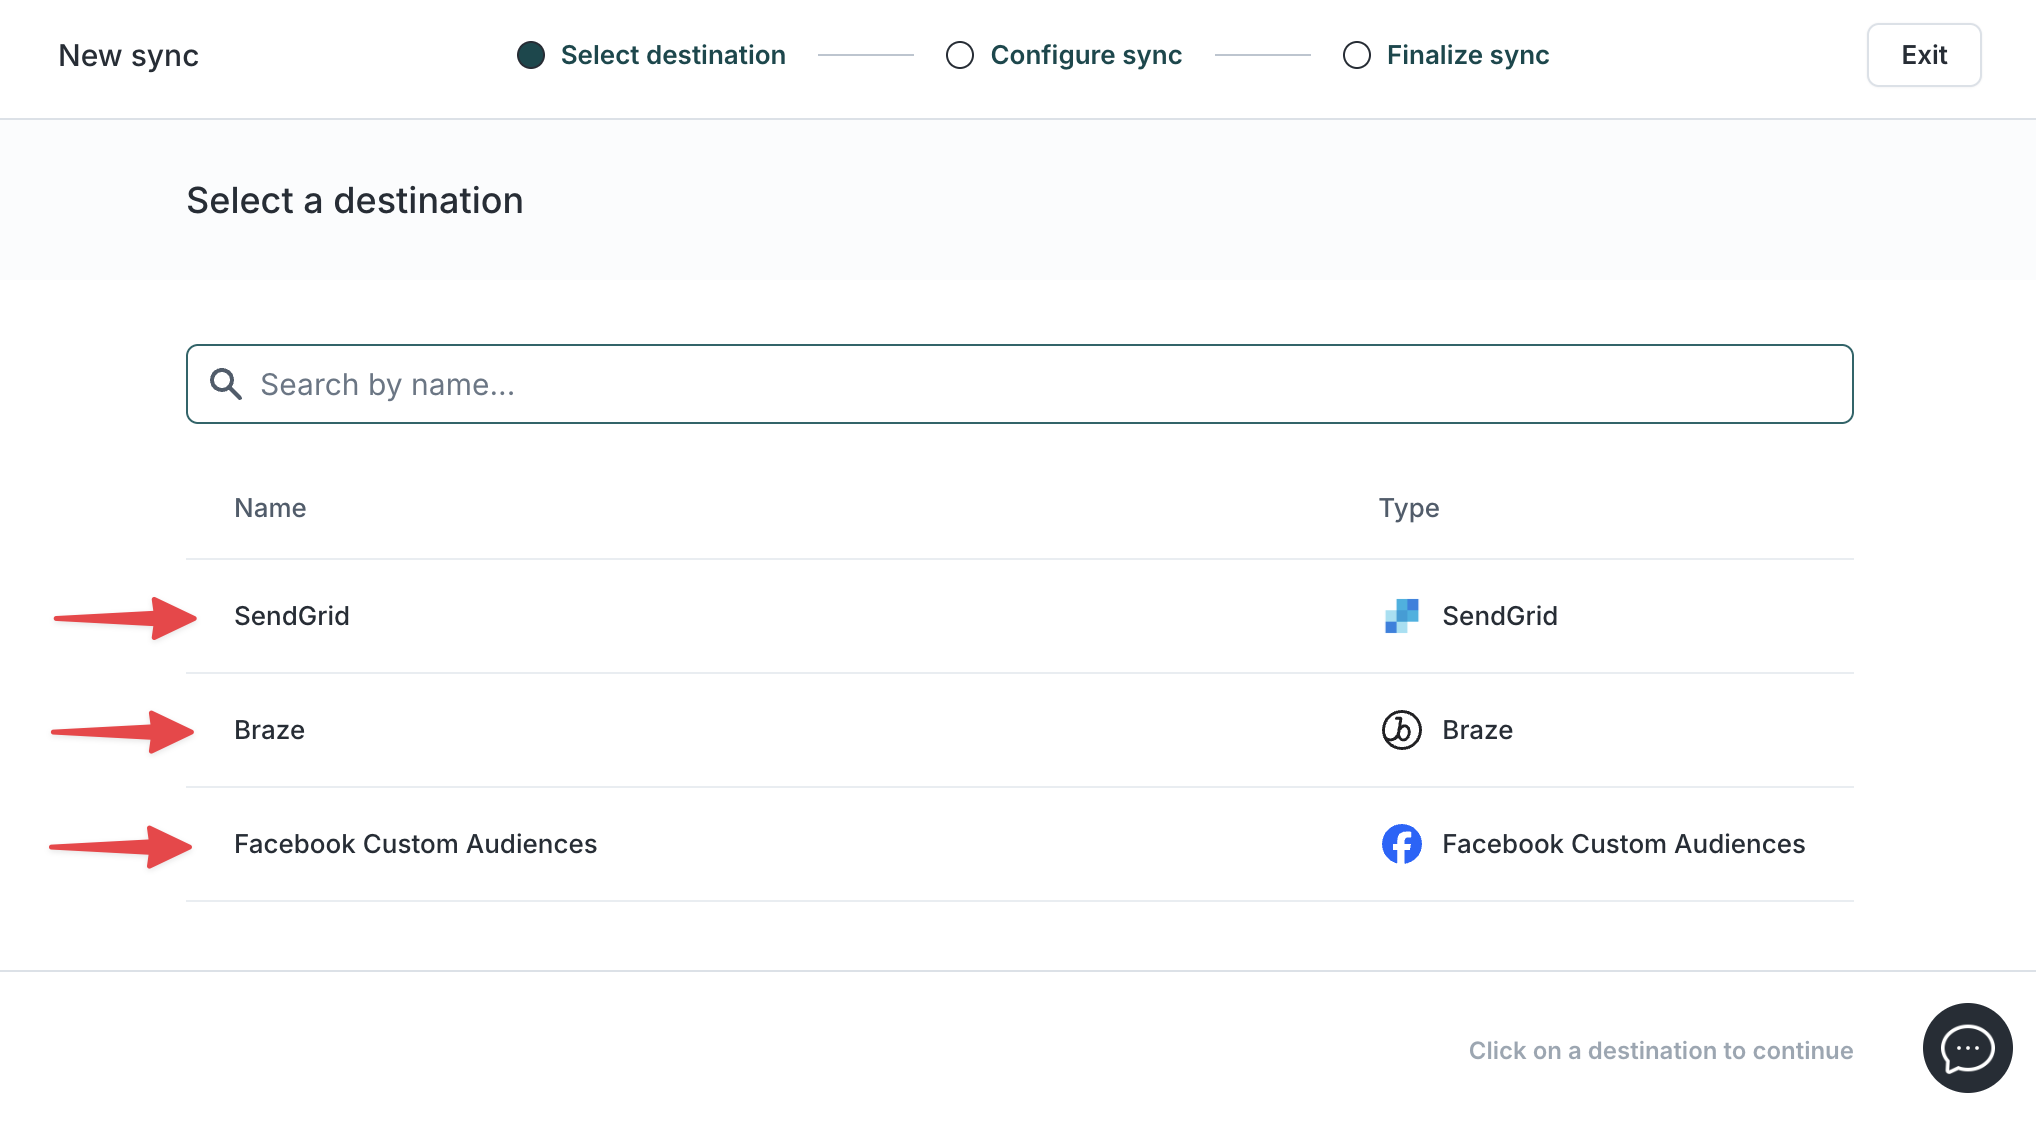
- Select a destination Refer to your chosen Destination docs for specific configuration details.

For more information on creating syncs, check out the sync configuration docs.
Monitor syncs
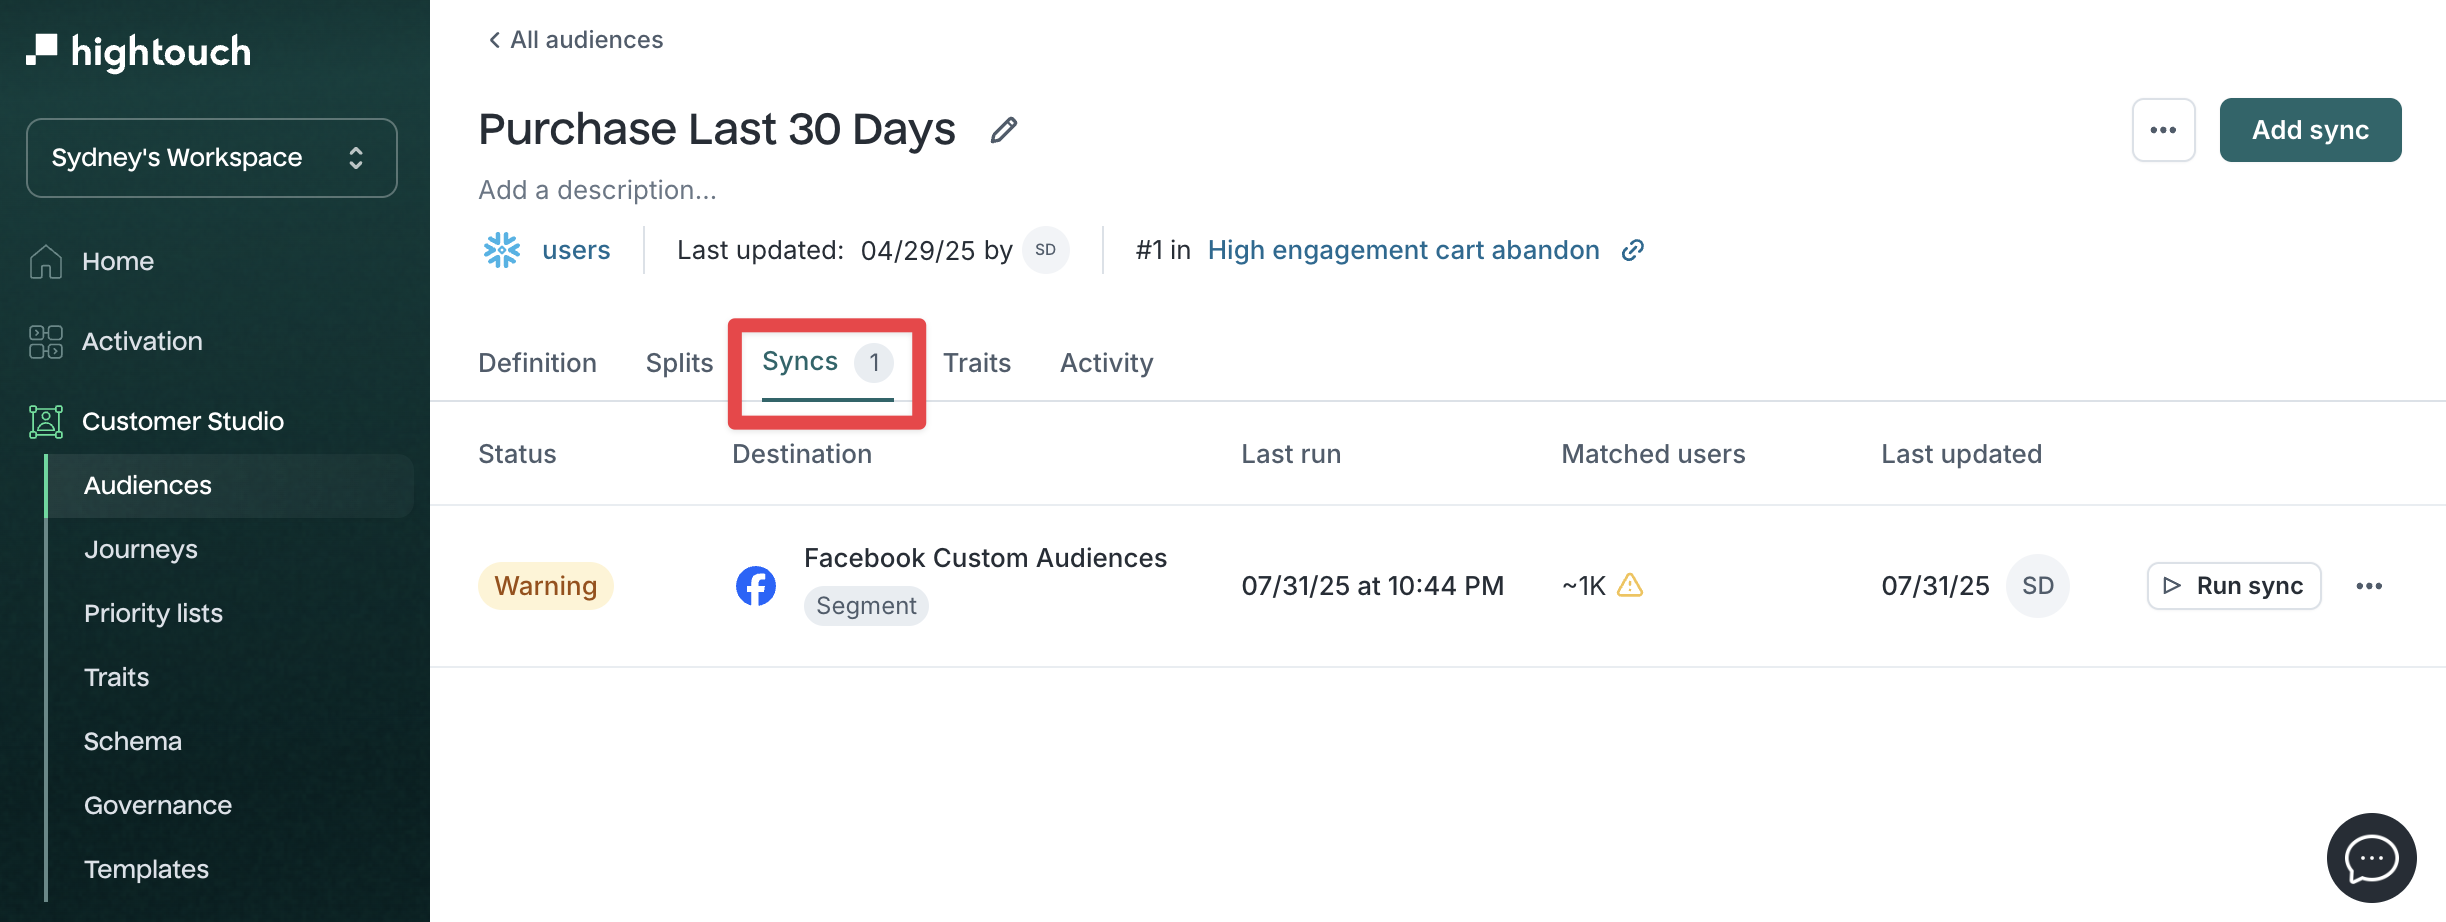
After setup, you can monitor and manage your syncs from the Syncs tab of each audience.

Each sync shows:
- Destination name
- Sync status (e.g., active, paused, failed, warning)
- Last run time
- Sync frequency
- Matched users — an approximate count of users successfully matched in the destination
- Last updated date
- A button to manually run the sync
You can pause, resume, or edit any sync at any time.
Use sync templates
If your workspace includes sync templates, you can apply one when creating a new sync. Templates help standardize common configurations across destinations or teams.
Templates may pre-fill values like:
- Destination
- Identifier field
- Field mappings
- List name
- Removal behavior
Learn how to create and apply Sync templates.