Make HTTP requests to any web service
This destination has been deprecated as of September 1, 2022. Please use the HTTP Request destination instead. Read our blog post for more info.
Overview
With the Webhook destination, Hightouch can send events to your custom webhook whenever a row is created, updated, or deleted.
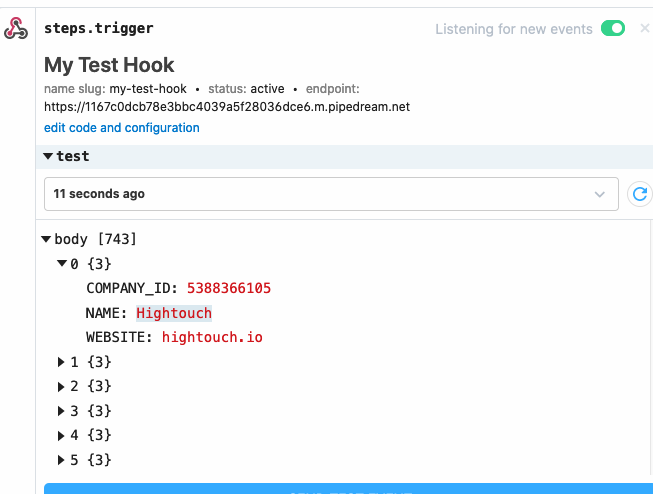
Webhooks batch results, up to 1,000 records per request, with the results being sent in the body as an array of named objects.
Prerequisites
You'll need a webhook that is ready to accept a payload already setup. If you don't have one, you can set one up with Pipedream in under a minute. Just set up a Workflow with a New Requests trigger.
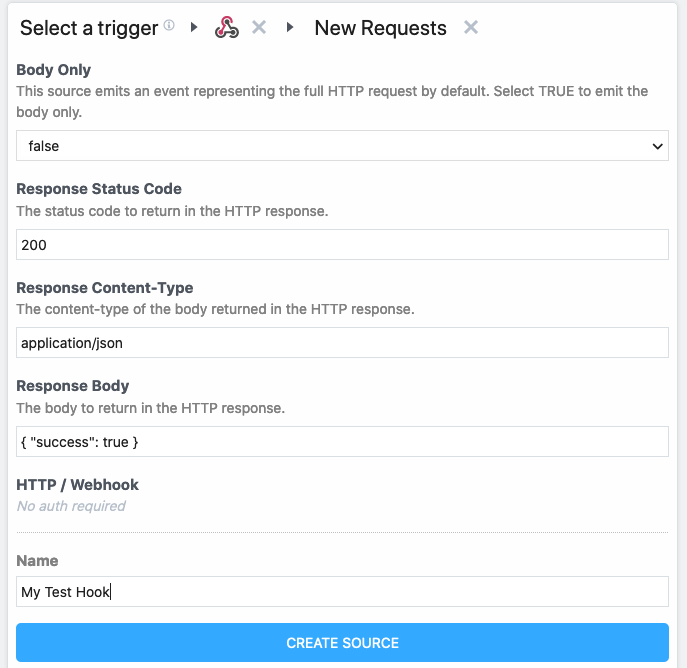
Once created, you'll have a https endpoint that you can use during the setup process on Hightouch.
You may need to allowlist Hightouch's IP addresses to let our systems connect to your service. Reference our networking docs to determine which IP addresses you need to allowlist.
Setup
Create a destination
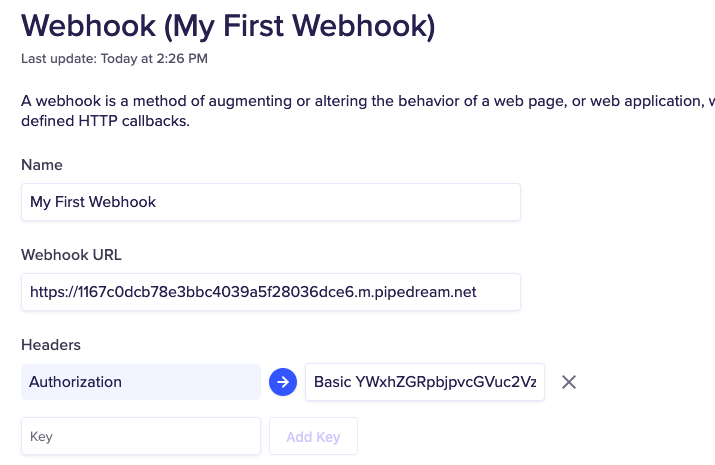
First, we'll want to create a Webhook destination. Under the Webhook URL, provide the endpoint where the payload will be sent when your data changes.
Add any headers you may need for authorization, for example, below we're using an Authorization header with a Basic type and encoded credentials.
Add the destination to a model
Once you've named and saved your destination, create a sync if you already have a model, or create a new model and then apply the destination.
Below, we create a Snowflake query that will send company_id, name, website to our webhook.
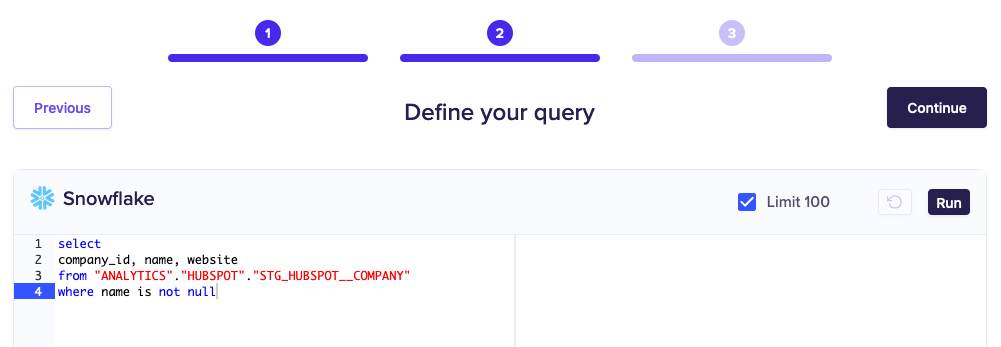
Once you've named the model and picked your primary key, you'll be able to add the destination you created in Step 1. You'll be prompted to configure the webhook.
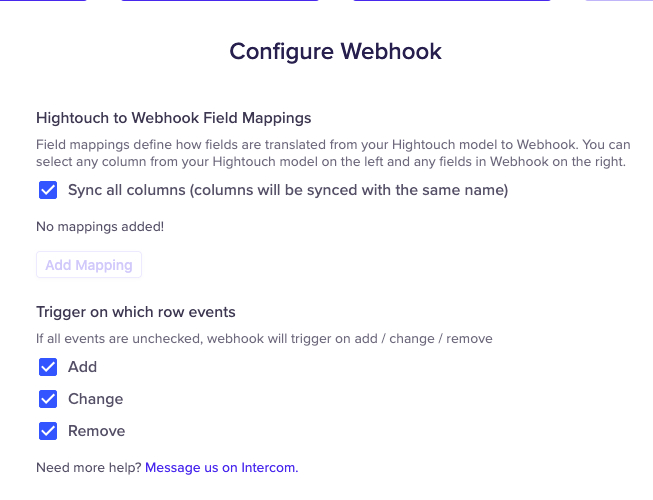
Here we've opted to sync all columns with the same name, and will trigger on all events. Finally, pick your schedule, and click Start Run to start you first sync. You should see the progress update to Completed.
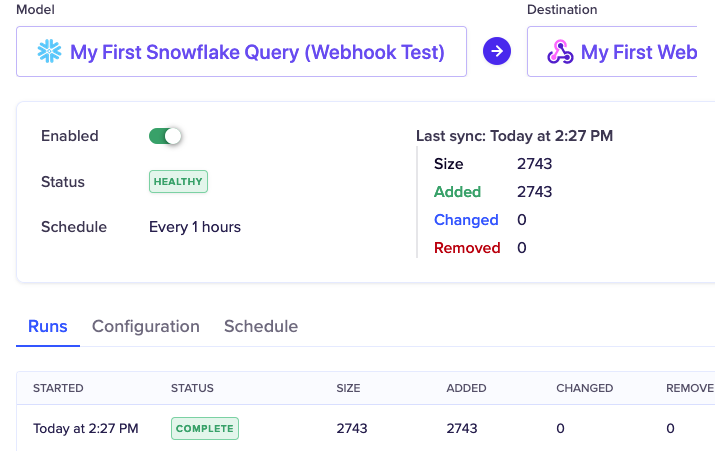
Once completed, you can manually initiate the first run, or wait for it to sync automatically. Your endpoint will receive a body with an array of named objects for each row and column.
Tips and troubleshooting
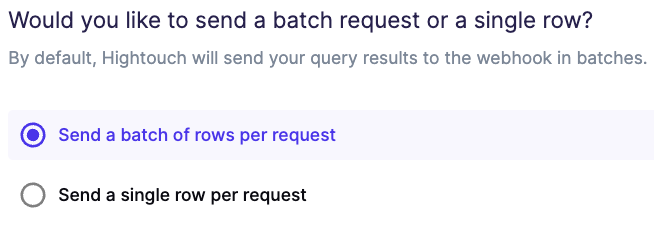
If you run into a scenario where your webhook errors out saying that a specific section of the JSON block can't be empty, it may be associated to how Hightouch sends the records. In the sync configuration options, we allow you to specify if you want us to send as a single row or a batch of rows. If you chose, batch of rows, the payload will be sent as a JSON array which the Webhook might reject. If you're finding you're having an issue with the payload, try single row instead.
