
Power internal tools, in-app experiences, and more
Overview
This destination combines the analytical power of your data warehouse with the low-latency performance of a transactional database.
Supported syncing
| Sync Type | Description | Supported Sync Modes |
|---|---|---|
| Table | Sync data from any source to a MySQL table | Upsert |
For more information about sync modes, refer to the sync modes docs.
Connect to MySQL
You may need to allowlist Hightouch's IP addresses to let our systems connect to your MySQL instance. Reference our networking docs to determine which IP addresses you need to allowlist.
You can also securely connect to your MySQL instance using AWS PrivateLink or GCP Private Service Connect. AWS PrivateLink and GCP Private Service Connect are Business Tier features.
Go to the Destinations overview page and click the Add destination button. Select MySQL and click Continue.
Enter the following required fields into Hightouch:
- Host: The hostname or IP address of your MySQL.
- Port: The port number of your MySQL. The default is 3306, but yours may be different.
- Database: The name of the database in your MySQL.
- User: This can be your personal MySQL login or a dedicated user for Hightouch.
- Password: The password for the user specified above.
You can optionally create or select a previously configured tunnel or upload a .pem CA certificate.
SSH tunneling
Hightouch can connect directly to MySQL over the public internet or via an SSH tunnel. Since data is encrypted in transit via TLS, a direct connection is suitable for most use cases. You may need to set up a tunnel if your MySQL instance is on a private network or virtual private cloud (VPC).
Hightouch supports both standard and reverse SSH tunnels. To learn more about SSH tunneling, refer to Hightouch's tunneling documentation.
Sync configuration
Once you've set up your MySQL destination and have a model to pull data from, you can set up your sync configuration to begin syncing data. Go to the Syncs overview page and click the Add sync button to begin. Then, select the relevant model and the MySQL destination you want to sync to.
Select table
Select the existing table in MySQL you want to sync to.
Record matching
You can match rows from your model to rows in MySQL on any column as long as it is a primary key or unique key.
Field mapping
Select which model columns you want to sync to your MySQL table columns. Hightouch automatically pulls the columns from your table to make them available for you to map.
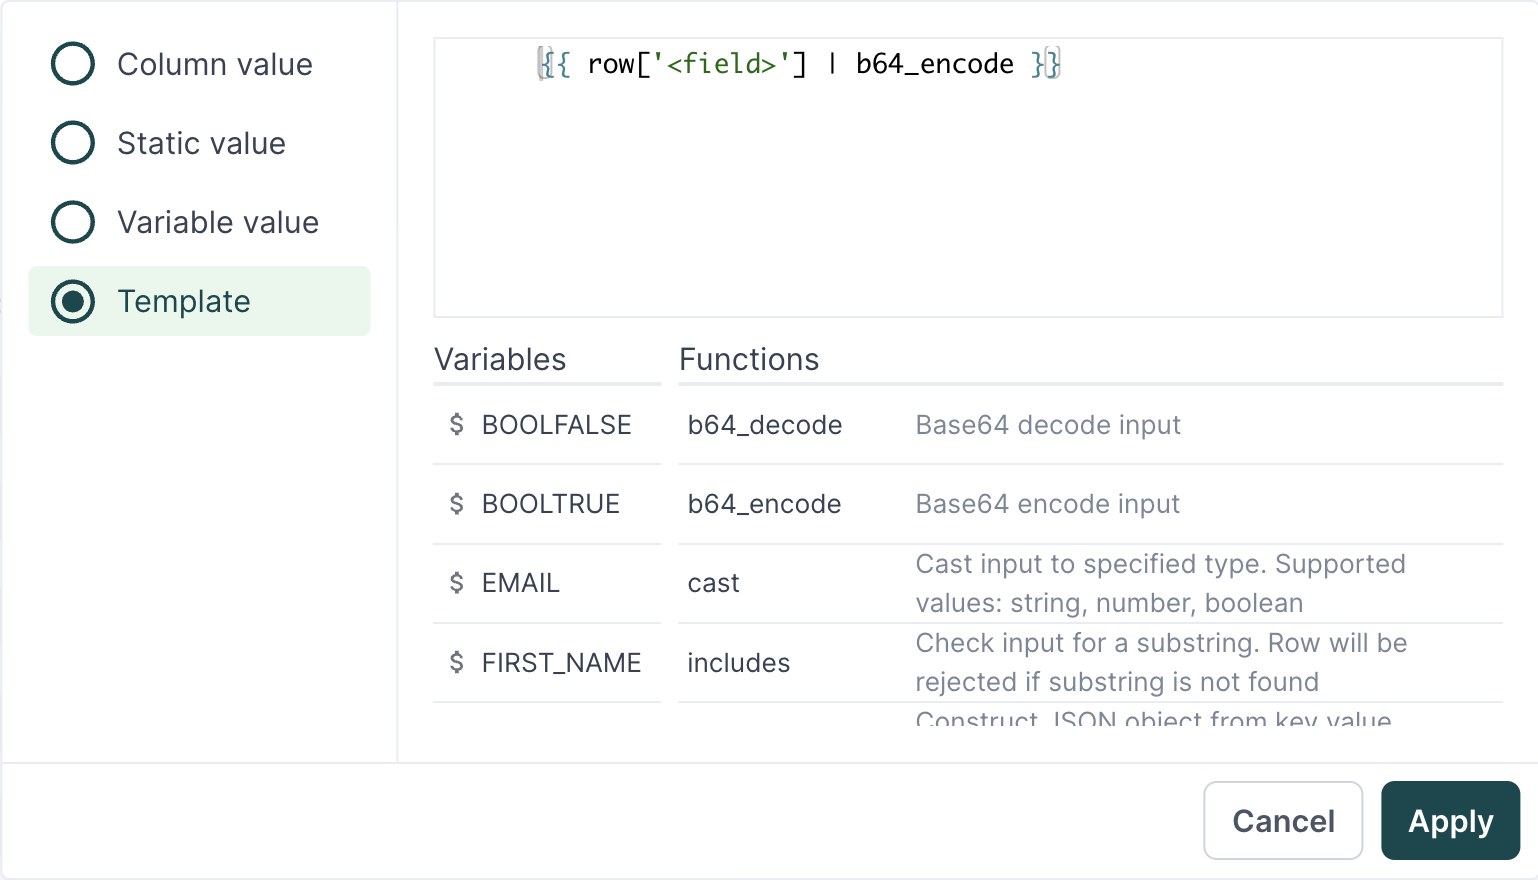
When syncing to binary destination fields, Hightouch assumes the model column values to be base64 strings. If they aren't, you can use template mapping to cast them if needed.
Upsert query optimization
You can choose to use the LOAD DATA statement in the upsert query during your sync. This option loads data from a text file into your database, which can be up to twenty times faster than the default INSERT INTO query Hightouch uses.
If you enable the LOAD DATA option, Hightouch replaces databases rows with the mapped model row, if it exists. This means that if any MySQL fields aren't mapped in Hightouch they receive NULL values.
For Hightouch to successfully sync with the LOAD DATA option, you need to enable the local_infile system variable.
Review the security considerations before enabling local_infile.
Delete behavior
When rows no longer shows up from your model's query results, you can configure the sync to Do nothing or Delete those rows from the MySQL.
| Behavior | Description |
|---|---|
| Do nothing | Keep the synced rows in the table in MySQL |
| Delete | Delete the synced rows from the table in MySQL |
Tips and troubleshooting
Common errors
To date, our customers haven't experienced any errors while using this destination. If you run into any issues, please don't hesitate to . We're here to help.
Live debugger
Hightouch provides complete visibility into the API calls made during each of your sync runs. We recommend reading our article on debugging tips and tricks to learn more.
Sync alerts
Hightouch can alert you of sync issues via Slack, PagerDuty, SMS, or email. For details, please visit our article on alerting.