
Power product notifications with your warehouse data in Courier
Supported sync methods
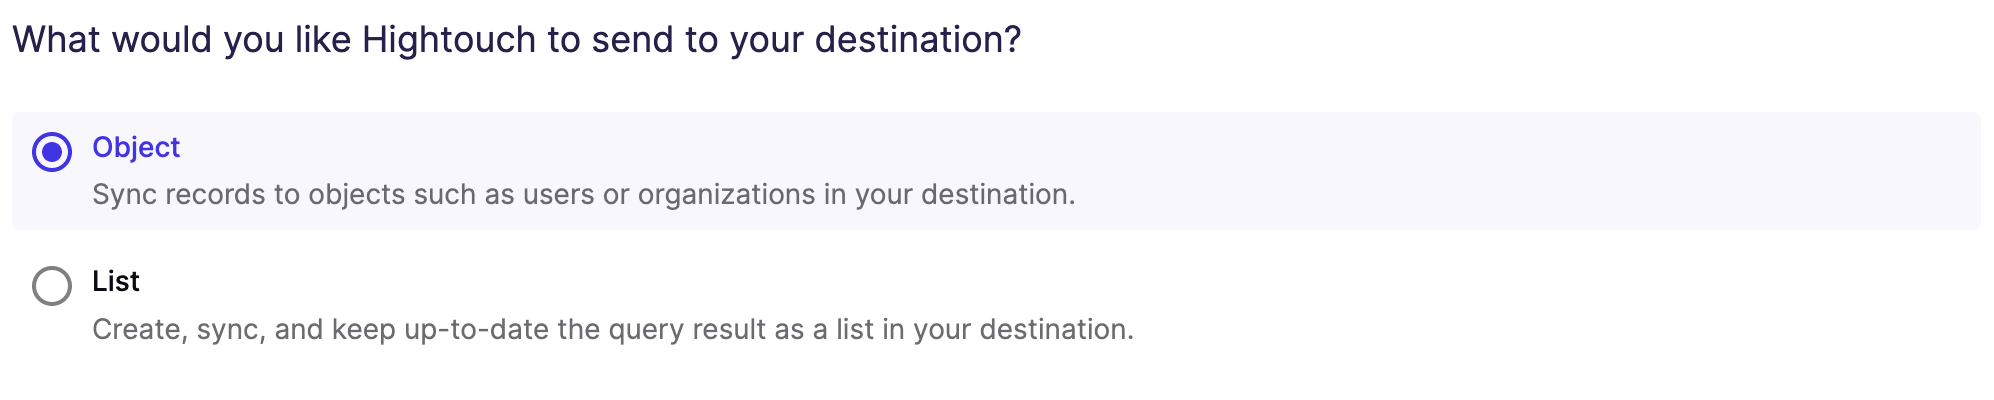
Hightouch can sync data to Courier Profiles and List Subscriptions
Courier profiles
Sync modes
Hightouch supports Upsert and Update sync modes:
- In the Upsert mode, new rows will be inserted into Courier and Profile attributes will be kept up-to-date within Courier
- In the Update mode, Profile attributes will be kept up-to-date within Courier.
Record matching
Database records can be matched from your source to your Courier workspace by a unique property. Profiles can be matched by a Recipient ID.
Field mapping
You can sync columns from your source to Courier's Profile default and custom fields.
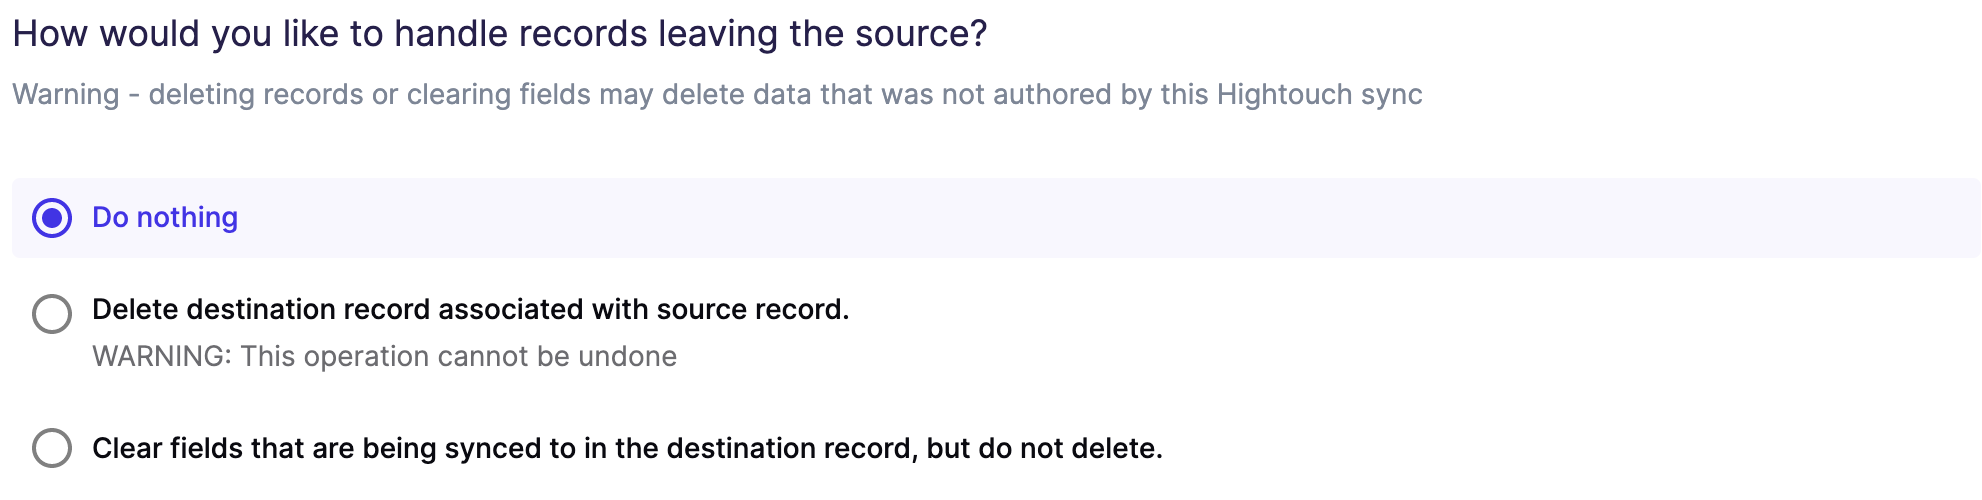
Delete mode
You can choose what Hightouch's behavior is when records leave the query result set. The default is doing nothing, but you can also set Hightouch to delete or clear the Courier profile on record exit.
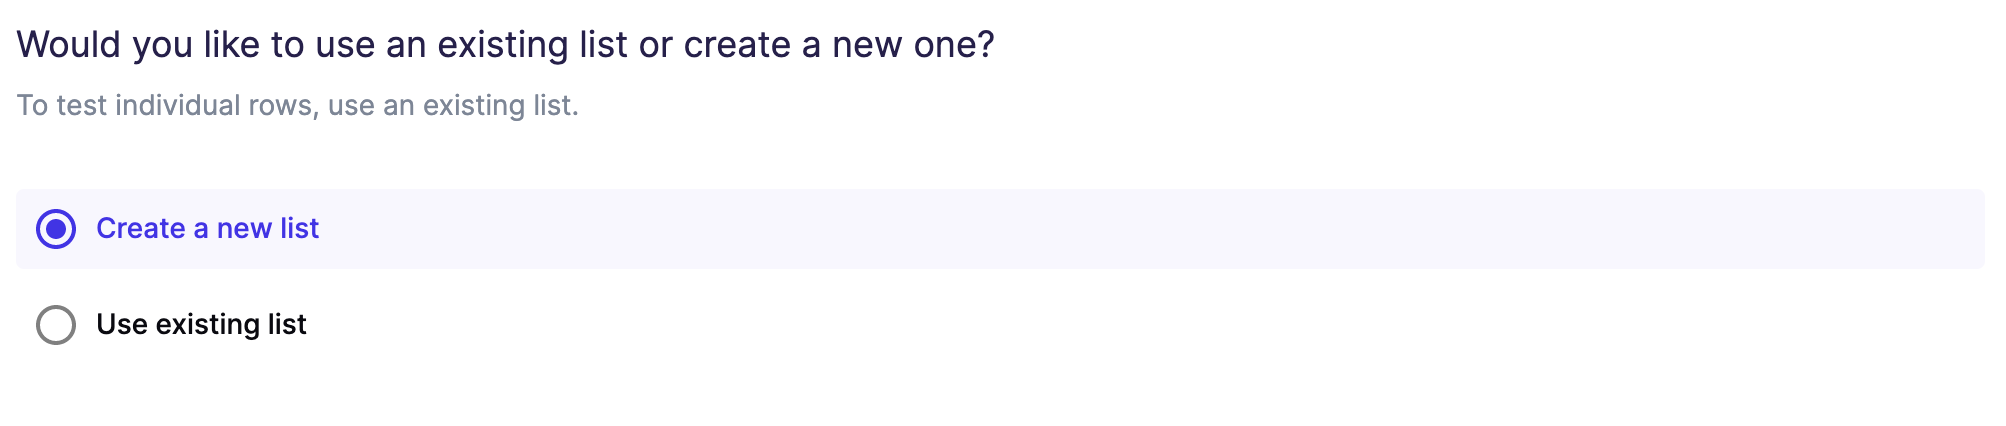
Creating a new list
In your sync configuration, you can tell Hightouch to create a new Courier list for you.
You can optionally assign a custom name to your list. If no name is provided, Hightouch will default to using your model name.

Syncing to existing lists
Instead of creating a new list, Hightouch can also sync recipients to existing lists that are already populated in your Courier workspace.
Suppose you want to sync to multiple existing lists but do not want to create a new sync for every list. As long as your model has a list_id column associated to a row, Hightouch can sync to multiple Courier lists in just one sync.

Getting started
If you're new to Hightouch, be sure to sign up for a free account. Your first destination is free, and Courier is a great way to get started.
Before diving into this tutorial, we also recommend reading this article on our core concepts. It's a quick overview of how Hightouch works.
Connect to Courier
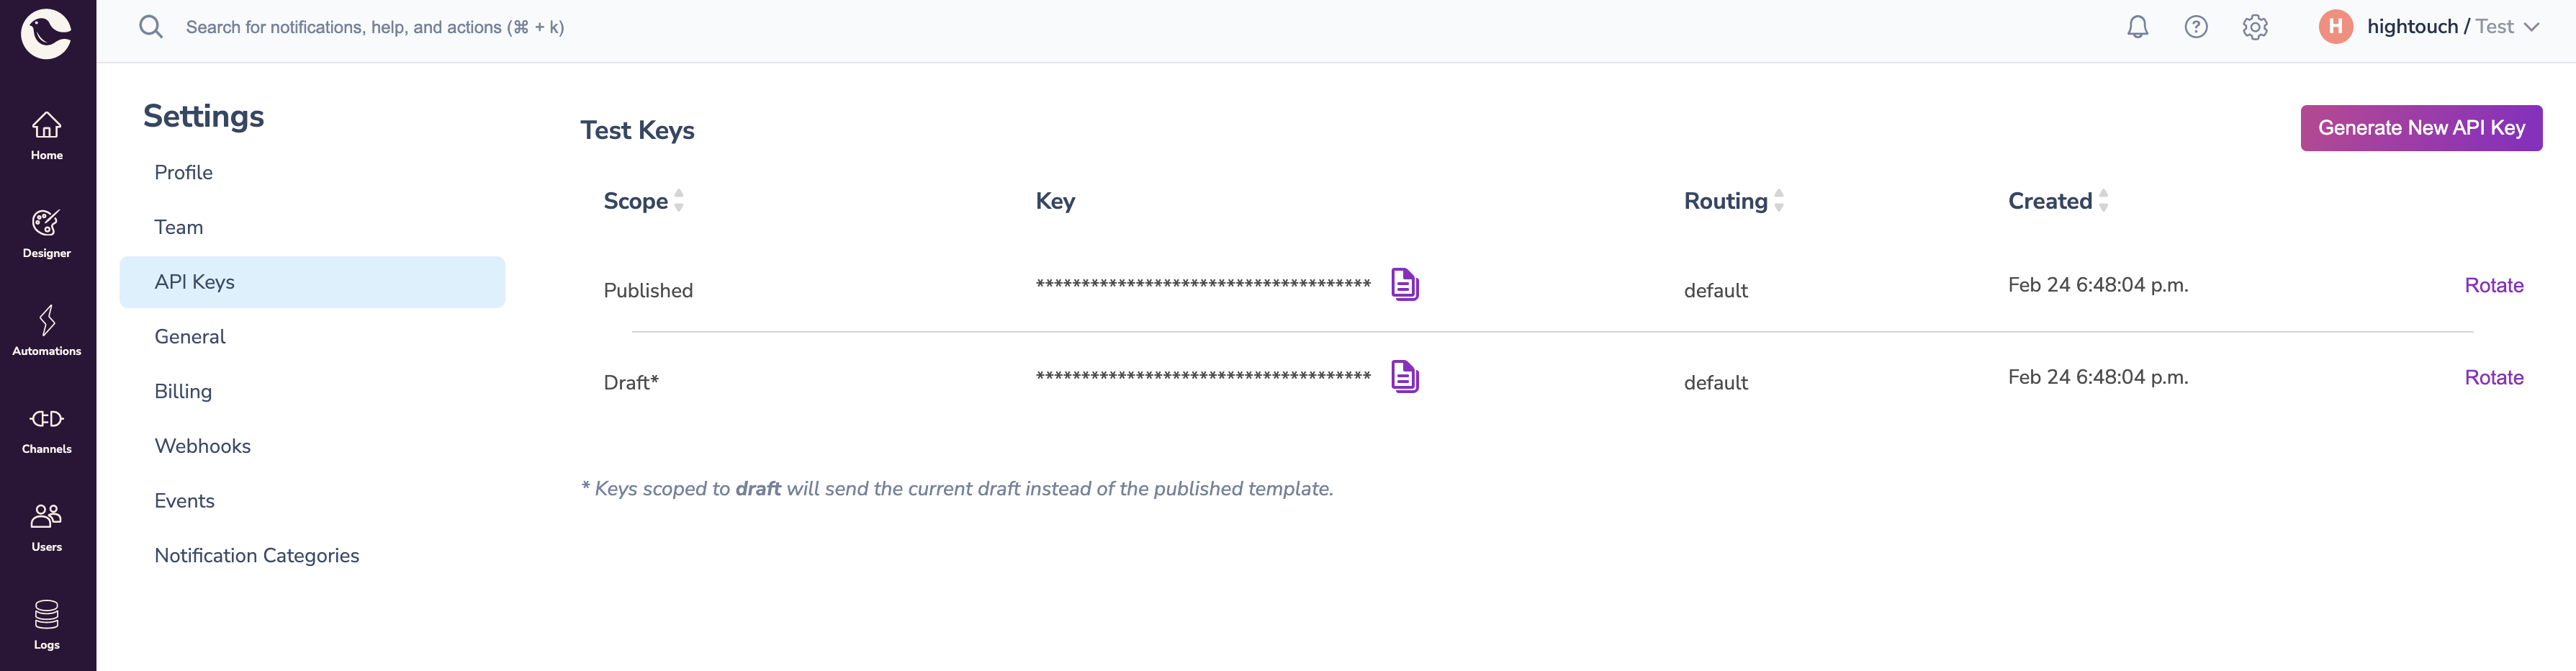
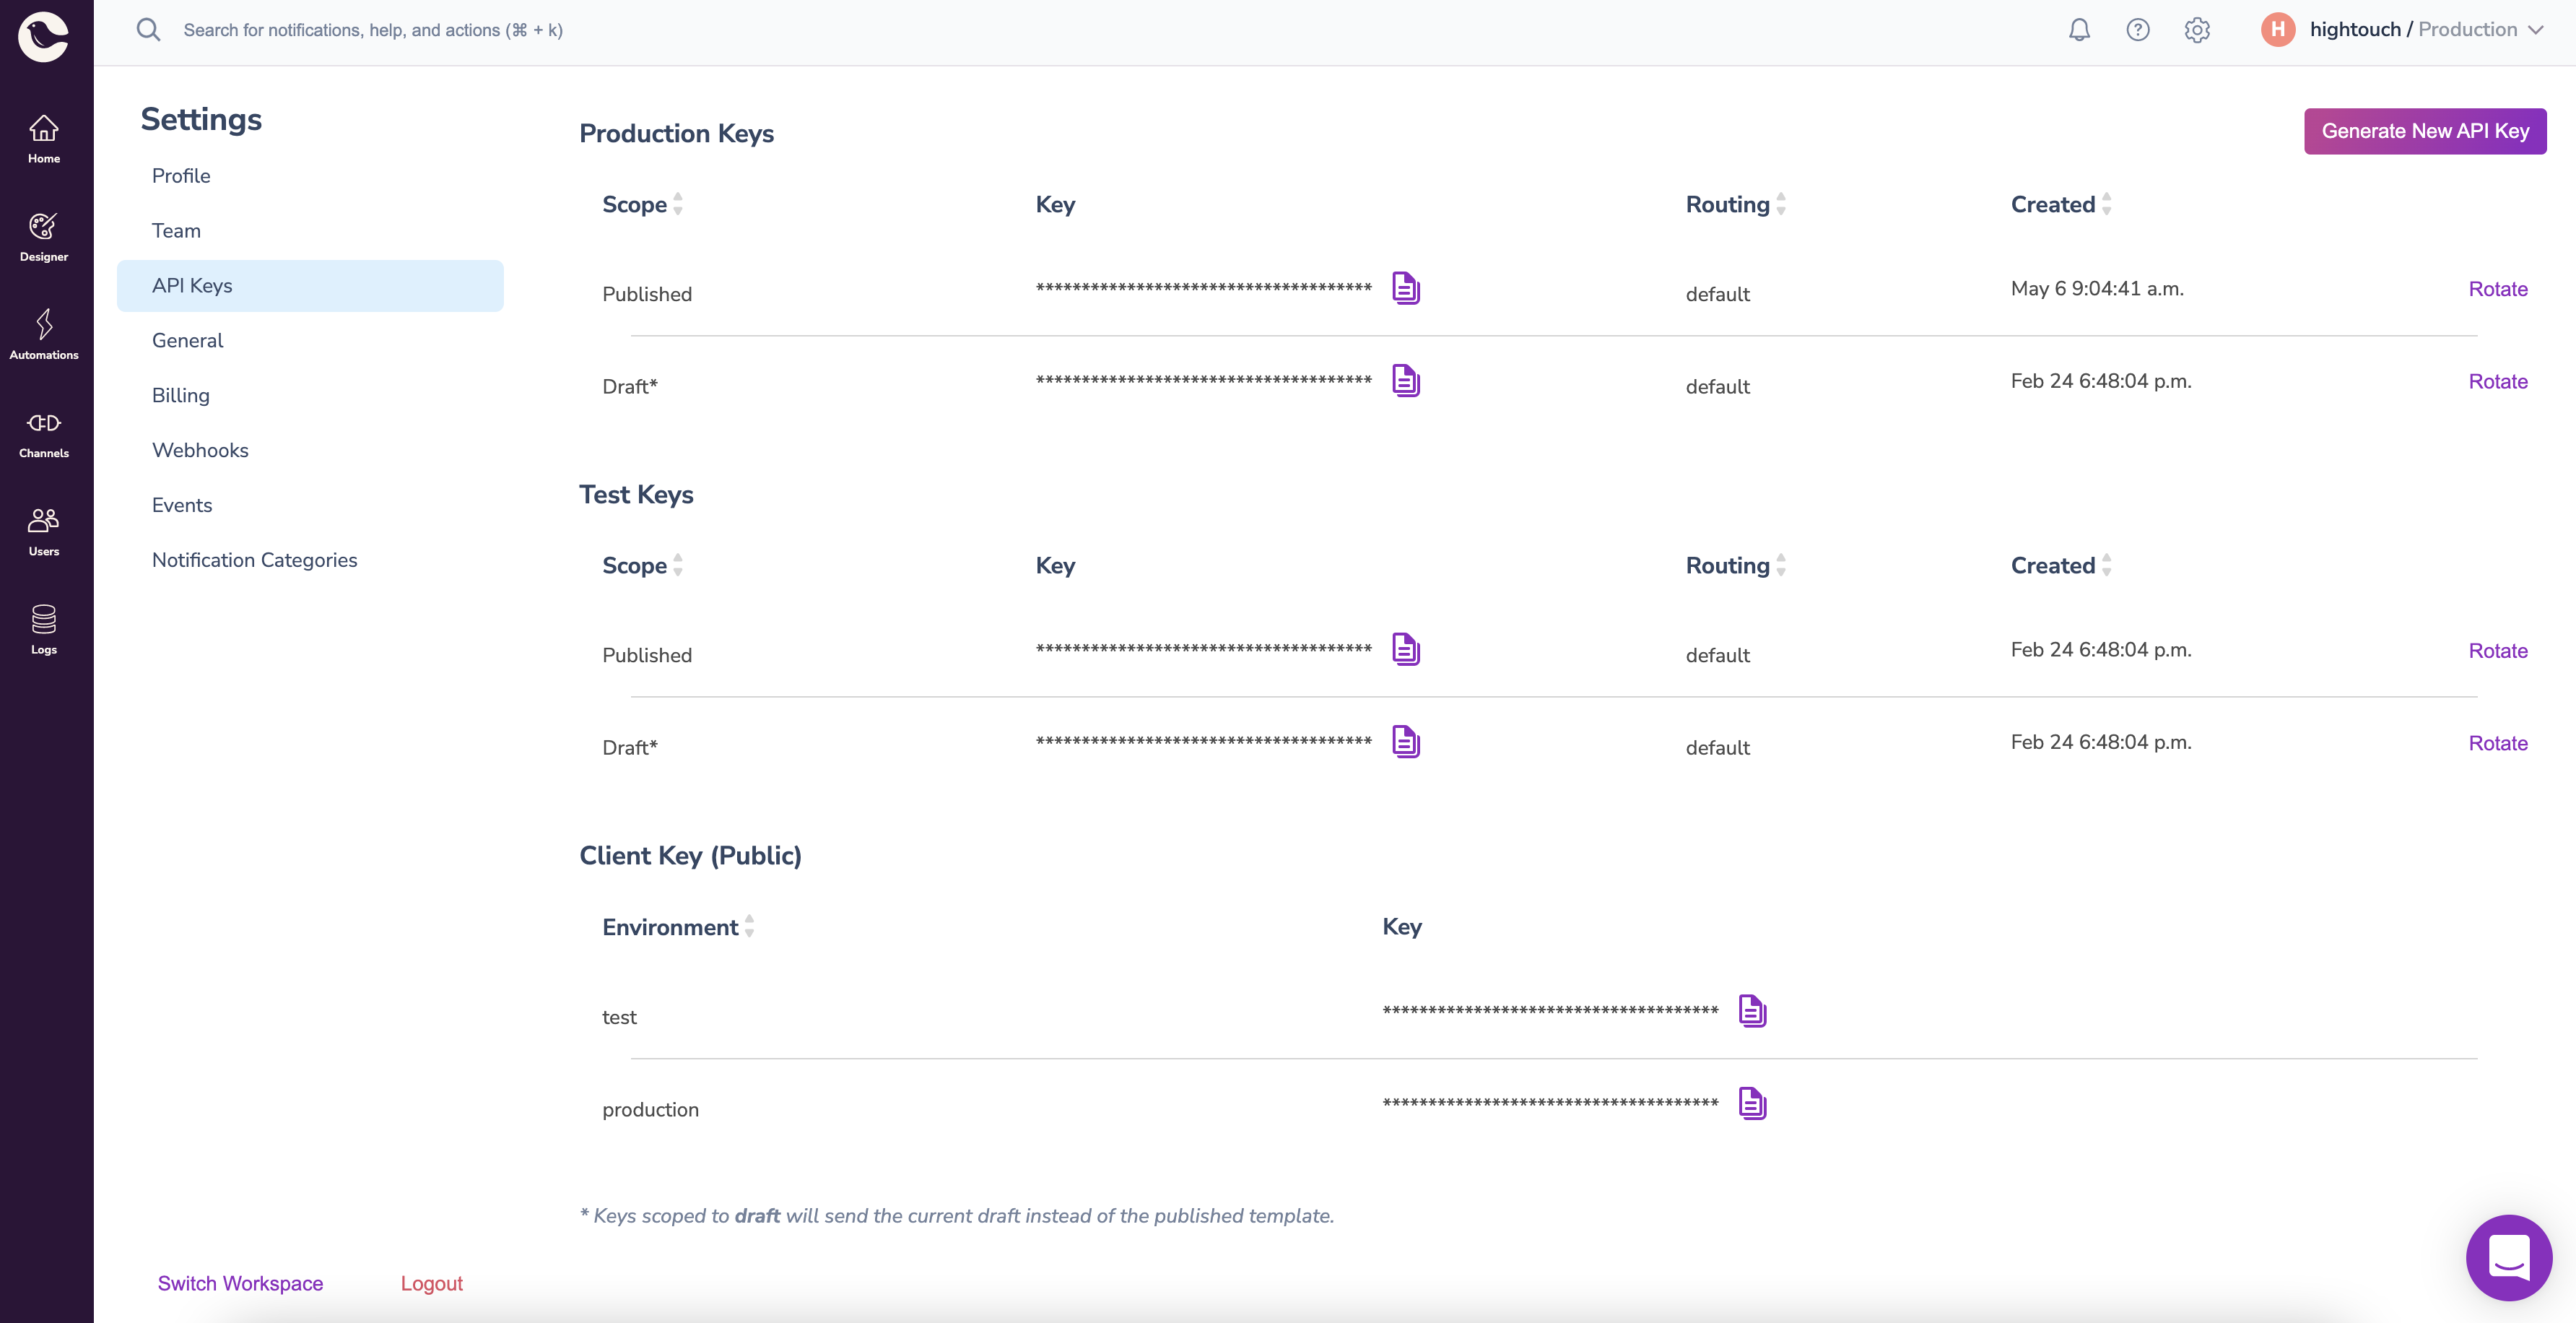
Create an API token
- Log in to Courier
- Visit your Settings page
- Click on the API Keys tab
- If you already have an API key set up, copy the Published token, otherwise click Generate New API Key
Add Courier as a destination in Hightouch
- Log in to Hightouch or create a free Hightouch account
- Click on Destinations in the left sidebar
- Click on Add destination in the top right corner
- Select Courier in the destination catalog and click Continue to proceed
- Paste your API token into the API Key field and click Continue to proceed
- Give your destination a name and unique slug (for example, “Courier Production” and
courier-production) - Click Finish to create your Courier destination.
Now that we've linked Hightouch to your Courier account, it's time to connect to build profiles and list subscriptions using the data that resides in your data warehouse.
Connect to your data source
Hightouch sits on top of your data warehouse and can read from Snowflake, Redshift, BigQuery, Databricks, Postgres, MySQL, and many other data sources. You can even fetch data from Google Sheets and Airtable. Hightouch can help activate your data wherever it resides.
We've written dedicated guides for each supported data source. Take your pick:
- Connect to Airtable
- Connect to Amazon Athena
- Connect to Amazon Redshift
- Connect to ClickHouse
- Connect to Databricks
- Connect to Elasticsearch
- Connect to Firebolt
- Connect to Google BigQuery
- Connect to Google Sheets
- Connect to Looker
- Connect to Metabase
- Connect to MySQL
- Connect to Palantir Foundry
- Connect to PostgreSQL
- Connect to Rockset
- Connect to SFTP
- Connect to Snowflake
- Connect to SQL Server
- Connect to Trino
If you're missing the credentials necessary to connect to your data source, try inviting your teammates to Hightouch. You can have unlimited collaborators in your workspace.
Connect to a sample database instead
Waiting for credentials to your data warehouse? No problem. You can connect to one of our sample databases to get started right away. For the rest of this tutorial, we'll use our demo Postgres database, which contains a users table with names, emails, locations, and other user attributes. This sample source is available when you log in for the first time—no setup required.
Next, we'll write a SQL query to define which profiles and list subscriptions should be synced to Courier.
Create a model
In Hightouch, a model represents a query that filters or transforms the records in your data source. Models are used to determine exactly which records to sync between sources and destinations.
When you connect to a data warehouse, your models will probably be written in SQL. You can also import models from tools like dbt and Looker.
In this example, we'll keep it simple. Suppose you want to use Courier to send notifications only for your customers located in the city of Nashville. To accomplish this, you'll want to create a model that looks like this:
SELECT * FROM users WHERE location = 'Nashville';
- Click on Models in the left sidebar
- Click on Add model in the top right corner
- Select Demo Database as your source and click Continue to proceed
- Select SQL Editor as your modeling method
- Paste the SQL query from above into the editor on the left side of the page
- Click Preview to execute the query
- Click Continue to proceed
- Give your model a name and unique slug (for example, "Users in Nashville" and
users-in-nashville) - Select ID as the primary key for your model
- Click Finish to create your model.
We just created a model using a SQL query that filters our users table down to only those located in Nashville. Next, we'll configure our sync to add these users to Courier.
Create a sync to Courier Profiles
- Click on Syncs in the left sidebar
- Click on Add sync in the top right corner
- Select Users in Nashville as your model and click Continue to proceed
- Select Courier Production as your destination and click Continue to proceed
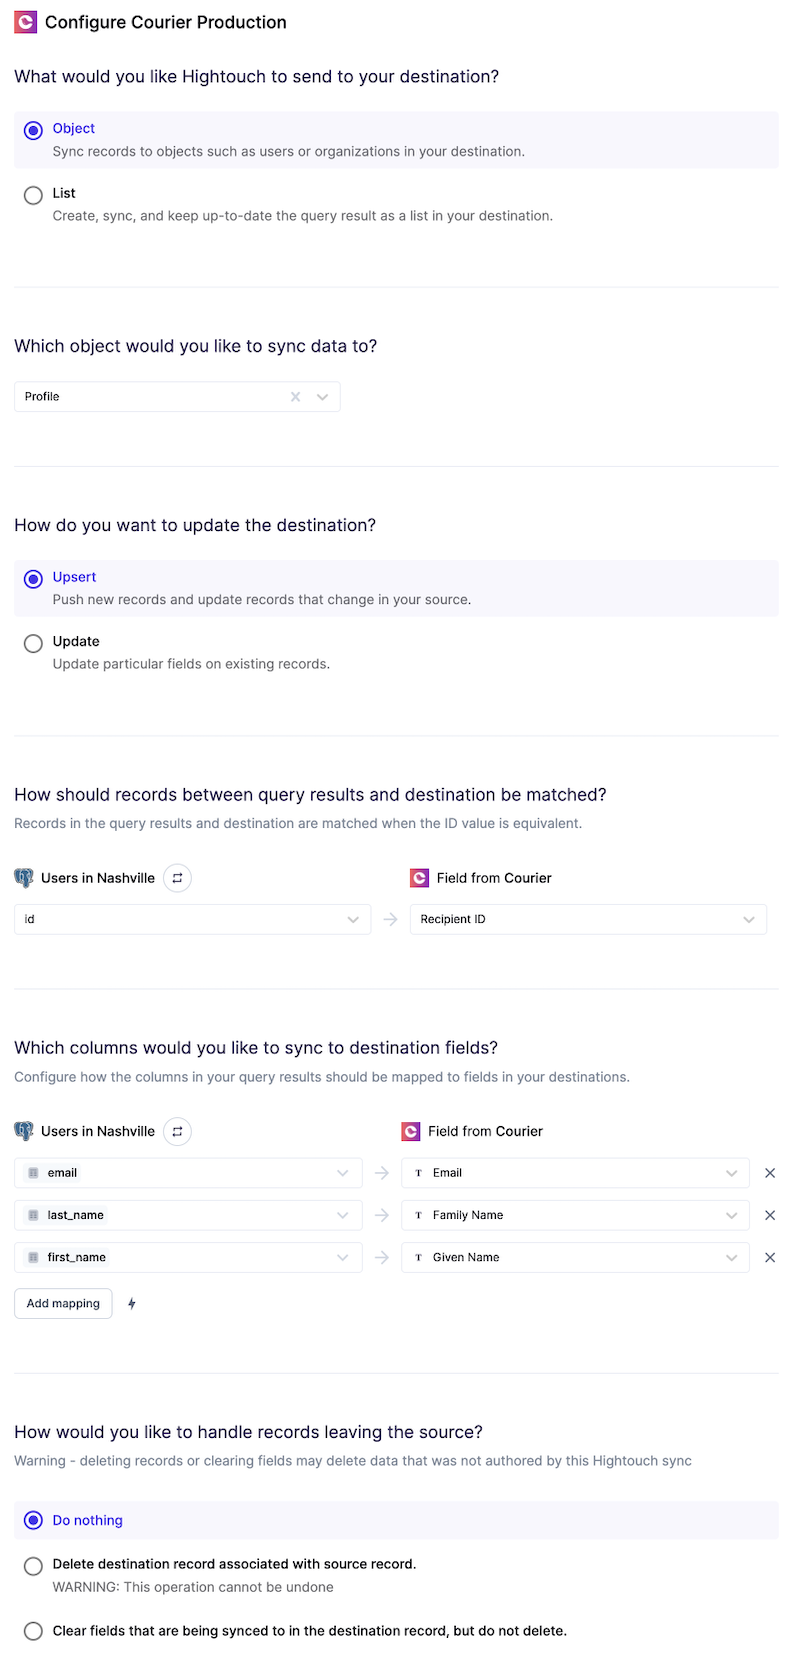
- Select Profile as the object you wish to update in Courier
- Select which update mode you want to use
- Identify which field from your model represents the identifier known to Courier
- Identify which fields from your model you want to sync to a Courier Profile
- Select how you want to handle records leaving your source
- Give a name to your segment (for example, "My beta test")
- Click Continue to proceed to the last step
- Select Interval to tell your sync to run on a set interval
- Configure your sync schedule to run every 5 minutes
- Click Finish to create your sync.
Your Courier sync configuration would look something like this.
And your sync schedule configuration would resemble this.

Create a sync to Courier Lists
- Click on Syncs in the left sidebar
- Click on Add sync in the top right corner
- Select Users in Nashville as your model and click Continue to proceed
- Select Courier Production as your destination and click Continue to proceed
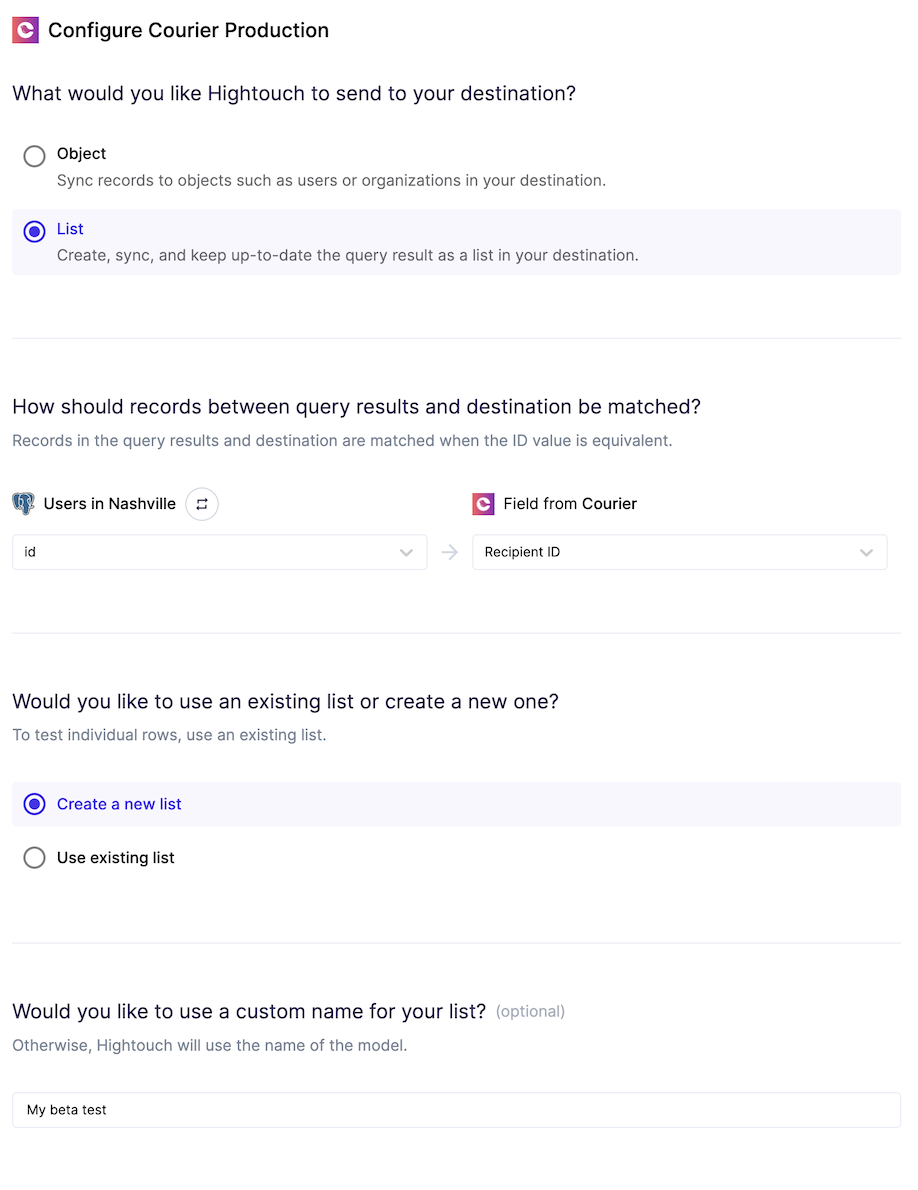
- Identify which field from your model represents the identifier known to Courier
- Select Create a new segment
- Give a name to your segment (for example, "My beta test")
- Click Continue to proceed to the last step
- Select Interval to tell your sync to run on a set interval
- Configure your sync schedule to run every 5 minutes
- Click Finish to create your sync.
Your Courier sync configuration would look something like this.
And your sync schedule configuration would resemble this.
Tips and troubleshooting
Common errors
If you encounter an error or question not listed below and need assistance, don't hesitate to . We're here to help.
Don't see your data in Courier?
Make sure you've configured your destination to use the correct Courier environment API key. There may be quite a few so you might've accidentally copied the wrong one. If that doesn't solve your issue, . We're happy to help.
Live debugger
Hightouch provides complete visibility into the API calls made during each of your sync runs. We recommend reading our article on debugging tips and tricks to learn more.
Sync alerts
Hightouch can alert you of sync issues via Slack, PagerDuty, SMS, or email. For details, please visit our article on alerting.