Salesforce offers many options for ingesting data into the platform, like dataloader.io or the Data Import Wizard, but when it comes to native products within Salesforce, Data Loader tends to be the most flexible.
What is Salesforce Data Loader?
Salesforce Data Loader is a free feature available to Enterprise, Unlimited, Performance, Developer, and Database editions of Salesforce that runs directly on your computer. It’s a client application that supports the bulk import or export of data into Salesforce. You can use the tool to perform operations like insert, update, delete, or export Salesforce records.
How Does Salesforce Data Loader Work?
Data Loader is supported on both Windows and Mac. The tool reads, extracts, and loads, data from other sources via comma-separated values (CSV) files. The system requirements to run Salesforce Data Loader are extremely minimal, so basically, any computer can power the tool. Unfortunately, the tool is not built to handle CSV files with more than 5 million records, so you’ll likely need a different solution for anything more.
Data Loader has two key features. You can access the tool through a user interface (UI) and configure all of your settings. The UI offers drag-and-drop field mapping so that you can match the objects in your import file to the appropriate objects in Salesforce, and there is additional support for custom objects.
There’s also an alternate automation options for batch operations. though these typically require technical expertise that many marketing teams may not have readily available (this feature is only available to Windows users.) The command line tends to have more import and configurability settings specifying file actions, but the user interface is better suited for marketers and business users who need to manage data without engineering support.
Getting Started Salesforce Data Loader
Setting up Salesforce Data Loader can be a bit challenging because the tool is relatively old and it’s not documented well in the Salesforce ecosystem there are a few different steps you’ll need to follow:
1. Search for Data Loader in the Setup Quick Find bar. Once here, you'll see installation instructions and an option to download Data Loader for Windows or Mac.
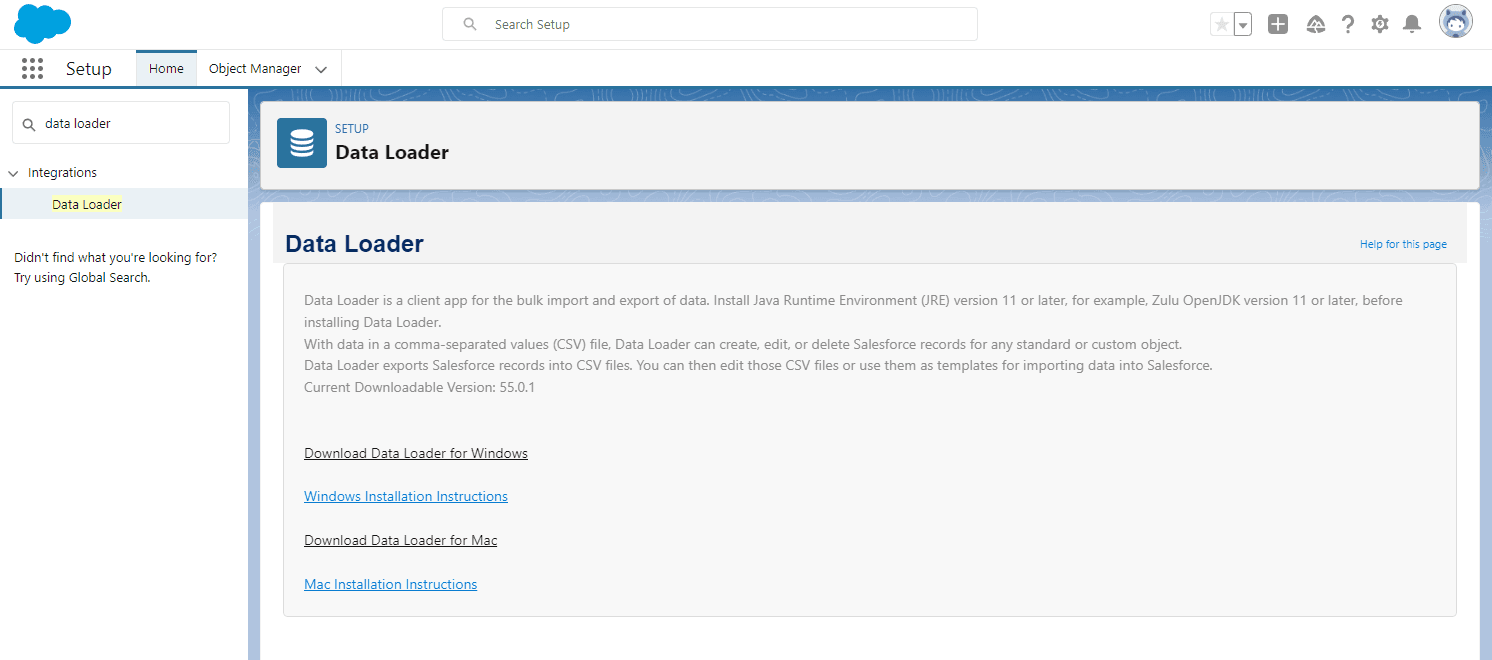
Salesforce Setup Menu
2. Install the latest version of Azul Zulu. Before you can run Data Loader, You'll need to install a Java development kit. An additional technical dependency that can slow down implementation for marketing teams without dedicated engineering resources. Make sure to download the .msi file, as this will install directly on your computer.
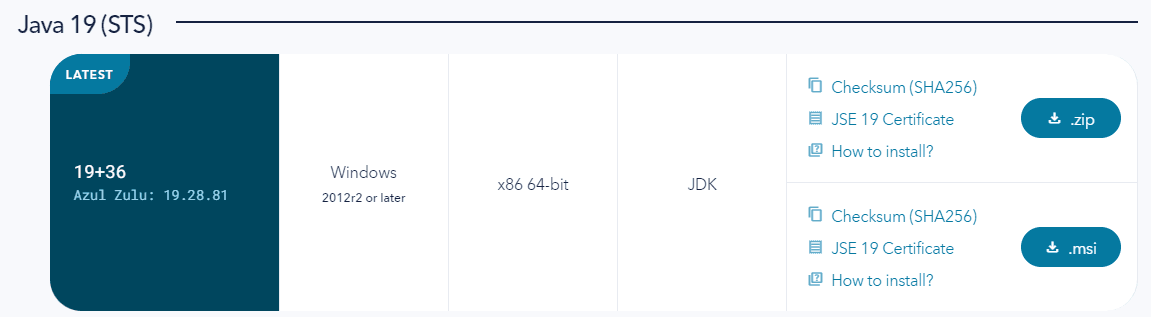
Azul Zulu Java Development Kit
3. Install Data Loader. After you've installed Azul Zulu, you'll need to install Data Loader. Once you've installed Data Loader, you should receive a zip file. Once you have this zip file, you need to extract all of the contents to a new file on your computer.
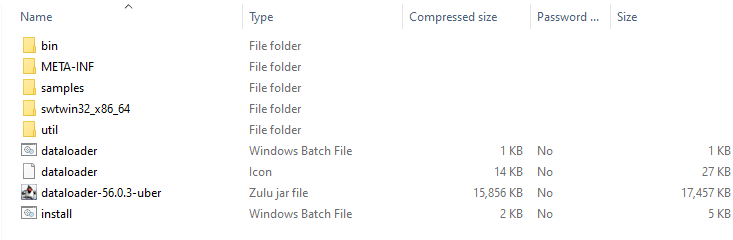
Data Loader Zip File
4. Run Data Loader. Once you’ve extracted the zip file, you should see a Windows Batch File called “dataloader.” All you need to do is double-click this file to run Data Loader (you need to do this every time you want to use Data Loader).
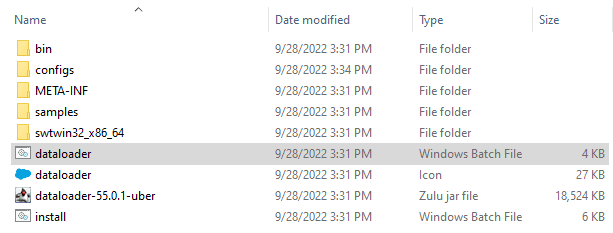
Data Loader Zip File
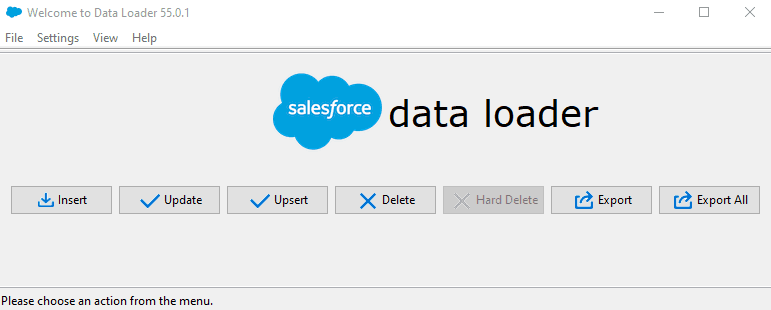
Data Loader Application
5. Configure your settings. When you open Data Loader, you'll need to configure your settings. Without changing anything, the maximum number of records that Salesforce Data Loader can process in a single insert, update, upsert, or delete operation is 200. The Bulk API option gives you 10,000. Salesforce actually has some great documentation for configuring Data Loader.
View an example of the Data Loader configuration settings
Data Loader Settings
6. Import your CSV and select your object. After configuring your settings, you can choose your action in Data Loader (e.g., insert, update, upsert, delete, export, etc.) From here, you'll want to select your Salesforce object and your CSV file.
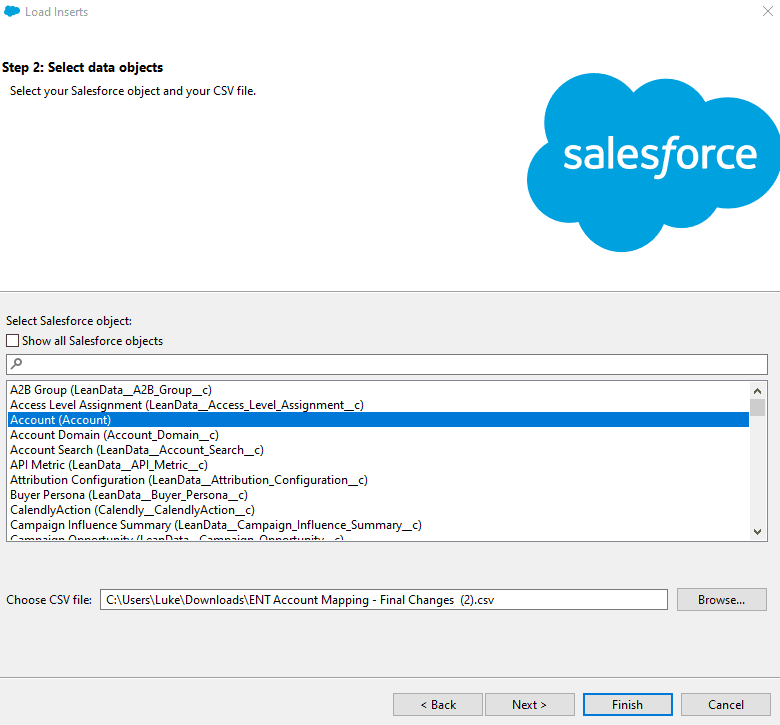
Data Loader Settings
7. Map your CSV columns to the appropriate Salesforce fields. The auto mapper in Data Loader isn't very intuitive, so you'll need to drag the proper field names in your CSV to the appropriate fields in Salesforce. Once you've mapped your fields, you can save that mapping as a .sdl file for future use. Unmapped fields will not be uploaded.
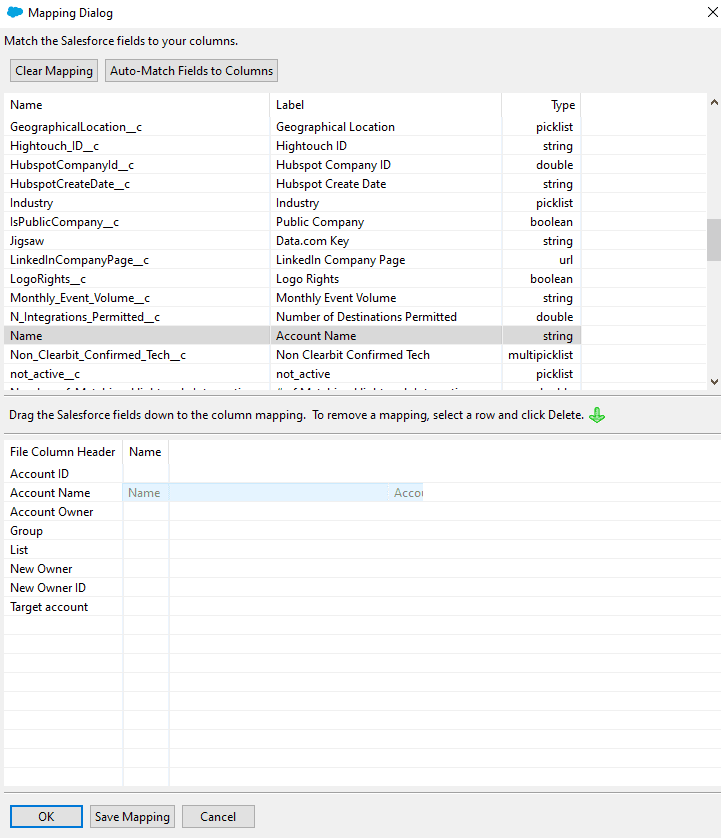
Data Loader Mapping to Salesforce
8. Select a directory for your logs. After you've mapped your data, you'll see a prompt to choose a directory to save your detailed success and error log files. The best practice is to create a new folder for your sync logs that you can reference later. There's no final step after this, so once you choose your directory, your sync will commence immediately.
Pros and Cons of Data Loader
Salesforce Data Loader is a legacy tool that feels like it was built in the 1990s. Every time you want to run the application, you have to log in, even if you're already logged into Salesforce. This can be time-consuming, especially if you have MFA configured. It also runs directly off your computer, which is not scalable or efficient. Data Loader also doesn't give you any indication of when your sync will run. There's no button that says "run" or "sync."
Once you've chosen your directory file to capture your sync logs, Data Loader will initiate your data sync and notify you when it's complete. This makes it very easy to initiate a sync by accident (I accidentally created 300 duplicate records when using this tool.) Data Loader also doesn't appear to offer any scheduling options for importing data which means everything is manual. There is no way to automate your operations in the UI–this is only possible through the command line interface.
Mapping data fields in Data Loader is also not very intuitive as there is no way to search, and it can be difficult to find what you're looking for. If you accidentally do a mass import, your Salesforce administrator can mass delete the records from Setup using the Quick Find box. This method of deleting does not support custom objects, so you can use the Data Loader for this purpose to delete mistakenly imported records.
The major advantage of the Data Loader is that it allows you to export records to a spreadsheet so you can easily update and clean fields and re-load that data into Salesforce later.
Final Thoughts
If you need to sync large amounts of data into Salesforce, the Data Loader is not the best tool for the job. You’d be better off using a Data Activation platform like Hightouch to ingest your data. Hightouch integrates natively with 300+ destinations, including Salesforce. You don’t have to install anything, and you can schedule all of your syncs to run automatically. Best of all, the first integration is free.
Personalize Campaigns in SFMC with your Data
Download this one-pager to learn how leading companies use Hightouch to power SFMC